
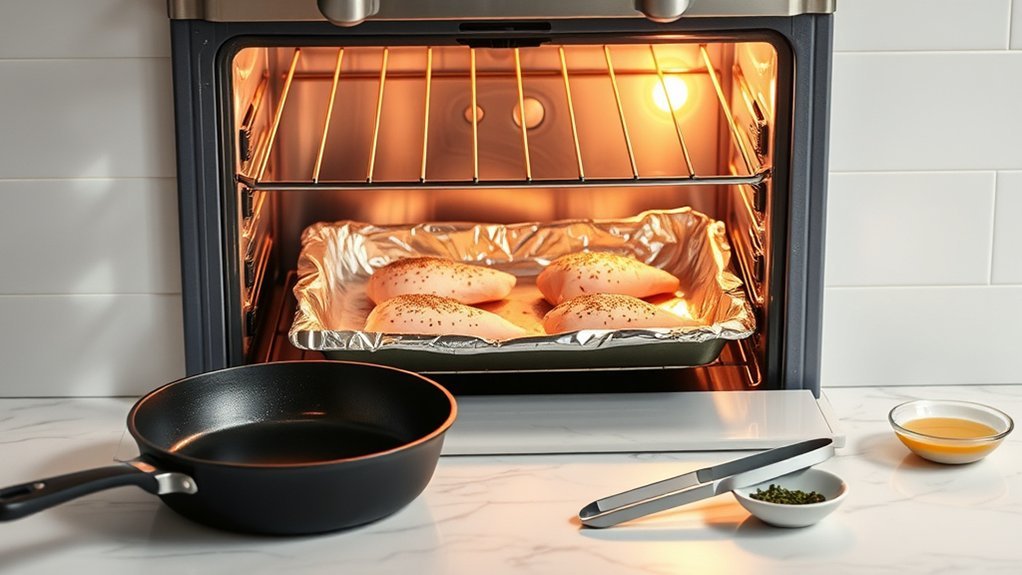
Broiling cooks food with intense direct heat, usually from an element at the top of the oven. It works especially well for steaks, fish, chicken cutlets, vegetables, toast, and dishes that need a browned or crisp top. The key is choosing broiler-safe cookware, positioning the food correctly, watching it closely, and checking meat or fish with a food thermometer instead of relying only on cooking time.
Quick Answer
To broil in the oven, select Broil or High Broil, position the rack according to your oven manual and the food’s thickness, place the food on a broiler-safe metal pan, and cook under direct heat while watching closely. Turn when needed and use a food thermometer to confirm safe doneness.
Key Takeaways
- Use a broiler pan, cast-iron pan, or shallow broiler-safe metal pan rather than ordinary glass bakeware.
- Follow your oven manual for the Broil setting, rack position, preheating instructions, and whether the oven door stays open or closed.
- Place thin foods closer to the heat and thicker foods farther away so the surface does not burn before the center cooks.
- Stay near the oven because broiled food can change from browned to burned within a short time.
- For food safety, use a thermometer rather than color or cooking time alone.
At a Glance
| Time Required | Usually about 5–20 minutes of cooking, depending on the food, thickness, rack position, and broiler |
| Difficulty | Easy, but requires close attention |
| Tools Needed | Broiler-safe metal pan or broiler pan, tongs or spatula, oven mitts, and a food thermometer |
| Cost | No special cost beyond the food if you already own broiler-safe cookware and a thermometer |
What You Need to Broil in the Oven
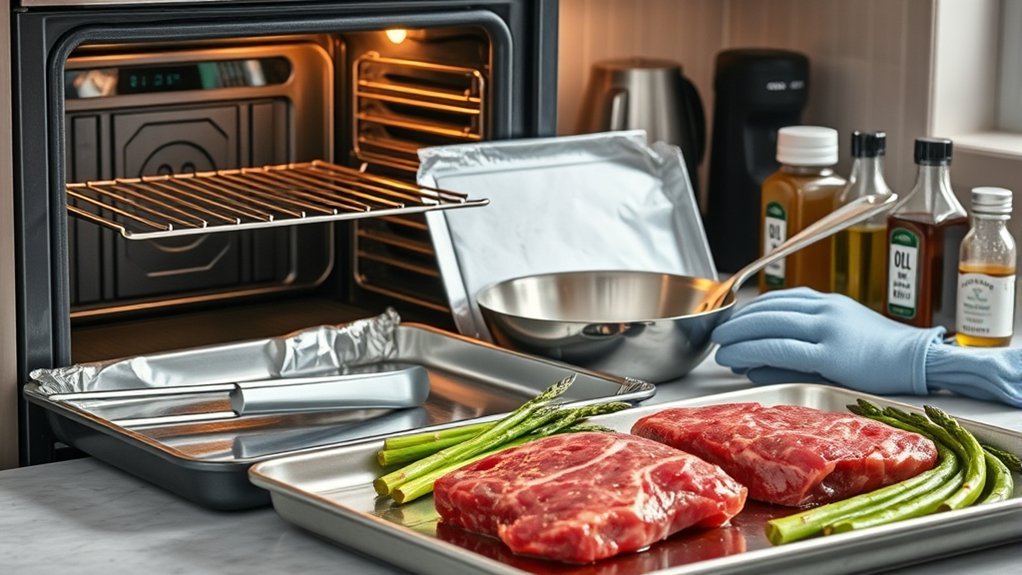
Broiling differs from ordinary baking because it exposes food to strong radiant heat from one direction instead of surrounding it mainly with heated air. This concentrated heat quickly browns, chars, or crisps the surface, which is why broiling works well for thin cuts of meat, fish, vegetables, toast, and finishing cheese-topped dishes.
A broiler pan with a slotted rack is useful because it keeps food above dripping fat. A shallow rimmed metal baking sheet with an oven-safe rack can also work when your oven manufacturer or recipe allows it. A cast-iron skillet is another broiler-friendly option for many foods.
You will also want heat-resistant oven mitts, tongs or a spatula, and an instant-read food thermometer when cooking meat, poultry, or fish.
Warning: Do not assume ordinary glass bakeware is broiler-safe. Pyrex specifically states that its glassware must not be used under a broiler because direct heat can damage the glass. Use cookware that the manufacturer identifies as suitable for broiling.
Keeping the oven and broiler pan reasonably clean also helps reduce smoke from old grease and food residue.
Set the Broiler and Rack Position
Before turning on the broiler, move the oven rack while the oven is cool. The best rack position depends on the food’s thickness, the location of the broiler element, and your appliance design.
Many ovens place the broiler element at the ceiling of the main oven cavity. Others, especially some gas ranges, use a separate lower broiler drawer. Follow the instructions for your specific appliance rather than assuming every broiler works the same way.
Broiler Heat Settings
If your oven offers High Broil and Low Broil, High is generally useful for thin foods that need fast browning or searing, while Low can help with thicker food that needs more time before the exterior becomes too dark.
Some models describe High Broil as roughly 500–550°F, but the actual control system varies. For that reason, select the Broil setting recommended in the owner’s manual rather than trying to force every oven to exactly 550°F.
Preheating also varies by appliance. Many broiling methods benefit from several minutes of preheating, while some manufacturers state that certain models or foods do not require it. When the manual gives specific instructions, follow them.
Rack Placement Distance
Rack position controls how quickly the surface browns. Instead of treating one distance as universal, use the following approach:
| Food or Situation | Rack Approach |
|---|---|
| Thin steaks, fish fillets, toast, or quick browning | Use an upper broiling position if the owner’s manual allows it |
| About 1-inch-thick steaks or chops | Use the manufacturer’s normal broiling position; many methods place the food several inches from the element |
| Thicker meat or poultry | Move farther from the element or use Low Broil so the inside has more time to cook |
| Food browns before the center is ready | Lower the rack, reduce the broil setting, or finish with Bake if appropriate |
| Food is barely browning | Confirm the correct Broil setting and move closer only if the appliance manual permits it |
Note: Modern ovens differ on whether the door should be open or closed during broiling. Many newer ovens require closed-door broiling, and some shut the broil element off when the door opens. Keep the door closed unless your owner’s manual specifically instructs you to use a broil-stop or partially open position.
How to Broil Steak in the Oven
Broiling steak is simple once the broiler and rack are set correctly. Use a steak of fairly even thickness, dry the surface, season it, and cook it under direct heat while checking the internal temperature.
Broiler Setup
Position the rack according to the oven manual and steak thickness. Select High Broil or the manufacturer’s recommended setting for steak, and preheat if directed.
Place a broiler pan or another approved shallow metal pan on the rack. If you use a broiler pan with a slotted grid, leave the openings exposed so fat can drain rather than pooling near the heating element.
Keep the pan within easy view and stay nearby throughout cooking. Broilers deliver intense heat, so browning happens quickly.
Steak Prep
Pat the steak dry with paper towels. A dry surface browns more effectively than a wet one.
Season all sides with salt and black pepper. Other dry seasonings can be added, but ingredients containing a lot of sugar can scorch rapidly under a broiler, so sugary sauces and glazes are usually better applied near the end.
- Choose steaks with fairly even thickness so they cook consistently.
- Trim only excessive exterior fat; some fat adds flavor, but heavy dripping can increase smoke or flare-ups.
- Avoid overcrowding the pan.
- Use tongs rather than piercing the meat repeatedly.
Pro Tip: Broiler power varies significantly between ovens. Treat recipe times as a starting point and begin checking the steak early with an instant-read thermometer.
Timing and Temperature
A 1-inch steak may take roughly 8 to 12 minutes under some broilers, usually with one turn during cooking, but rack distance, starting temperature, steak shape, and broiler output can shorten or lengthen that time. The thermometer reading is more dependable than the clock.
For U.S. food-safety guidance, use these minimum temperatures:
| Food | Safe Minimum Internal Temperature |
|---|---|
| Whole beef, veal, lamb, or pork steaks/chops | 145°F (63°C), followed by at least a 3-minute rest |
| Ground beef, pork, veal, or lamb | 160°F (71°C) |
| Chicken, turkey, and other poultry | 165°F (74°C) |
| Fin fish | 145°F (63°C), or until opaque and separating easily with a fork where applicable |
These temperatures follow FoodSafety.gov safe minimum internal-temperature guidance.
For a whole beef steak, check the thickest part without touching bone or the pan. Once it reaches the safe minimum temperature, remove it and rest it for at least 3 minutes. A 5- to 10-minute rest can also make slicing easier and reduce immediate juice loss.
How Long to Broil Steak
There is no single correct broiling time for every steak. Thickness, rack position, oven design, bone, fat content, and starting temperature all affect the result.
For a steak around 1 inch thick, manufacturer cooking charts commonly use roughly 8–12 minutes as a starting range under suitable broiling conditions. Turn once about halfway through unless your specific recipe or oven instructions say otherwise.
- Start checking earlier than the estimated finish time.
- Insert the thermometer into the thickest part of the steak.
- If the surface is browning too quickly, move the food farther from the element or reduce the broil setting.
- If the surface needs more color after the center is cooked, a short final burst of broiling can add browning while you watch continuously.
- Rest whole beef steak for at least 3 minutes after it reaches 145°F.
The goal is to use time as a guide and temperature as the final check.
Best Foods for Broiling
Broiling works best for foods that benefit from fast surface browning and do not require a long period of gentle cooking.
| Food | Why Broiling Works | Important Check |
|---|---|---|
| Steaks and chops | Strong heat browns the exterior quickly | Whole cuts: 145°F plus 3-minute rest |
| Chicken cutlets | Thin pieces cook relatively quickly | 165°F |
| Fish fillets | Quick cooking limits drying | 145°F for fin fish or appropriate visual doneness guidance |
| Shrimp | Direct heat cooks small pieces quickly | Flesh should become pearly or white and opaque |
| Asparagus, peppers, zucchini, onions | High heat creates browned edges and tender centers | Turn or rotate for even color |
| Peaches and pineapple | Natural sugars brown rapidly | Watch carefully to prevent scorching |
| Garlic bread and toast | The exposed surface browns in minutes | Stay beside the oven because burning happens quickly |
| Cheese-topped casseroles | Broiling melts and browns the top | Use broiling only as a finishing step when appropriate |
Very thick foods can be difficult to cook entirely by broiling because the outside may darken before the center is ready. In that situation, move the food farther from the heat, use Low Broil if available, or use Bake to finish cooking.
How to Flip, Check, and Rest Broiled Steak
Most steaks can be turned once about halfway through broiling. Tongs make turning easier without repeatedly puncturing the meat.
Very thin foods may not always need to be flipped, while thicker or uneven items may benefit from rotation so the surface browns evenly. Follow the recipe and your appliance instructions when they give a specific method.
Use an instant-read thermometer in the thickest part to check temperature. Appearance alone is not a reliable food-safety test.
- Stay beside the oven while broiling.
- Check temperature before the expected finish time.
- For whole beef steaks, reach at least 145°F and rest for at least 3 minutes.
- After resting, slice steak against the grain when appropriate for a more tender bite.
Common Broiling Mistakes
| Mistake | Possible Result | Better Approach |
|---|---|---|
| Using the wrong rack position | Burned exterior or weak browning | Use the owner’s manual and adjust for food thickness |
| Using ordinary glass bakeware | Glass damage or breakage | Use broiler-approved metal or other explicitly broiler-safe cookware |
| Walking away | Burning or fire | Stay in the kitchen and monitor continuously |
| Using excessive fat, oil, or oily marinade | Smoke, splatter, or flare-ups | Trim excess fat and avoid unnecessary pooling oil |
| Blocking broiler-pan drainage slots with foil | Fat can pool instead of draining | Follow the pan manufacturer’s foil instructions and keep drainage paths open |
| Relying only on cooking time or meat color | Undercooked or overcooked food | Check internal temperature with a thermometer |
| Applying sugary sauce too early | Scorched coating | Add it late and monitor closely |
| Opening the oven door when the model requires it closed | Poor operation or excessive heat around controls | Follow the manufacturer’s door-position instructions |
Troubleshooting Broiling Problems
Food Burns Before the Center Is Cooked
Move the rack farther from the broiler, switch to Low Broil if your oven offers it, or finish the food using Bake. This is especially useful for thicker meat and poultry.
Food Is Not Browning
Make sure the correct Broil setting is selected, confirm whether the appliance requires preheating, and check the recommended rack position. A wet food surface can also slow browning, so pat meat or vegetables dry when appropriate.
The Oven Is Smoking
Some smoke can come from dripping fat or old residue. Trim excessive fat, avoid unnecessary pooling oil, use a draining broiler pan when appropriate, and clean accumulated grease after the oven cools.
Food Browns Unevenly
Broiler elements can create hotter and cooler areas. Rotate the pan or reposition the food if your recipe and appliance permit it. Keeping similarly sized pieces together also helps them finish at approximately the same time.
Warning: If a fire starts inside the oven, turn the oven off and keep the door closed. Do not throw water on a grease fire. If flames escape the oven or the fire does not remain safely contained, leave the home and call your local emergency service from outside.
Broiling Tips for Better Results
Good broiling depends more on control and attention than on one exact temperature or cooking time.
- Read the oven manual first: Rack positions, preheating, High/Low Broil settings, and door position vary by model.
- Use appropriate cookware: A broiler pan, cast iron, or broiler-safe shallow metal pan handles direct heat better than cookware not rated for broiling.
- Keep food in a single layer: Crowding can produce uneven browning.
- Watch continuously: The U.S. Fire Administration specifically recommends staying in the kitchen while broiling.
- Use a thermometer: Cooking times are approximate, while internal temperature gives a much better safety check.
- Adjust for thickness: Move thicker foods farther from the element and thinner foods closer only within the positions approved for your oven.
- Control grease: A broiler pan with a draining grid can help keep rendered fat away from food and the strongest heat.
GE Appliances also recommends using the rack position and High or Low Broil setting specified for the particular oven and food, rather than assuming one setup works for every model.
Frequently Asked Questions
How Do I Broil Food in the Oven?
Move the rack to the position recommended for the food, select Broil or the appropriate High/Low setting, preheat if your oven or recipe calls for it, place the food on broiler-safe cookware, and cook while watching closely. Turn or rotate when necessary and use a food thermometer for meat, poultry, and fish.
Do I Leave the Oven Door Open When Broiling?
Only if your oven manufacturer specifically tells you to. Many modern ovens, wall ovens, and gas ranges are designed for closed-door broiling, and some models switch the broiler off when the door opens. Check the owner’s manual and keep the door closed when that is the specified procedure.
What Oven Setting Is Broil?
Broil is the setting that activates intense direct heat for fast surface browning. Depending on the oven, the control may say Broil, High Broil, Low Broil, or allow a temperature selection. High Broil is generally used for thin, fast-cooking foods, while a lower setting can help with thicker foods.
How Far Should Food Be From the Broiler?
There is no universal distance for every oven and food. Many broiling recipes position food several inches from the element, but the correct rack position depends on your appliance and the food’s thickness. Use the owner’s manual first, placing thin foods closer and thicker foods farther away when the approved rack positions allow it.
Can I Use a Glass Dish Under the Broiler?
Do not use ordinary glass bakeware unless its manufacturer explicitly approves broiler use. Pyrex, for example, states that its glassware must not be used under a broiler. A broiler pan or other broiler-safe metal cookware is the safer choice.
Do You Have to Preheat the Broiler?
It depends on the oven and recipe. Many broiling methods call for several minutes of preheating to establish strong radiant heat, while some appliance manuals say preheating is unnecessary for particular models or foods. Follow your oven manual when it gives specific instructions.
Conclusion
Broiling is a fast way to brown, crisp, and cook food with intense direct heat. The best results come from using broiler-safe cookware, selecting the correct rack and Broil setting for your oven, adjusting the setup for food thickness, and staying nearby throughout cooking. When preparing meat, poultry, or fish, use a food thermometer rather than relying only on color or time. With those basics in place, the broiler can handle everything from steak and fish to vegetables, toast, and browned casserole toppings.
Sources
- FoodSafety.gov — Safe Minimum Internal Temperatures — safe cooking temperatures for beef, ground meat, poultry, pork, and seafood
- GE Appliances — Oven Door Position During Broil — open-versus-closed-door broiling guidance
- GE Appliances — Broiling Tips — High/Low Broil, rack position, broiler pans, and foil guidance
- Pyrex — Frequently Asked Questions — manufacturer warning against using Pyrex glassware under a broiler
- U.S. Fire Administration — Cooking Fire Safety — staying in the kitchen while broiling and responding to oven fires
- Maytag — How to Broil in the Oven — food-specific broiling distances, timing examples, and broiler-pan guidance

1 thought on “How to Broil in the Oven: Step-by-Step Guide”