
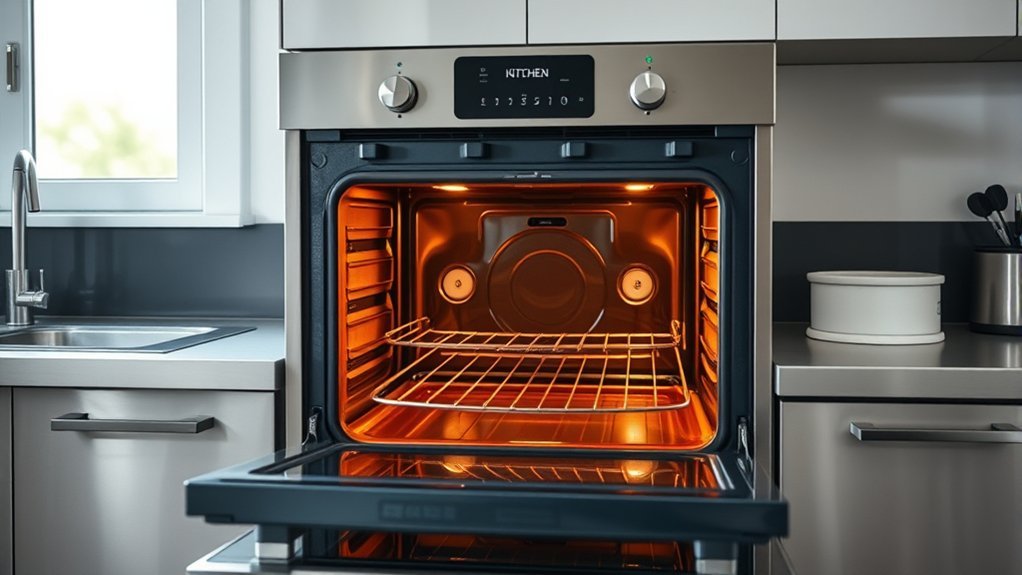
Most standard oven racks should be removed before you run a high-temperature self-cleaning cycle. The heat can discolor shiny racks, damage some finishes, and make them harder to slide. However, there is an important exception: some porcelain- or enamel-coated racks are specifically designed and labeled for self-cleaning. Always check the owner’s manual for your exact oven before deciding whether a rack can stay inside.
Quick Answer
Usually, no. Remove standard chrome, nickel, and most telescopic oven racks before self-cleaning because high heat may discolor them, damage their finish, or make them difficult to slide. The exception is a rack specifically identified by the manufacturer as “self-clean,” “never-scrub,” or otherwise safe to leave in.
Key Takeaways
- Remove ordinary shiny metal racks before a self-cleaning cycle unless your owner’s manual specifically says they may remain inside.
- Some dark porcelain- or enamel-coated “self-clean” racks are designed to withstand the cycle.
- Clean removable racks separately with soap and water; use abrasive pads or special cleaners only when the manufacturer allows them.
- If a standard rack becomes difficult to slide, some manufacturers recommend a very light application of vegetable oil to the rack edges or guides.
- Telescopic or gliding racks may require different care, including a manufacturer-approved high-temperature lubricant.
At a Glance
| Time Required | A few minutes to remove and reinstall; several hours or overnight if heavily soiled racks need soaking |
| Difficulty | Easy |
| Tools Needed | Dish soap, warm or hot water, soft cloth or sponge; optional manufacturer-approved scrubbing pad for stubborn residue |
| Cost | Low; usually only basic household cleaning supplies are needed |
Can You Leave Oven Racks in During Self-Cleaning?
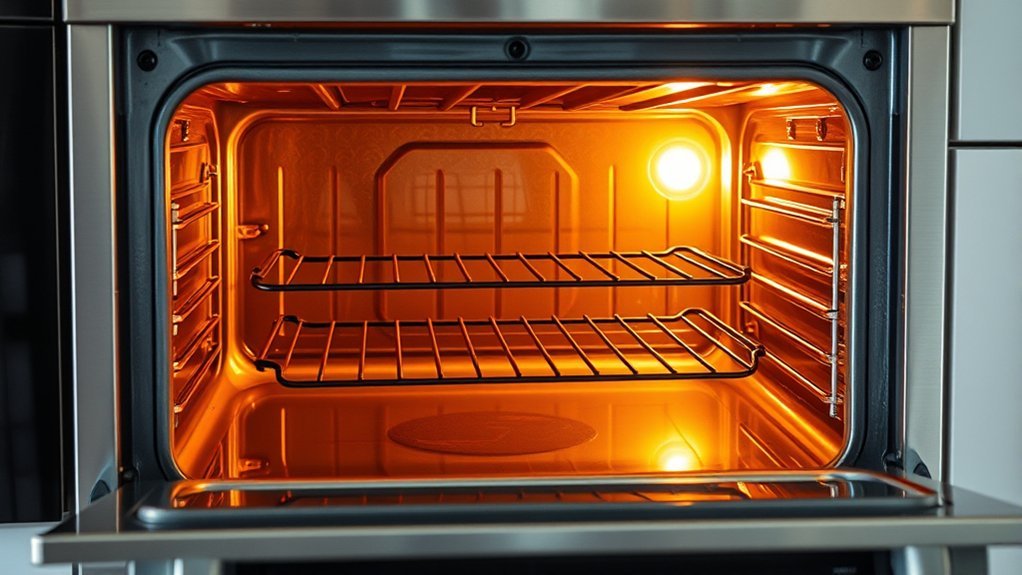
Most of the time, oven racks should come out before a high-temperature self-clean cycle. Manufacturers such as Whirlpool and Bosch tell owners to remove their standard racks because the heat can discolor them and make them harder to slide.
The important exception is a rack that the appliance manufacturer specifically identifies as safe for self-cleaning. GE Appliances, for example, notes that racks labeled “Self-Clean” or “Never-Scrub” may remain in compatible ovens. Samsung similarly notes that some porcelain-coated shelves can be cleaned during the cycle while nickel shelves should be removed.
The safest rule is simple: remove ordinary racks unless the owner’s manual specifically says that your rack is designed to remain inside during self-cleaning.
Do not judge only by appearance. Although many self-clean-compatible racks are darker or enamel-coated, the owner’s manual for the exact model is the reliable way to identify them.
Note: Telescopic or gliding racks need special attention. Some manufacturers require them to be removed and may specify a high-temperature food-grade lubricant for the slides. Do not assume that ordinary cooking oil is suitable for a telescopic mechanism.
Why Oven Racks Should Come Out First
Standard oven racks usually come out first because a high-temperature self-clean cycle can affect both appearance and movement. A rack may lose its shine, darken, become rougher at contact points, or become harder to pull in and out.
Some manufacturers also warn that certain metal racks may warp after intense heat exposure. The exact risk depends on the rack material, coating, and oven design, which is another reason the owner’s manual should override generic advice.
Rack Damage Risk
Leaving an ordinary rack in during self-cleaning does not guarantee that it will be ruined, but it exposes the rack to conditions it may not have been designed to tolerate. Possible results include discoloration, loss of luster, difficult sliding, coating damage, or distortion.
If the rack comes out of the cycle visibly bent, cracked, unstable, or unable to sit correctly on the supports, stop using it until you confirm that it can safely support cookware. A structurally damaged rack is a better candidate for replacement than one that is merely discolored.
Finish And Glide Loss
One of the most commonly documented problems is loss of smooth movement. Standard shiny racks can become dark or dull after self-cleaning and may drag against the side supports.
For some standard racks, manufacturers including Whirlpool, GE, and Bosch recommend applying a very small amount of vegetable oil to the appropriate rack edges or guides if they have become difficult to slide. Use only a light film and wipe away excess.
Do not coat the whole rack with oil, and do not automatically use vegetable oil on ball-bearing or telescopic slides. Those mechanisms may have their own lubrication requirements.
Safer Cleaning Alternatives
The safest general method is to remove the cooled racks and clean them separately with warm or hot soapy water. A soft sponge or cloth is suitable for normal residue.
For stubborn buildup, some manufacturers permit a steel-wool or soap-filled steel-wool pad on compatible racks. Check the manual first if the rack has a special coating or sliding mechanism.
A long soak can make heavy grease easier to remove. Whirlpool’s consumer cleaning guidance suggests soaking heavily soiled racks for at least a couple of hours or overnight when needed.
Pro Tip: If you soak large racks in a bathtub or finished sink, place an old towel underneath first to reduce the chance of scratching the surface.
How Self-Cleaning Damages Oven Racks
A high-temperature self-clean cycle heats the oven far beyond ordinary cooking temperatures so that baked-on food residue is reduced to ash. That same heat can affect removable parts that were not designed to remain in the cavity.
Standard chrome or nickel racks may discolor and lose their luster. Contact surfaces can also become rougher, which increases friction as the rack moves along the oven supports. Samsung additionally warns that intense heat may warp some metal racks.
Not every rack reacts the same way. Porcelain-coated racks specifically designed for self-cleaning may be intended to stay inside. This is why rack type matters more than a universal “always remove” rule.
How to Remove Flat Oven Racks Safely
Wait until the oven and racks are completely cool. Remove cookware first, then use both hands to control the rack.
Many standard racks are removed by pulling them forward until they reach their stop, lifting or tilting the rack as required by the support design, and then pulling the rack free. Bosch describes a pull-to-stop-and-tilt method, while other manufacturers use slightly different stop-lock arrangements.
Warning: Never force a stuck rack. If the rack will not clear its stop or guide with normal movement, check the owner’s manual for the correct removal method. Forcing it can bend the rack or damage the support system.
Grasp And Pull Rack
For a typical flat rack, grasp both sides firmly and pull the rack toward you in a level, controlled motion. Stop when the rack reaches its built-in stop.
- Make sure the oven is cool and the rack is empty.
- Hold the rack securely on both sides.
- Pull it forward until it reaches the stop.
- Lift or tilt it as directed for your oven model.
- Pull the rack fully out and place it on a stable surface.
Avoid twisting one side sharply upward while the other side remains trapped in the support.
Tilt And Remove Carefully
On ovens that use the common tilt-out design, raise the rack only enough to clear its stops and guides, then continue pulling it forward. Keep both sides supported so the rack does not drop against the oven door or cavity.
Other rack designs may require the rear or front edge to be raised in a different way, so the owner’s manual should be used whenever the rack does not release normally.
How to Disassemble Oven Racks
Do not assume that an oven rack should be disassembled. Most ordinary flat racks are one-piece components. Disassembly is appropriate only when the manufacturer designed the rack in separate sections and provides instructions for taking them apart.
For example, Bosch documents a two-section rack design that can be separated for cleaning. On that type of rack:
- Remove the rack from the cooled oven and place it top side up on a flat surface.
- Keep the rack in its closed position.
- Rotate one side of the upper section until it passes the stop or ball specified by the design.
- Lift and pull the rotated side free to separate the sections.
These steps are not universal. Do not use them on a one-piece flat rack, telescopic rack, or different rack assembly unless the manual for that rack describes the same procedure.
How to Clean Oven Racks by Hand
Hand cleaning is the safest general approach for standard removable racks.
- Allow the oven and racks to cool completely.
- Remove the racks using the method specified for the oven.
- Wash them with hot or warm soapy water and a soft cloth, sponge, or brush.
- For stubborn residue, use a manufacturer-approved scrubbing pad. Bosch and Whirlpool permit steel-wool-type pads on compatible racks.
- Rinse thoroughly so no cleaner remains.
- Dry the racks completely before reinstalling them.
If grease is heavily baked on, soaking the racks for several hours or overnight can make scrubbing easier. Protect a bathtub, sink, or other finished surface with a towel before placing metal racks on it.
Commercial oven cleaners should not automatically be used on racks. Some may discolor particular finishes, and oven manufacturers often prohibit commercial oven cleaner inside the self-cleaning cavity. Follow the rack and cleaner instructions for your model.
How to Reassemble the Oven Racks
A one-piece flat rack does not need reassembly; simply reinstall it in the oven according to the rack supports. The following procedure applies only to compatible two-section racks that are specifically designed to come apart.
For the Bosch-style two-section rack described earlier, make sure both sections are clean and dry before reassembly. The upper section is positioned diagonally across the lower section, one side is inserted into the closed position, and the opposite side is rotated past the stop before the rack is pushed fully together.
Align Rack Sections
Place the sections on a stable surface and confirm that there is no debris blocking the guides or contact points. Hold the upper section diagonally across the lower section as directed by the manufacturer’s procedure.
- Insert one side of the upper rack into its closed position.
- Rotate the opposite side past the designated stop without forcing it.
- Push the upper rack into its normal position.
- Confirm that both sides are evenly seated.
Secure Top Rack
On the Bosch two-section design, the back edges of the upper rack must sit under the guide on the lower rack. The upper section should not simply rest loosely on top.
After reassembly, test the movement before loading cookware. The rack should remain aligned, stable, and able to move as intended. If it binds or sits unevenly, remove it and check the assembly again rather than forcing it.
Can You Self-Clean the Oven Interior?
Yes, if your oven is equipped with a high-temperature self-clean function and the owner’s manual permits its use. During the cycle, the oven heats the cavity enough to break down baked-on residue so the remaining ash can be wiped away after the appliance cools.
Preparation is important. Manufacturer instructions commonly include the following steps:
- Remove racks that are not specifically approved for self-cleaning.
- Remove cookware, bakeware, broiler pans, probes, foil, silicone mats, and other loose accessories.
- Wipe out heavy spills and loose debris before starting the cycle.
- Keep the oven vents clear.
- Avoid rubbing, bending, moving, or saturating the door gasket unless the manual specifically instructs otherwise.
- Keep the kitchen ventilated during the cycle.
- Allow the oven to cool completely before wiping away ash.
Whirlpool notes that heavier soil can cause more smoke, while Samsung and LG also instruct users to clear racks and accessories before running self-clean on models that require their removal.
Warning: The oven exterior can become very hot during self-cleaning. Keep children away, do not block the vents, and never force the locked oven door open. Wait for the appliance to cool and unlock normally.
What to Do If Oven Racks Lose Their Finish
If a standard rack was accidentally left in during self-cleaning, let the oven cool completely before inspecting it. Discoloration or loss of shine does not automatically mean the rack must be replaced.
First, confirm that the rack is still straight, stable, and correctly supported. Then wash it according to the manufacturer’s rack-care instructions.
If a standard rack is merely harder to slide, several manufacturers recommend a small amount of vegetable oil on the appropriate left and right rack edges or guides. Apply it sparingly with a soft cloth or paper towel and wipe away excess before using the oven.
Telescopic racks are different. For example, some manufacturers specify high-temperature food-grade lubricant for telescopic slides. Follow the owner’s manual rather than substituting ordinary cooking oil.
Replace or professionally inspect a rack if it is bent enough to affect fit, cracked, structurally unstable, unable to support cookware securely, or still binds badly after approved maintenance.
How to Use Self-Clean Mode Safely
Before starting self-clean mode, read the instructions for your exact oven model. Cycle lengths, removable parts, rack compatibility, and control procedures vary.
- Remove every rack that is not specifically approved for the self-clean cycle.
- Remove cookware, probes, foil, liners, pans, and other loose accessories.
- Wipe up heavy spills and loose food residue.
- Check that the oven vent is unobstructed.
- Keep the kitchen well ventilated.
- Keep children away from the hot appliance during the cycle.
- Move pet birds to another closed, well-ventilated room away from the oven because some birds are especially sensitive to self-cleaning fumes.
- Do not force the oven door while the lock is engaged.
- After the cycle, wait for the oven to cool and unlock before wiping out the remaining ash.
If you accidentally leave a rack inside, do not interrupt the cycle simply to retrieve it once the oven is already extremely hot and locked. Follow the oven’s instructions for canceling a cycle if cancellation is necessary. Otherwise, allow the oven to cool before examining the rack.
Frequently Asked Questions
What Happens if You Accidentally Leave Racks in a Self-Cleaning Oven?
A standard rack may discolor, lose its shine, become harder to slide, or in some cases distort from the high heat. Let everything cool before checking it. If the rack remains straight and stable, clean it normally and follow the manufacturer’s guidance for restoring smooth movement. Replace it if structural damage affects fit or safe support.
Should I Take My Oven Racks Out Before Self-Cleaning?
Usually, yes. Remove standard chrome, nickel, and most telescopic racks unless the owner’s manual specifically identifies them as safe to remain in during self-cleaning. Some porcelain- or enamel-coated racks labeled “Self-Clean” or “Never-Scrub” are exceptions.
Is It Okay to Be in the House When the Oven Is Self-Cleaning?
Manufacturers generally do not instruct everyone to leave the house, but they do recommend good ventilation and keeping children away from the hot appliance. Some birds are especially sensitive to self-cleaning fumes and should be moved to another closed, well-ventilated room away from the oven. Follow any additional precautions in your model’s manual.
Do Dryer Sheets Really Clean Oven Racks?
Dryer-sheet soaking is a popular household cleaning trick, but it is not the primary method recommended in the manufacturer guidance reviewed here. A more dependable approach is warm or hot soapy water, followed by a compatible sponge, brush, or manufacturer-approved scrubbing pad. Rinse and dry the racks thoroughly before reinstalling them.
Are There Oven Racks That Can Stay in During Self-Cleaning?
Yes. Some manufacturers offer porcelain- or enamel-coated racks specifically designed for the self-clean cycle. GE refers to certain versions as “Self-Clean” or “Never-Scrub” racks, and Samsung notes that some porcelain-coated shelves may be cleaned during self-cleaning. Use the owner’s manual for your exact oven to confirm compatibility.
Sources
- Bosch — Cleaning Your Oven Racks — rack removal, two-section rack disassembly/reassembly, hand cleaning, and post-self-clean sliding guidance.
- Whirlpool — Cleaning Oven Racks — standard rack removal, steel-wool cleaning, and vegetable-oil guidance for difficult sliding.
- GE Appliances — Tips for Self Clean — exceptions for racks labeled Self-Clean or Never-Scrub and other items that should be removed.
- GE Appliances — What to Remove Before Self-Cleaning — self-clean rack identification and oven-preparation guidance.
- Samsung — How to Clean Your Oven — rack-material exceptions, door-lock safety, spill removal, and bird precautions.
- LG — How to Clean Your Oven Using Self Clean — rack removal, self-clean operation, cooling, and door-lock precautions.
Conclusion
Most standard oven racks should be removed before a high-temperature self-cleaning cycle because the heat can discolor them, damage some finishes, and make them harder to slide. However, racks specifically identified by the manufacturer as self-clean compatible may be designed to stay inside.
The best approach is to check the owner’s manual, remove any rack that is not explicitly approved, and clean ordinary racks separately with soap and water. If a rack was accidentally left inside, wait for the oven to cool and inspect it before use. Discoloration alone does not always require replacement, but a bent, cracked, unstable, or poorly fitting rack should not be trusted to support cookware until it is repaired or replaced.

1 thought on “Can You Leave Oven Racks in When Self Cleaning? Quick Guide”