
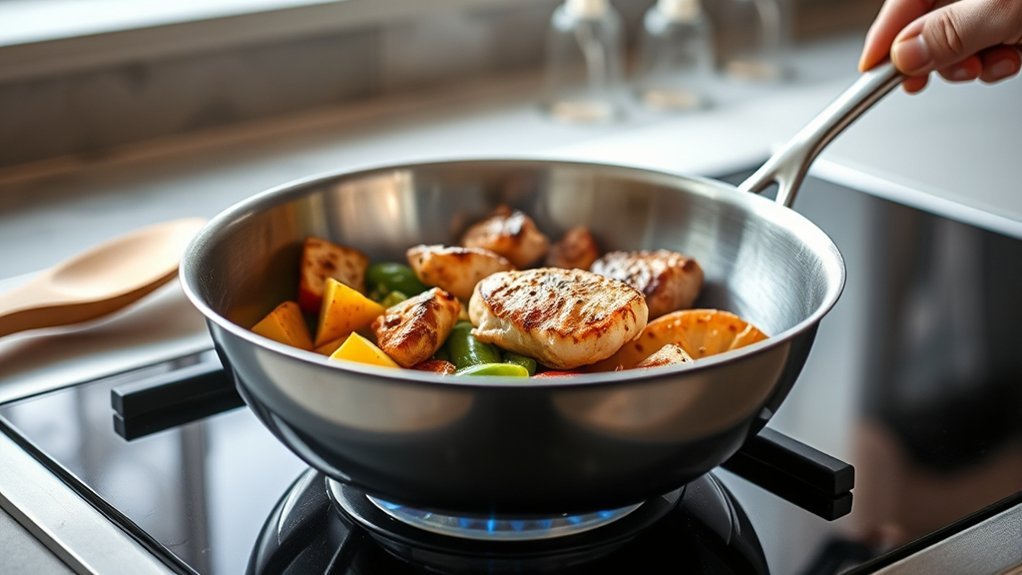
A sauté pan is a wide, flat-bottomed cooking pan featuring tall, straight vertical sides, a long ergonomic handle (often paired with an opposite helper handle), and a tight-fitting lid. Engineered to bridge the gap between a shallow frying pan and a deep Dutch oven, its unique geometry maximizes usable floor space while providing enough volume to contain liquids, reduce splatter, and execute complex combination cooking techniques like searing followed by braising.
Quick Answer
A sauté pan is a hybrid cookware piece with straight vertical walls and a broad flat base, designed for browning, searing, pan sauces, shallow frying, and braising. Unlike sloped-sided frying pans, its right-angle sides hold liquids securely, prevent oil splatter, and offer roughly 20% to 30% more usable cooking surface than a skillet of the same diameter.
Key Takeaways
- Straight vs. Sloped Walls: The vertical sides contain liquids and vigorous bubbling, making the sauté pan superior for braises, curries, and deglazed pan sauces.
- Maximum Surface Area: Because the walls rise at a 90-degree angle from the base, a 12-inch sauté pan provides significantly more flat searing area than a 12-inch skillet.
- One-Pan Versatility: High-grade stainless steel models transfer seamlessly from high-heat stovetop searing to oven roasting and braising.
- Essential Hardware: Due to liquid capacity and food weight, models holding 3.5 quarts or more require a sturdy, riveted helper handle opposite the main handle.
At a Glance
| Standard Capacity | 3.0 to 6.0 Quarts (3.5 to 4.0 quarts is optimal for home kitchens) |
| Core Materials | Tri-ply or 5-ply fully clad stainless steel with an aluminum/copper core; heavy-gauge nonstick |
| Primary Techniques | Searing, deglazing, shallow frying, braising, poaching, simmering, reduction |
| Oven Safety Limits | Up to 500°F–600°F (260°C–315°C) for all-metal stainless steel; 350°F–400°F (175°C–205°C) with tempered glass lids |
What Is a Sauté Pan?
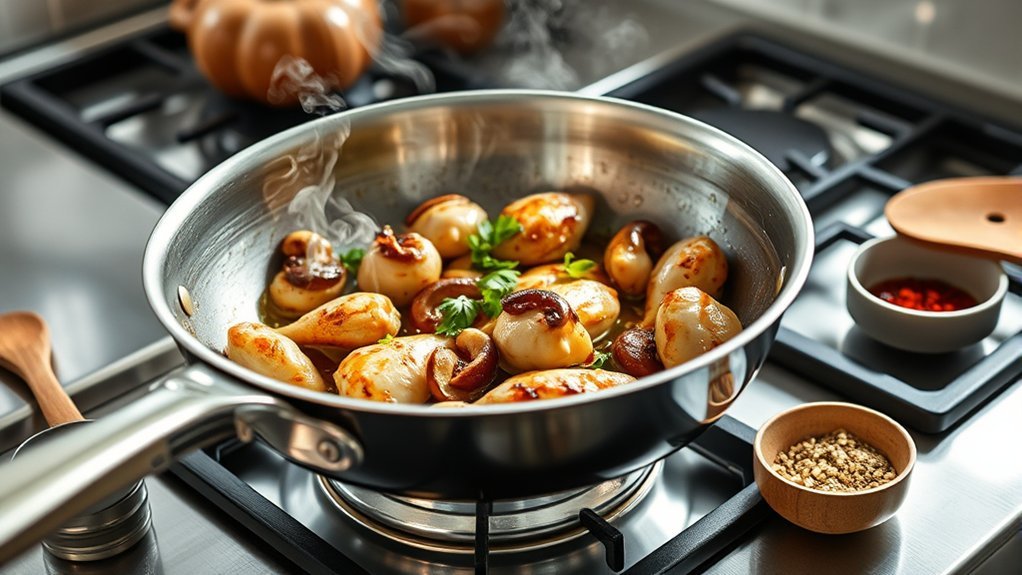
The term sauté derives from the French verb sauter, meaning “to jump,” which describes the quick motion of tossing ingredients over elevated heat. Paradoxically, while the French word inspired the name, a modern sauté pan’s straight, perpendicular walls make flipping or jumping ingredients with a wrist flick more difficult than in a sloped skillet. Instead, the pan was deliberately engineered for controlled, high-contact heat transfer and containment.
A standard sauté pan features a completely flat cooking surface measuring between 10 and 12 inches across, bordered by 2.5- to 3-inch-tall vertical sides. This structural design achieves three critical performance goals:
- Prevents Crowding: The pan base does not taper inward. A 12-inch sauté pan provides a full 12 inches of floor surface, allowing large proteins to brown without overlapping.
- Minimizes Liquid Spillover: The tall sides cleanly contain bubbling fats, heavy sauces, and poaching broths.
- Enables Tight Lidding: Sauté pans consistently ship with matching tight-fitting lids (stainless steel or tempered glass), allowing the pan to instantly convert into a shallow braiser or steamer.
Capacities range from 3 to 6 quarts. For most households, a 3.5- to 4-quart clad stainless steel sauté pan hits the sweet spot, handling a family-sized batch of chicken cacciatore, braised pork chops, or a rich curry without consuming excess cabinet footprint.
Sauté Pan vs. Frying Pan (Skillet)
While home cooks often use the terms interchangeably, a sauté pan and a frying pan (skillet) exhibit distinct geometries that directly dictate their performance on the stove.
| Design Feature | Sauté Pan | Frying Pan / Skillet |
|---|---|---|
| Wall Geometry | Straight, vertical (90-degree angle) | Flared, sloped, curved walls |
| Usable Base Area | Maximized (e.g., 10″ rim = 10″ cooking floor) | Reduced by 20–30% (e.g., 10″ rim = ~8″ cooking floor) |
| Liquid Capacity | High (typically 3 to 6 quarts) | Low (shallow, prone to sloshing) |
| Tossing & Flipping | Difficult; requires a spatula or spoon | Effortless wrist tossing and roll-flipping |
| Splatter Containment | High (walls block airborne grease) | Low (grease freely escapes flared edges) |
| Included Lid | Standard (integral part of pan design) | Rarely included (usually sold separately) |
According to comprehensive cookware performance analyses from Serious Eats, the choice between these two vessels comes down to the volume of liquid and the need for physical manipulation. Choose a frying pan for quick breakfast scrambles, omelets, searing a single steak, or stir-frying where tossing ingredients aerates the pan. Reach for a sauté pan when shallow frying, preparing pan sauces, cooking for four or more, or combining searing with simmering.
Best Uses for a Sauté Pan
The sauté pan thrives in transitional recipes that move through multiple culinary phases within a single piece of cookware.
- Shallow Frying and Pan Frying: The straight sides act as a splash guard, catching hot oil droplets when frying breaded chicken cutlets, arancini, or latkes. Furthermore, the level floor ensures an even depth of oil across the entire base.
- Pan Sauces & Deglazing: After searing protein, the flat base concentrates browned proteins (fond). Adding wine, stock, or aromatics releases this flavor base cleanly, while the tall sides allow vigorous whisking without spilling.
- One-Pan Braises: Brown bone-in chicken thighs or short ribs over high stovetop heat, add aromatic mirepoix, pour in cooking wine and stock, cover with the lid, and drop the heat to low (or slide the pan into the oven).
- Grain Dishes (Risotto & Pilaf): The pan provides ample surface area to toast Arborio rice or orzo grains uniformly, followed by enough wall height to incorporate simmering liquid ladle by ladle without overflowing.
“A sauté pan’s vertical wall structure eliminates the thermal boundary losses common in sloped skillets, delivering uniform floor heat alongside superior liquid volume retention.”
Searing Meat in a Sauté Pan
Searing meat relies on the Maillard reaction—a chemical cascade occurring between amino acids and reducing sugars at temperatures exceeding 284°F (140°C). Moisture is the sworn enemy of the Maillard reaction: if surface moisture cannot escape immediately, meat steams at 212°F (100°C) instead of browning, yielding a gray, rubbery exterior.
Better Browning Space
Overcrowding is the number one cause of failed searing. When cold meat hits a pan, it expels internal water. In a tapered frying pan, pieces slide toward the narrow center, trapping moisture between the cuts. In a sauté pan, the expansive flat floor provides dedicated boundary space around each piece. The emitted steam vents upward without saturating adjacent pieces, permitting rapid caramelization.
Pro Tip: Maintain at least 0.5 to 1 inch of clear space between meat cuts in the sauté pan. Pat proteins thoroughly dry with paper towels prior to cooking to accelerate crust development.
Ideal for Large Cuts
Large bone-in chicken breasts, pork chops, and thick-cut steaks lay completely flat against the base of a sauté pan. In curved skillets, the edges of large steaks often ride up the sloped perimeter, resulting in uneven heat contact and patchy gray spots. A sauté pan maintains uniform physical contact across the entire bottom surface.
Brown on the Stovetop, Then Finish in the Oven
Thick proteins risk scorching on the exterior before the interior reaches food-safe internal temperatures. Culinary professionals employ a two-stage method:
- Preheat the dry stainless steel sauté pan over medium-high heat until water droplets bead and skitter across the surface (the Leidenfrost effect).
- Add high-smoke-point oil (such as avocado or grapeseed) and sear the meat undisturbed until a rich golden-brown crust releases naturally from the bottom.
- Transfer the entire unlidded pan into an oven preheated to 350°F–400°F (175°C–205°C) to gently bring the core up to desired doneness, verified using a digital meat thermometer per USDA FSIS internal temperature guidelines.
Best Saucy Dishes for a Sauté Pan
The sauté pan’s combination of volume, surface area, and secure lid makes it the premier choice for intermediate-depth cooking that overwhelms a standard skillet.
Curries and Braises
Building an authentic Thai red curry or Indian chicken korma requires browning aromatics (ginger, garlic, shallots, curry paste) in fat before integrating coconut milk or pureed tomatoes. The sauté pan provides the direct floor heat needed to bloom spices without burning them, while the vertical walls easily retain 2 to 3 quarts of simmering liquid as the proteins break down into spoon-tender textures.
Casseroles and Baked Pastas
Stovetop-to-oven casseroles, shakshuka, and baked ziti dishes benefit directly from the vertical depth. You can sauté ground meats and vegetables, deglaze the base, fold in cooked pasta and marinara, top with cheese, and transfer the unlidded sauté pan straight under the broiler to melt and brown the crust without washing a separate baking dish.
Using a Sauté Pan on the Stove
To maximize performance on gas, electric, or induction ranges, follow standard professional kitchen techniques:
- Preheat the Pan Dry: Allow the metal to expand evenly before introducing oil. This closes micro-fissures in stainless steel, drastically lowering the risk of food sticking.
- Watch for the Shimmer: Add just enough cooking fat to coat the bottom. When the oil shimmers and develops faint wisps of movement, the surface is ready for food.
- Avoid Premature Flipping: Meat and fish will initially adhere to stainless steel. Allow the Maillard crust to fully develop; once caramelized, the protein naturally releases from the surface.
- Deglaze Every Batch: Never leave the browned fond on the pan floor to burn. Pour in 1/2 cup of dry white wine, vermouth, or broth, scraping the floor with a flat-edged wooden spoon to pull all caramelized flavors into your sauce base.
Warning: Never pour cold liquids directly into a red-hot dry pan, and never immerse a hot sauté pan into a sink of cold water. Severe thermal shock can permanently warp clad multi-ply metal bases and crack tempered glass lids.
Oven Use for a Sauté Pan
High-end stainless steel sauté pans excel inside the oven, functioning virtually as compact roasting pans. However, heat tolerances depend entirely on handle composition and lid construction.
- Fully Clad Stainless Pans (All-Metal Handles): Typically oven-safe up to 500°F–600°F (260°C–315°C). They withstand direct broiling without structural compromise.
- Tempered Glass Lids: Generally restricted to maximum oven temperatures of 350°F–400°F (175°C–205°C). Exceeding this rating risks catastrophic shattering.
- Nonstick Sauté Pans: Most nonstick PTFE/ceramic coatings degrade rapidly at temperatures above 400°F–450°F (205°C–232°C), emitting fumes and peeling. Never place nonstick pans under an oven broiler.
Note: Always drape a dry kitchen towel or silicone sleeve over the pan’s handle after removing it from the oven. Because the metal handle stays scorching hot for 15–20 minutes, a visual marker prevents accidental contact burns.
How to Choose a Sauté Pan
Cookware testing from America’s Test Kitchen confirms that pan construction and balance dictate long-term kitchen utility. Prioritize the following four benchmarks when shopping:
- Fully Clad Construction: Avoid pans that simply paste a thick aluminum disc onto the bottom of a thin steel body (encapsulated disc bottoms). Disc seams can fail over time, and heat fails to climb up the vertical walls, causing scorch rings along the inner lower perimeter. Look for “tri-ply” or “5-ply” fully clad cookware, where an aluminum or copper core extends continuously from the base up through the top rim.
- Presence of a Riveted Helper Handle: A 4-quart sauté pan filled with braising broth and chicken thighs easily exceeds 10 to 12 pounds. Lifting this dead weight with a single straight handle places intense strain on your wrist. A loop helper handle opposite the main handle is essential for two-handed control.
- Weight and Gauge: A quality 3.5- to 4-quart sauté pan should weigh between 4.5 and 6.5 pounds empty. Sufficient mass guarantees thermal stability, preventing sudden temperature drops when chilled ingredients are introduced.
- Flared Pouring Rim: Check that the top edge has a subtle outward lip. Straight, unrolled edges cause liquids to run down the exterior wall when pouring out sauces, creating messes on cooktop burners.
Care and Cleaning of Stainless Steel Sauté Pans
Stainless steel cookware is practically indestructible when maintained properly:
- Routine Cleaning: Allow the pan to cool to room temperature. Wash with warm water, mild dish soap, and a non-abrasive sponge.
- Removing Stuck-on Fond: Add 1 inch of water and 1 tablespoon of baking soda to the pan. Bring to a simmer on the stovetop for 5 minutes; softened residues will lift right off with a wooden spatula.
- Eliminating Mineral Film & Heat Tint: High cooking temperatures cause rainbow heat tints and mineral deposits from hard water. Apply a small sprinkle of oxalic acid cleanser (such as Bar Keepers Friend) with a damp sponge, rub in circular motions, and rinse clean to restore factory shine.
Frequently Asked Questions
What would you cook in a sauté pan?
A sauté pan is ideal for combination dishes that start with high-heat searing and finish with simmering or baking. Common recipes include chicken piccata, beef stroganoff, pan-seared pork chops finished in cider reduction, curries, shakshuka, risotto, and shallow-fried foods like breaded cutlets.
What’s the difference between a frying pan and a sauté pan?
A frying pan (skillet) has shallow, flared, sloped walls that encourage steam evaporation and make tossing or flipping ingredients easy with a wrist flick. A sauté pan features tall, 90-degree vertical walls and a broad base that holds more liquid, prevents splatter, accommodates tight lids, and provides 20% to 30% more flat cooking surface.
Do you really need a sauté pan if you already have a skillet?
If you frequently cook for three or more people, prepare pan sauces, or enjoy braised dishes and curries, a sauté pan is an invaluable addition. While a standard 10- or 12-inch skillet handles eggs, quick sears, and stir-fries, it lacks the volume and splatter protection required for liquid-heavy and multi-stage meals.
What does a sauté pan look like?
A sauté pan looks like a wide, shallow pot with a perfectly flat bottom, vertical 90-degree sidewalls (roughly 2.5 to 3 inches tall), a long straight handle on one side, and a looped helper handle on the opposite side. It always includes a fitted flat or domed lid made of stainless steel or tempered glass.
Can you use a sauté pan on an induction cooktop?
Yes, provided the sauté pan is constructed from magnetic stainless steel, cast iron, or features an induction-compatible magnetic base plate. Most modern tri-ply and 5-ply stainless steel sauté pans (such as All-Clad, Tramontina, and Made In) work seamlessly on induction ranges. To verify compatibility, stick an ordinary refrigerator magnet to the bottom of the pan—if it clings firmly, it will heat on induction.
Conclusion
The sauté pan earns its foundational place in home and professional kitchens by solving the structural limitations of the common frying pan. Its tall, straight vertical sides contain vigorous boiling liquids, reduce grease splatter across your range, and unlock generous floor space for searing multiple cuts of protein without batching. By transitioning effortlessly from a high-heat sear on the stove to a covered braise in the oven, a high-quality, fully clad 3.5- to 4-quart sauté pan eliminates the need for excess pots and baking dishes—making it one of the most reliable and high-performing investments in culinary cookware.
Sources
- Serious Eats (Equipment Guides) — Engineering analysis of surface area, wall angles, and thermal behavior in skillets vs. sauté pans.
- America’s Test Kitchen — Laboratory testing benchmarks for tri-ply clad stainless steel sauté pans and helper handle ergonomics.
- USDA Food Safety and Inspection Service (FSIS) — Safe minimum internal cooking temperature standards for two-stage protein searing and finishing.
