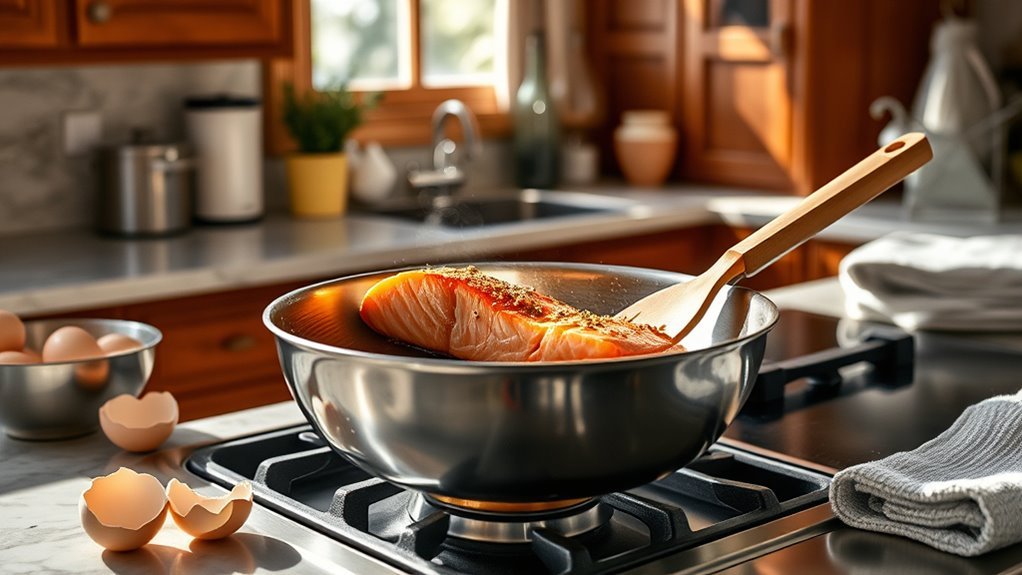
Most people don’t realize that sticking usually comes from incorrect temperature, not the pan itself. You’ll learn simple tests and heat tricks that stop food clinging, plus which oils, pan sizes, and techniques actually work. I’ll also show quick rescues for stuck bits and straightforward cleaning and care so your cookware stays reliable. Keep going and you’ll cook steaks, vegetables, and sauces on stainless steel with far fewer headaches.
Quick Fix: Stop Food From Sticking to Stainless Steel (2‑Minute Method)
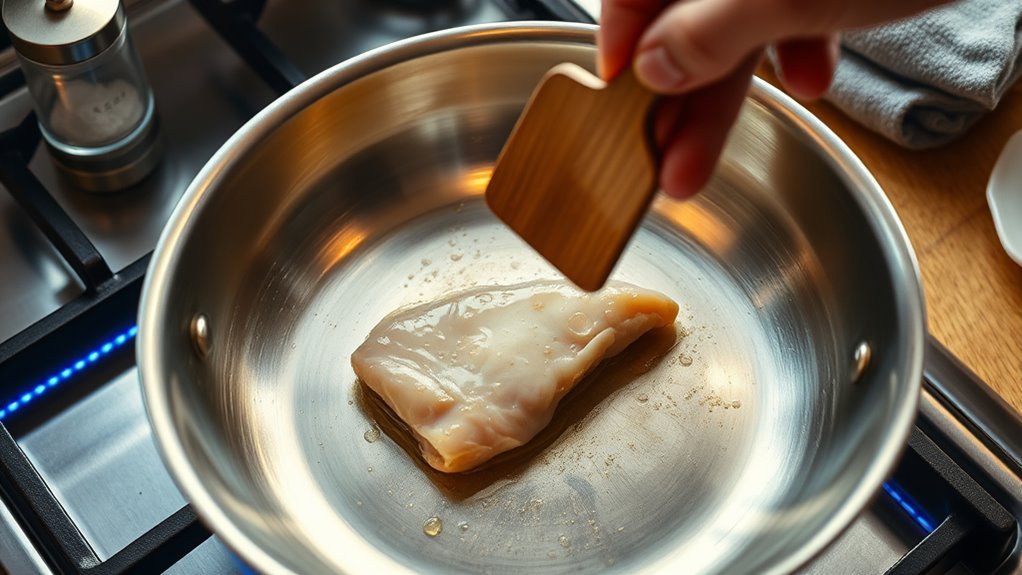
Anyone can stop food from sticking to stainless steel with a simple 2‑minute routine: preheat the pan over medium heat until a water droplet sizzles and beads, add room‑temperature oil or butter to form a protective layer, then place food down so it makes full contact and let it cook undisturbed until it naturally releases.
You’ll free yourself from fear of ruined meals by following evidence-based steps: don’t crowd the surface, because lowering pan temperature causes steaming and increases sticking.
Use room‑temperature fat to form that barrier; cold oil won’t spread evenly. If food clings, lower the heat—excessive temperature can worsen sticking and harm both food and stainless steel cookware.
Let pieces develop a sear and release on their own; forcing them breaks the crust and invites problems.
This concise routine gives you control, reduces waste, and makes stainless steel practical and liberating for everyday cooking.
Preheat Properly: The Water‑Droplet Test and Heat Control
Start by preheating your stainless steel pan over medium heat for a few minutes.
Then perform the water‑droplet readiness test—if droplets sizzle and bead, the surface is hot enough.
Once the pan reaches that stage, lower the heat slightly to keep temperatures steady and avoid burning while you cook.
Add room‑temperature oil or butter after preheating to form a protective barrier that helps food release cleanly.
Water Droplet Readiness Test
Wondering when your stainless pan is truly hot enough? Use the water droplet test: preheat the pan over medium heat for a few minutes, then sprinkle a few drops of water.
If they sizzle and bead, forming spheres that glide across the surface, the pan is ready. That beading signals a temporary nonstick surface created by vapor cushioning; it helps prevent food from sticking when you add room-temperature oil or butter after preheating.
This simple, evidence-based check liberates you from guesswork and wasted meals. Practice it until you trust the visual cue.
Once you see beads, proceed confidently—adding fat and ingredients—knowing you’ve achieved an ideal starting temperature for even cooking without adhesion.
Adjusting Heat After Preheating
Once your stainless pan passes the water‑droplet test, drop the heat slightly—usually to medium or medium‑high—before adding room‑temperature oil or butter so the fat can form a protective layer without smoking. This steadier, slightly reduced heat helps food sear evenly, minimizes sticking, and gives you time to let items release naturally before flipping.
When adjusting heat, aim for a steady, consistent level rather than bouncing between extremes: medium or medium‑high maintains surface temperature without burning residues. That stability promotes better food release and predictable browning, so you get consistent results even when trying new techniques.
Trust the pan’s responsiveness—nudge the dial down if smoke appears, or up briefly for stronger sear, then restore balance.
Room‑Temperature Oil Addition
After you’ve let the pan heat and then eased the flame back a notch, it’s time to add oil—room‑temperature oil—so the surface temperature doesn’t drop and cause sticking. Use the water‑droplet test: when beads sizzle and dance, the pan’s ready. Pour a thin, even film of room temperature oil and tilt to coat; that preserves the heat you built and prevents sticking while cooking with stainless steel.
| Step | Test | Action |
|---|---|---|
| Preheat | Water beads | Lower heat slightly |
| Oil | Room temperature | Pour thin film |
| Cook | Food releases naturally | Flip when free |
Keep heat controlled so oil doesn’t smoke. Let proteins release on their own for a clean sear and confident, liberated cooking.
Best Oils and Fats by Smoke Point: What to Use and When
Which oil you pick can make or break a dish, especially when you’re working with stainless steel and higher temperatures. Choose the best oils and fats with smoke points that match your plan so you don’t burn flavor or polymerize residue onto the pan.
Choosing the right oil matters—match smoke points to your heat to protect stainless steel and flavor.
For low-to-medium heat, extra virgin olive oil (≈375°F/190°C) gives flavor for sautés and dressings. Coconut oil (≈350°F/177°C) suits moderate heat and baking when you want a subtle tropical note.
When you need higher heat and resilience, reach for canola oil (≈400°F/204°C) for versatile frying, or ghee (≈485°F/252°C) when you want rich butteriness without burning.
For the hottest sears and grill-style finishes, avocado oil (≈520°F/271°C) is unmatched. Practically, pair oil choice with your heat control: lower smoke-point oils on gentle heat, high smoke-point fats for searing.
That approach frees you to cook boldly while protecting your stainless steel and preserving clean, true flavors.
Match Heat and Pan Size to Your Stovetop
Because heat distribution depends on contact, pick a pan that matches your burner so the whole cooking surface heats evenly and you avoid hot spots that make food stick. You’ll gain control and freedom at the stove by aligning cookware to your stovetop type.
Gas gives quick response; induction gives precise control; electric coils warm slower and need longer preheat. Aim for medium heat for most stainless steel tasks to prevent sticking and preserve flavor.
- Match heat and pan size: choose a pan diameter within an inch of the burner to spread heat uniformly.
- For gas: use pans with flat bottoms and adjust flames so they don’t lick the sides.
- For induction: pick magnetic, flat pans for fast, accurate temperature shifts.
- For electric coils: preheat slowly, then stabilize at medium heat before adding food.
Follow these rules and you’ll cook with confidence, minimizing frustration and reclaiming your kitchen power.
How to Sear, Sauté, and Pan‑Fry on Stainless Steel (Step‑By‑Step)
Start by preheating your stainless steel pan over medium‑high heat and test readiness with a water droplet — it should sizzle and bead.
Add oil only after the pan’s hot to reach the right cooking temperature, then maintain that heat for searing, sautéing, or frying.
Be patient and let food naturally release from the pan before flipping to prevent sticking and guarantee a proper crust.
Preheat And Test
If you want reliable sears and sautéed browning on stainless steel, preheating and testing the pan is nonnegotiable: heat it over medium for a few minutes, then flick on a little water—when it sizzles and forms tight beads that glide across the surface, the pan’s ready.
You’ll preheat to stabilize the cooking surface so food releases and browns evenly.
- Test with water beads to confirm even heat across the pan.
- Add room-temperature oil only after the pan passes the test; let it shimmer before you introduce food.
- Don’t overcrowd; give pieces room to caramelize and move to avoid sticking.
- Let protein naturally release before flipping; forced removal tears and ruins the sear.
These steps free you to cook boldly on stainless steel.
Oil And Temperature
Once your pan’s hot and the oil’s shimmering, match the oil to the job and control the temperature so you get an even sear or gentle sauté without burning.
For a perfect sear, preheat until water beads, then add a high-smoke-point oil; steady, high heat creates Maillard color while proper oil and temperature prevent smoking.
When sautéing, keep heat at medium to medium-high and keep ingredients moving so heat distribution stays even and nothing clings.
For pan-frying, pour enough oil to coat the bottom and maintain 350–375°F; use a thermometer if you want consistency.
Don’t overcrowd the pan—crowding lowers temperature and ruins caramelization.
These steps give you control and freedom at the stove.
Let Food Release
When you want a clean release and a deep brown crust, let the pan, oil, and food reach the right temperatures and then leave the piece undisturbed long enough for the Maillard reaction to form a natural bond—only then will it let go.
Let food reach room temperature first; cold meat drops pan heat and invites sticking.
Preheat the pan, add oil, and press meat firmly to maximize contact for a perfect sear—then step back until it releases.
For sauté, keep ingredients moving once the pan is hot to cook evenly without sticking.
For pan‑frying, use enough oil to coat the bottom and hold 350–375°F; don’t overcrowd.
- Preheat pan + oil
- Room‑temp food
- Press for contact
- Avoid overcrowding
Cook Delicate Foods (Eggs, Fish, Thin Pancakes) Without Tearing
Although stainless steel can seem unforgiving, you can cook delicate foods like eggs, fish, and thin pancakes without tearing by managing heat, using enough fat, and handling them gently.
To cook delicate ingredients reliably, preheat the pan on low, then raise heat gradually so proteins set without seizing to the surface. Add enough oil or butter after preheating to form a release layer; that barrier helps items lift cleanly and eases eventual cleanup of clean stainless steel pans.
Preheat low and raise heat slowly; add oil after warming to create a release layer for easy, gentle cooking.
Bring eggs and fish to room temperature so they don’t chill the pan and encourage sticking. Work in small batches to avoid overcrowding and steam buildup, which tears fragile surfaces.
Use a silicone or wooden spatula and slide it under foods slowly, letting edges loosen before flipping. Move with intention, not force—gentle turns keep structure intact.
These steps give you freedom to cook delicate dishes confidently on stainless steel without wrecking texture or wasting ingredients.
Rescue Stuck Food: Quick Fixes and Prevention Tips
If food sticks, don’t panic—start by gently working a wooden or silicone spatula under the edges to avoid scratching the pan, then add a splash of water or broth and let it simmer; the steam and liquid will usually loosen the bond within a minute or two.
You can rescue stuck food without damage or drama by using calm, evidence-based steps that free you from fear of ruined meals.
- Preheat and oil: heat the pan properly and add enough fat to create a release layer before adding food to prevent sticking.
- Gentle leverage: use wooden or silicone tools to lift edges; forcing metal tools risks scratching and locking food in place.
- Patience and liquid: simmering with a little broth or water often releases stuck bits—don’t scrape aggressively.
- Prep and spacing: bring ingredients to room temperature and avoid overcrowding, which cools the pan and promotes sticking.
These tactics help you rescue stuck food and prevent sticking in future cooks.
Daily Cleaning for Stainless Steel: Easy, Safe Methods
Let your stainless steel cool a bit before washing to prevent warping and protect the finish.
For everyday cleaning use warm water, mild soap, and a soft sponge, and for stubborn residue simmer equal parts white vinegar and water to loosen stuck food.
If stains remain, make a baking-soda paste to gently buff and then rinse and dry thoroughly to avoid water spots.
Cool Before Washing
Because stainless steel can warp when exposed to sudden temperature changes, let your pan sit until it’s only warm to the touch before washing — this also keeps you safe from steam burns.
Letting cookware cool before washing makes cleaning easier and protects the metal, so resist the urge to plunge a hot pan into cold water. Use warm water and mild soap with a soft sponge, working in gentle circular motions to avoid scratches.
- Wait until the pan is warm, not hot.
- Rinse with warm water to loosen food particles.
- Apply mild soap and scrub gently with a soft sponge.
- Rinse thoroughly and dry with a clean cloth to prevent water spots.
Cool before washing gives you safer, longer‑lasting pots and pans.
Vinegar And Baking-Soda
When you want an easy, non-toxic way to keep stainless steel cookware bright, use a simmered vinegar solution to loosen stuck-on residue and a baking-soda paste to gently buff away stubborn marks.
Simmer equal parts white vinegar and water in the pan until deposits soften, then pour out and let it cool.
Mix baking soda and water into a baking soda paste and apply with a soft cloth or sponge to target spots; rub gently to avoid scratching.
Rinse thoroughly and dry immediately to prevent water spots and restore shine.
Use these methods regularly to stop grime buildup and maintain a polished surface.
Both agents are safe and non-toxic, so you can clean confidently and free yourself from harsh chemicals.
Deep Care: Remove Burnt‑On Bits and Restore Shine
Scrub away burnt-on bits without harming your pan by first simmering equal parts white vinegar and water for about 10 minutes to loosen residue. Then, let the pan cool slightly so you avoid warping and make scrubbing easier. You’ll remove burnt-on bits with minimal effort, then finish with targeted care to restore shine and freedom from buildup.
Simmer equal parts vinegar and water to loosen burnt bits, cool slightly, then scrub gently to restore your pan’s shine and performance.
- For stubborn spots, make a baking soda paste (baking soda + water) and apply with a soft sponge, using circular motions to avoid scratching.
- Rinse thoroughly after scrubbing to remove all residue; lingering cleaners dull the finish.
- Dry immediately with a clean cloth to prevent water spots and preserve gleam.
- Occasionally polish using a small dab of stainless cleaner or a mix of vinegar and olive oil to restore shine and repel fingerprints.
These steps are evidence-based, practical, and empowering: you reclaim your cookware’s performance and appearance without harsh methods or wasted effort.
Choose Stainless Steel Cookware: Construction, Handles, and Induction Compatibility
If you want stainless steel that performs reliably, focus first on construction: tri‑ply or multi‑ply cookware gives far better, more even heat distribution than single‑layer pans, cutting down on hot spots and flareups.
Choose pans with a full‑thickness aluminum or copper core sandwiched between stainless layers so heat moves quickly and evenly; that control frees you to cook confidently instead of compensating for uneven pans.
Prefer riveted handles for a secure grip and long life; they won’t loosen as rivetless or welded handles sometimes do.
Check weight: heavier pans hold heat and stabilize on the range, which helps when searing or braising.
Verify induction compatibility by testing the base with a magnet or checking manufacturer specs—only magnetic bases work on induction.
Finally, pick a finish that fits your needs: brushed hides scratches, polished looks show them.
These choices give you durable, predictable cookware so you can cook boldly and without constraint.
Frequently Asked Questions
What Foods Should Not Be Cooked in Stainless Steel?
Avoid cooking very acidic foods like tomatoes and citrus in stainless steel; they can react and alter flavor, so use non reactive materials instead.
Don’t cook delicate proteins like plain eggs without proper technique, or sugary syrups that’ll caramelize and stick.
Be cautious with watery steamed vegetables and low‑temp dairy that can curdle.
You’ll free yourself by choosing the right pan for each task and mastering basic heat and fat control.
What’s the Downside of Stainless Steel Cookware?
You’ll find the main downside is learning curve: stainless steel can stick and scorch if you don’t preheat and oil properly.
Durability concerns and heat retention both cut two ways—it’s long‑lasting but shows stains and needs care, and it holds heat well but can overcook food quickly.
It’s heavier, pricier upfront, and needs regular cleaning; still, if you want culinary freedom, mastering it pays off.
Why Is Cooking With Stainless Steel so Hard?
Because stainless steel demands precise heat control and proper surface maintenance, it feels hard to cook with. You’ll need to master cooking techniques like correct preheating, using enough fat, and avoiding overcrowding so food can naturally release.
It’s evidence-based and practical: once you adjust your timing and temperament, you’ll gain freedom from sticking and frustration. Embrace the learning curve and you’ll cook confidently, not constrained.
What Is the Healthiest Metal to Cook With?
Stainless steel is the healthiest metal to cook with. You’ll get cooking benefits like non-reactivity, preserved flavors, and FDA-approved metal safety for food contact.
It won’t leach harmful chemicals into acidic dishes, resists rust and corrosion, and lasts with proper care. You’ll save money, reduce waste, and freely cook without compromise.
Choose high-quality stainless cookware and maintain it to keep those practical, evidence-based benefits intact.
Conclusion
You’ll probably assume stainless steel is a nightmare—until you learn a few sensible tricks and it reliably outperforms nonstick. Preheat properly, pick oils by smoke point, match pan size to burner, and don’t crowd the surface; those small habits prevent sticking and give better browning. Clean it with gentle abrasives or a soak for trouble spots. It’s not magic, just predictable physics—so invest a little technique and you’ll get consistent, long‑lasting results.