
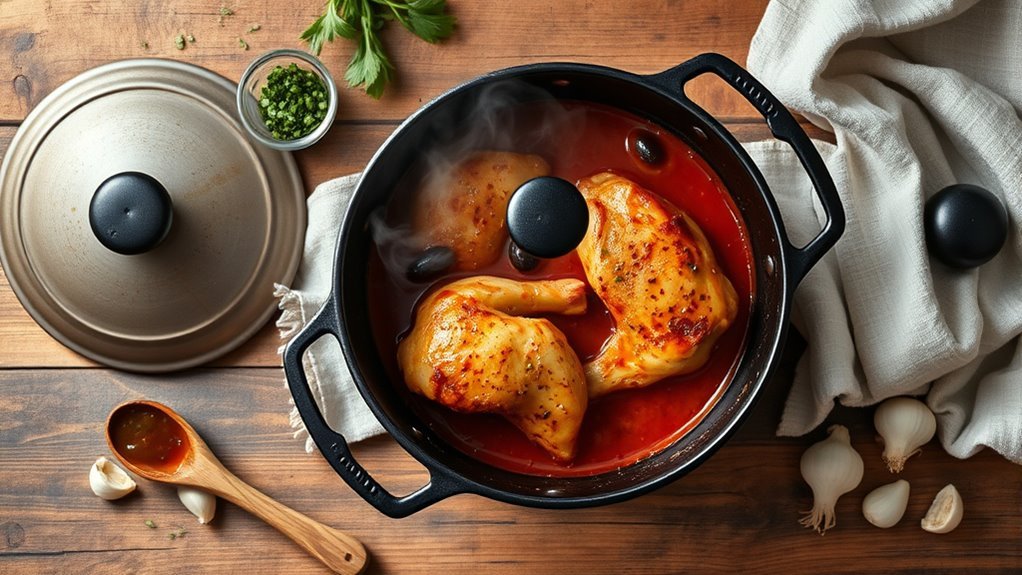
What is a braiser used for? Mainly braising: browning food on the stovetop, then covering it and cooking it slowly in a little liquid until tender. Its wide base also makes it handy for searing, simmering sauces, shallow frying, light roasting and serving at the table.
This page focuses on the cooking methods and the exact steps. If you are new to the pan itself, start with what a braiser is, and for dish ideas see what to cook in a braiser.
The Cooking Methods a Braiser Does Well
| Method | What happens | Good for |
|---|---|---|
| Braising | Sear, then cook covered in part-submerged liquid, low and slow | Short ribs, lamb shanks, pork shoulder pieces, chicken thighs, cabbage |
| Searing and browning | High surface area browns food in a single layer | Chicken skin, sausages, cubed beef, onions |
| Simmering and reducing | Lid off, liquid evaporates quickly into a sauce | Pan sauces, tomato sauce, wine reductions |
| Shallow frying | A thin layer of oil in a heavy pan | Cutlets, fritters, fish fillets |
| Roasting and baking | Oven heat with or without the lid | Chicken pieces, casseroles, gratins, baked pasta |
| Steaming and sweating | Lid on with a splash of water or low heat | Greens, onions, leeks, mussels |
How to Braise in a Braiser, Step by Step
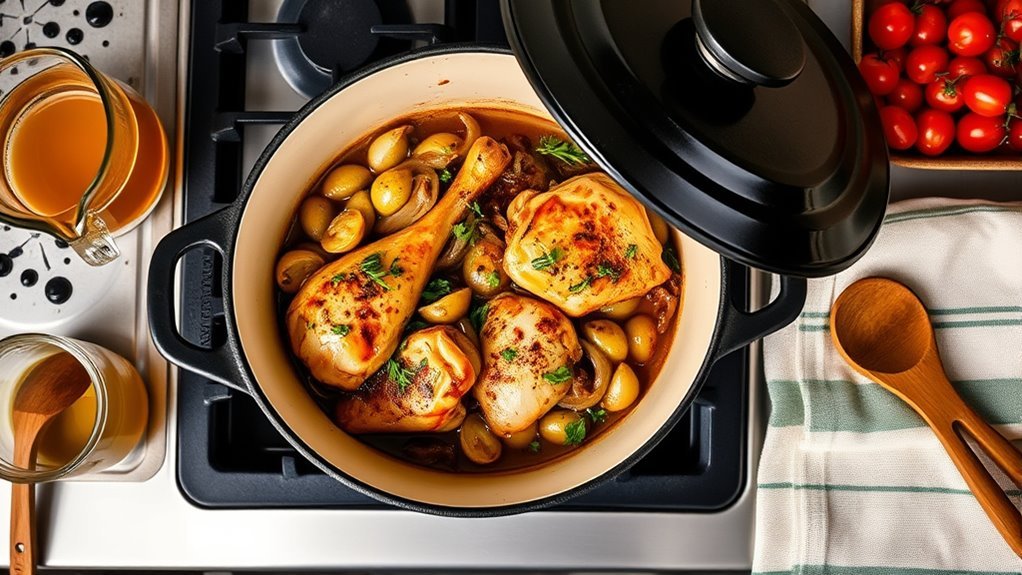
Most braising recipes follow the same pattern. The numbers below are starting points, so always follow your recipe and test for tenderness.
- Pat the food dry and season it. Dry surfaces brown better than wet ones.
- Heat the braiser over medium to medium-high. Add a thin layer of oil with a high smoke point and let it shimmer.
- Sear in batches. Leave space between pieces and do not move them until they release easily. Remove them to a plate.
- Soften aromatics. Cook onion, garlic, carrot or celery in the leftover fat for a few minutes.
- Deglaze. Pour in wine, stock or water and scrape up the browned bits from the bottom. These bits carry a lot of flavor.
- Return the food and add liquid. The liquid should come up about halfway on the food, not cover it. The top stays above the liquid and browns or steams.
- Cover and cook low. Bring to a bare simmer, then cook on the lowest stable stovetop heat or in an oven, commonly around 300 to 325°F (150 to 165°C).
- Check for tenderness. Tough cuts such as short ribs or shanks usually take a few hours. Chicken thighs take far less. They are done when a fork slides in with little resistance.
- Finish the sauce. Lift the food out, simmer the liquid with the lid off until it thickens, skim excess fat, and taste for salt and acid.
Why Tough Cuts Work So Well
Cuts from hard-working muscles, such as beef chuck, short ribs, shanks and pork shoulder, contain a lot of connective tissue. Long, gentle, moist heat softens that tissue so the meat turns tender and the liquid becomes rich. Lean, tender cuts can dry out in the same method, so use them for faster dishes.
Using a Braiser Beyond Braising
Searing and Pan Sauces
The wide floor makes it easy to brown chicken thighs or sausages without crowding. Afterward, deglaze the pan and reduce the liquid for a quick sauce. Never wash away the browned bits before you make the sauce.
Oven Casseroles and Baked Dishes
You can build a casserole on the stovetop and finish it in the oven in the same pan. Baked pasta, gratins and one-pan chicken and rice all work. Check your pan’s oven limit first, because lid knobs and handles can have a lower rating than the body.
Shallow Frying and Sautéing
A braiser can handle shallow frying if you keep the oil level modest and the heat steady. It is not designed for deep-frying large amounts of oil. A deep Dutch oven is a safer choice there.
Serving at the Table
Enameled braisers look good on a trivet at the table. They also keep food warm for a while after cooking because the heavy material retains heat.
What a Braiser Is Not Ideal For
- Boiling a large pot of pasta or making stock, which need depth.
- Deep-frying, because the sides are low.
- Very fast, high-heat stir-frying, where a lighter pan or wok responds faster.
- Cooking acidic sauces for days in unlined bare cast iron, which can dull its seasoning.
Tips for Better Results
- Brown well. A deep golden color on the food is where much of the flavor starts.
- Do not drown the food. Too much liquid boils it instead of braising it.
- Keep the heat low once the lid is on. A rolling boil toughens meat.
- Do not lift the lid constantly. Each peek lets heat and steam escape.
- Rest the dish for 10 to 15 minutes before serving so juices settle.
- Use food-safe temperatures for poultry (165°F or 74°C) and ground meat (160°F or 71°C), per USDA guidance.
Related Guides
Frequently Asked Questions
What do you cook in a braiser?
Braised meats such as short ribs, lamb shanks, pork shoulder pieces and chicken thighs are the classic choices. Braisers also work well for braised cabbage, leeks, beans and greens, tomato-based sauces, baked pasta, gratins and one-pan chicken and rice dishes.
Do I need a braiser if I have a Dutch oven?
Not necessarily. A Dutch oven handles braising well and is better for soups, stews and bread. A braiser adds a wider surface for browning and faster sauce reduction. If you already own a Dutch oven and rarely feel crowded while searing, you may not need one.
What temperature do you braise at?
Many recipes braise in the oven at about 300 to 325°F (150 to 165°C), or on the stovetop at the lowest steady simmer. Exact temperature and time depend on the cut and recipe, so use these as a starting point and test the food for fork-tender doneness.
Can you use a braiser on the stovetop and in the oven?
Yes, that is one of its main strengths. Most braisers go from burner to oven, but lids, knobs and handles may have lower temperature limits than the pot. Check the manufacturer rating, and preheat gradually to protect an enamel or nonstick finish.
Conclusion
A braiser is used to sear food and then cook it slowly in a small amount of liquid, but it also handles sauces, casseroles and shallow frying. Brown well, add liquid only halfway, and keep the heat gentle once the lid is on.