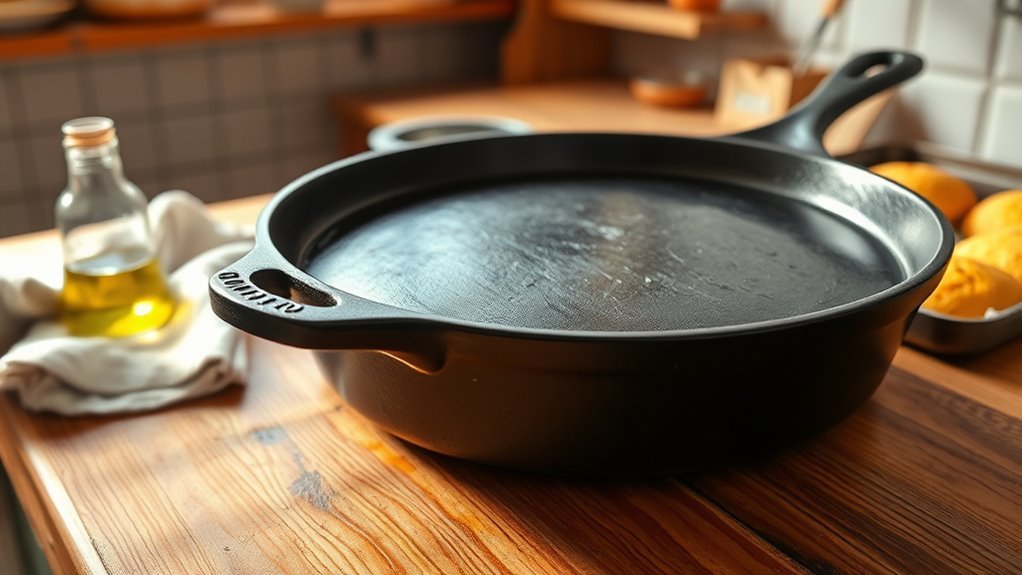
About 70% of home cooks say a well‑seasoned pan is their go‑to for nonstick results. You’ll learn that “seasoning” isn’t coating with wax but polymerizing oil into a hard, food‑safe layer that builds with use. This protects against rust, improves browning, and actually changes how food releases. Keep going to get practical steps, best oils, and quick fixes so your skillet performs like new.
What This Guide Covers (Quick How‑To + Tips)
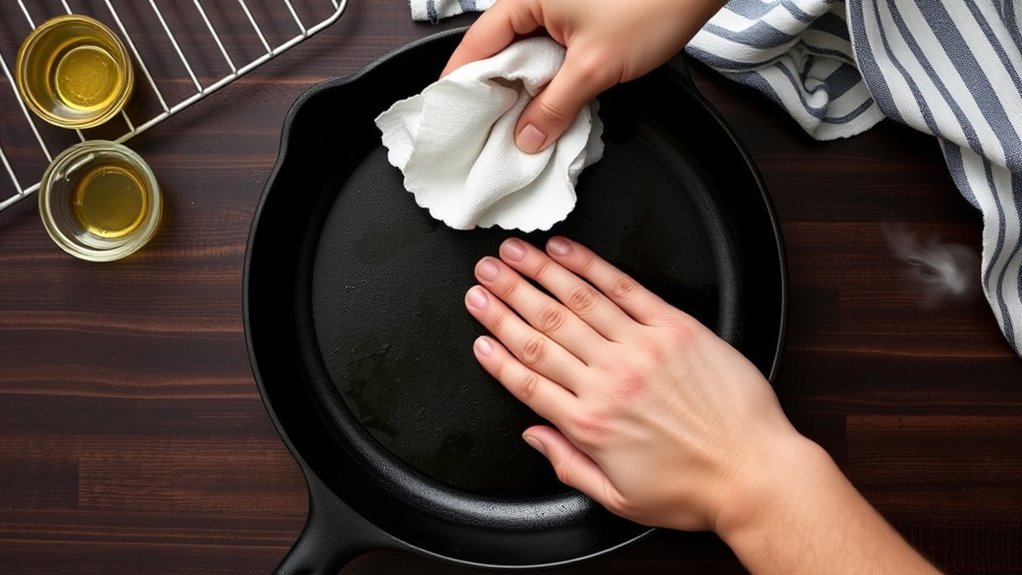
If you want a reliable nonstick surface and long-lasting pan performance, this quick guide shows the practical steps: you’ll learn how to season a cast iron, starting with cleaning, drying, oiling, and oven-baking.
You’ll use coarse salt and a halved potato to scour away residue, then heat the pan briefly to evaporate moisture so oil bonds properly. Apply a thin, even layer of oil, wipe off excess, and place the pan in a 300–400°F oven for about an hour to polymerize the coating.
The guide emphasizes evidence-driven timing and temperatures that promote durable bonding without guessing.
You’ll also get concise maintenance tips: light oiling after each use, gentle cleaning that preserves the coating, and rust prevention tactics so the pan stays functional and flavors improve over time.
Follow these steps and you’ll free yourself from disposable cookware habits, gaining a resilient tool that rewards consistent care.
What “Seasoning” Means for Cast‑Iron
When you season cast iron, you’re building a thin, protective oil layer that keeps moisture—and rust—off the metal.
Heat converts that oil into a polymerized fat surface that bonds to the pan and creates a natural nonstick coating.
With regular light oiling and occasional re-seasoning, that barrier stays intact and improves cooking performance over time.
Protective Oil Layer
Although it looks like a simple sheen, seasoning is a hard, polymerized oil layer that bonds to the iron and blocks moisture, prevents rust, and builds a naturally nonstick surface.
You create this protective oil layer on your cast iron skillet by applying a thin coat of oil after cleaning, then heating it—commonly 300–400°F for about an hour—to let the oil transform and adhere.
Maintain freedom from corrosion and stickiness by lightly oiling after each use; those small acts accumulate performance and flavor over time.
This isn’t magical—it’s chemistry you control, so your pan serves you longer and cooks better.
- Use a light, even coat of oil
- Heat in oven for consistent bonding
- Oil after each use
- Avoid pooling oil
- Rebuild when dull or rusty
Polymerized Fat Surface
Think of seasoning as intentionally turning a thin layer of oil into a hard, polymerized coating that bonds to the iron and gives your pan its durable, naturally nonstick surface. You create a polymerized fat surface by applying a thin oil layer and heating past its smoke point so fat molecules cross‑link and form a tough, bonded film. Use high smoke point oils (vegetable, flaxseed) and heat properly; that guarantees effective polymerization. Maintain freedom from rust and sticking by lightly oiling after use; each cycle strengthens the layer and improves flavor. This is practical chemistry empowering you to control performance and longevity.
| Step | Action | Result |
|---|---|---|
| 1 | Oil thinly | Even coat |
| 2 | Heat high | Polymerize |
| 3 | Cool | Bonded layer |
| 4 | Repeat | Stronger surface |
Nonstick Rust Barrier
Because seasoning converts a thin layer of oil into a bonded, polymerized film, it serves as both your pan’s nonstick surface and its primary rust barrier.
You rely on that bonded layer to stop food from clinging and to keep water from corroding the iron. Regular seasoning builds thickness and resilience; the more consistent you are, the more reliable the protection and the better the pan’s cooking performance becomes.
Treat seasoning as maintenance, not magic: oil after use, avoid soaking, and skip harsh scrubbing.
Over time a patina develops that enhances flavor and longevity, freeing you from disposable cookware cycles.
- Polymerization creates a hard, bonded film that resists moisture.
- Routine oiling restores microscopic damage.
- Avoid soaking to prevent flash rust.
- Gentle cleaning preserves the film.
- Seasoning improves with use.
Why Seasoning Matters for Cooking and Rust Prevention
When you keep a thin layer of polymerized oil on your cast iron, cooking performance improves: food releases more easily and heat distributes more consistently.
That same bonded oil barrier stops moisture from contacting the metal, which is the primary way rust forms.
With simple maintenance—wiping and lightly oiling after use—you’ll preserve both the nonstick qualities and rust protection.
Cooking Performance Boost
Seasoning your cast iron with a thin film of oil and heat builds a durable, polymerized layer that improves food release, boosts cooking efficiency, and keeps moisture—and rust—at bay.
You’ll notice quicker, more even browning and fewer stuck-on bits, so you spend less time scrubbing and more time creating. The seasoning layer also deepens flavors as it matures, rewarding regular use.
- Superior food release lets you flip delicate items like eggs with confidence.
- Even heat transfer reduces hot spots and saves fuel.
- A mature seasoning enhances food flavor incrementally.
- Routine re-seasoning restores non-stick performance without replacing the pan.
- Consistent seasoning prevents uneven cooking and preserves your freedom to cook boldly.
Keep seasoning intentional; it amplifies performance and frees you to cook without worry.
Rust Prevention Basics
If you want to keep your cast iron rust-free and cooking well, apply a thin film of oil and heat it so the polymerized layer fills microscopic pores and blocks moisture from reaching the metal.
You’ll create a bonded, non-stick surface that prevents corrosion and improves with use. Rust prevention basics are simple: season intentionally, fill pores with polymerized oil, and store dry.
After cleaning, rub a little oil over the surface to rebuild the barrier and stop water from starting oxidation. Regular seasoning and light oiling keep the pan responsive and easier to clean, while a developing patina gives long-term protection.
Treat maintenance as empowerment—consistent, small actions preserve performance and resist decay.
How to Season a Clean Cast‑Iron Pan (Quick Steps)
Start by thoroughly cleaning and drying the pan to remove any debris and moisture. Then rub a thin, even coat of vegetable or olive oil over every surface with a lint-free cloth or paper towel. You’re performing seasoning to build a durable, polymerized surface that resists sticking and rust.
Preheat your oven to 300–400°F, place the pan upside down on the rack to catch drips, and bake for one hour so the oil can bond to the iron. Turn the oven off and let the pan cool inside; slow cooling helps stabilize the new layer.
- Confirm the pan is bone-dry before oiling to avoid steam and uneven seasoning.
- Use a lint-free cloth to avoid fibers trapped in the coating.
- Position the pan upside down to prevent pooled oil spots.
- Bake for a full hour to allow proper polymerization.
- Cool in the oven for a consistent, long-lasting finish.
These steps give you practical control, freeing you from sticky pans and perpetual maintenance.
Best Oils and Temperatures for Cast‑Iron Seasoning
When you pick an oil for cast‑iron, favor one with a high smoke point and proven polymerization—vegetable, canola, and flaxseed oils are top choices because they bond into a hard, nonstick layer when heated.
Use these best oils sparingly: wipe a paper-thin coat over clean metal so you don’t leave sticky residue.
Use oils sparingly—wipe a paper-thin coat on clean cast iron to avoid sticky residue.
Preheat your oven to 300–400°F for initial seasoning; that range gives enough heat for polymerization without risking rapid breakdown. Heat the oiled pan about 30 minutes so the oil can absorb and form an even layer, then cool and repeat if you want extra durability.
After cooking, maintain freedom from rust by applying light oil while the pan is warm—regular, minimal oiling builds resilience over time.
Stick to high smoke point, stable oils and controlled temperatures, and you’ll create a dependable, liberated cooking surface that resists flaking and rewards simple upkeep.
Restoring Rusty or Badly‑Seasoned Cast‑Iron Pans
Although a heavily rusted or gummy pan can look hopeless, you can bring the bare iron back to life by stripping old seasoning, removing rust, and rebuilding a stable layer of polymerized oil.
When restoring rusty or badly-seasoned cast-iron pans, choose a stripping method (lye bath or electrolysis) to expose clean iron.
Scrub with coarse salt and a baking potato or stiff brush, rinse, then dry completely to stop flash rusting.
Apply a thin coat of a high-smoke-point oil and bake at 300–400°F for an hour; cool in the oven and repeat thin layers until you have an even, hard finish.
This process liberates you from flaking, sticky surfaces and gives lasting protection.
- Strip old seasoning with lye or electrolysis to reach bare iron
- Scrub grit and debris using coarse salt and a baking potato
- Rinse thoroughly and dry immediately to prevent new rust
- Apply thin oil coats and bake 300–400°F for one hour each
- Store dry and oil lightly after use to preserve the restoration
Everyday Care: Cleaning, Light Oiling, and When to Re‑Season
Because regular care prevents most problems, keep your cast‑iron clean and lightly oiled after each use: scrub stuck food with coarse salt and a cut potato or a stiff brush, rinse briefly if needed, dry thoroughly, then rub a thin film of high‑smoke‑point oil with a paper towel before storing.
That routine preserves the polymerized seasoning layer and stops rust from taking hold. Use minimal soap sparingly; aggressive detergents or soaking erode seasoning and force unnecessary re‑seasoning.
Dry heat or a towel after rinsing removes moisture; store in a dry place so condensation won’t undo your work. You only need a small amount of oil—spread it thinly to maintain the nonstick surface without sticky buildup.
Re‑season only when you see uneven color, flaky patches, or rust that simple cleaning and light oiling won’t fix: strip, apply oil, and heat to rebuild polymerized layers.
Consistent, simple cleaning and light oiling frees you from constant repairs and keeps the pan reliable for everyday liberation in the kitchen.
Troubleshooting Common Problems and Fixes
If your pan starts sticking, shows uneven color, or develops rust, act quickly to prevent further damage: you can restore control with targeted fixes.
First, diagnose whether seasoning is patchy or stripped; uneven seasoning often causes sticking and needs rebuilding. For light problems, scrub with coarse salt or a halved potato, rinse briefly, dry thoroughly, and apply a thin coat of oil.
If rust appears or seasoning is badly gone, remove rust by scrubbing or using a lye bath/electrolysis for severe cases, then re-season in the oven. Avoid soaking in water and skip harsh abrasives that strip seasoning.
- Scrub gently with coarse salt and a cloth to remove food and light oxidation.
- Dry immediately and heat briefly to evaporate residual moisture.
- Apply a thin layer of neutral oil; wipe off excess.
- For heavy rust, strip to bare metal (lye/electrolysis), then re-season.
- Rebuild seasoning with multiple thin oven-baked oil layers for durability.
Frequently Asked Questions
What Happens if You Don’t Season Cast Iron?
If you don’t season cast iron, it rusts, sticks, and tastes metallic, so you lose non-stick performance and durability.
You’ll battle food that clings, uneven heating, and faster surface deterioration unless you restore it.
Seasoning provides Rust Prevention by building a polymerized oil barrier; without it you’ll spend time and effort on restorations like lye baths or electrolysis.
Seasoning frees you to cook reliably, clean easily, and reclaim your pan’s longevity.
Is Seasoning Cast Iron Necessary?
“A stitch in time saves nine.” Yes — you need seasoning; it delivers clear Seasoning Benefits: a durable non-stick surface, rust protection, and improved flavor over time.
You’ll prevent food sticking and extend your pan’s life by oiling and baking layers regularly.
Be practical: clean gently, dry thoroughly, apply oil, and heat. That simple maintenance frees you from constant scrubbing and keeps your cookware reliable and resilient.
Can I Use Pam to Season Cast Iron?
You can use Pam to season cast iron, but it’s not ideal.
Oil options like vegetable or flaxseed oil polymerize better and last longer, so they free you from frequent upkeep.
If you choose Pam, spray a very light coat, heat thoroughly to bond, and expect more frequent re-seasoning.
Evidence suggests propellants can leave sticky residue, so alternate with traditional oils occasionally to maintain a reliable, liberating non-stick surface.
How Do I Season My Cast Iron Pan?
About 80% of cooks report better nonstick results after seasoning. You’ll start by cleaning and drying the pan, then apply a thin oil coat with a lint-free cloth.
Preheat your oven to 300–400°F and bake the upside-down pan for about an hour so the oil polymerizes. Let it cool in the oven.
Use light oiling after each use, re-season when needed. These Seasoning Techniques free you to cook confidently.
Conclusion
You’ve learned that seasoning isn’t mystical — it’s a thin, baked-on layer of polymerized oil that builds nonstick performance and keeps rust at bay. Do the quick cleaning, apply a whisper-thin coat of a high-smoke‑point oil, and bake; repeat as needed. Treat neglected pans gently with restoration rather than drama. With light daily care and occasional re-seasoning, your cast iron will quietly perform like new for decades.