
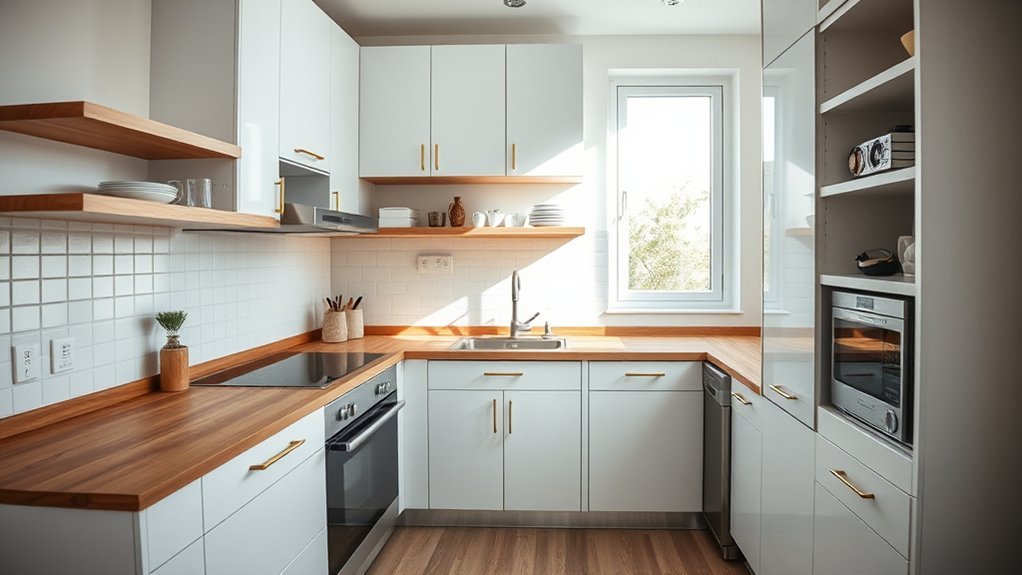
A small kitchen works best when the layout, storage, appliances, and walking space are planned together. Galley, one-wall, L-shaped, and U-shaped layouts can all work in compact rooms, but no single shape is best for every kitchen. Start with accurate measurements, protect usable prep space and clear aisles, then use vertical storage, compact appliances, layered lighting, banquettes, and hidden storage to make the room work harder without feeling crowded.
Quick Answer
To make a small kitchen work better, choose the layout that fits the room first, then protect clear aisles and prep space. Use ceiling-height storage, compact or integrated appliances, layered lighting, and multifunctional seating only where circulation allows. A galley, one-wall, L-shaped, or U-shaped plan can all work well when sized correctly.
Key Takeaways
- Measure walls, openings, utilities, appliance depths, and door swings before choosing a layout.
- Keep circulation clear before adding an island, breakfast bar, or banquette.
- Use vertical storage and deep drawers to increase capacity without taking more floor area.
- Protect useful counter space beside the sink, refrigerator, and cooking surface.
- Use light finishes and layered lighting to improve visibility, but do not sacrifice practical storage just to make the room look larger.
Pick the Right Small Kitchen Layout
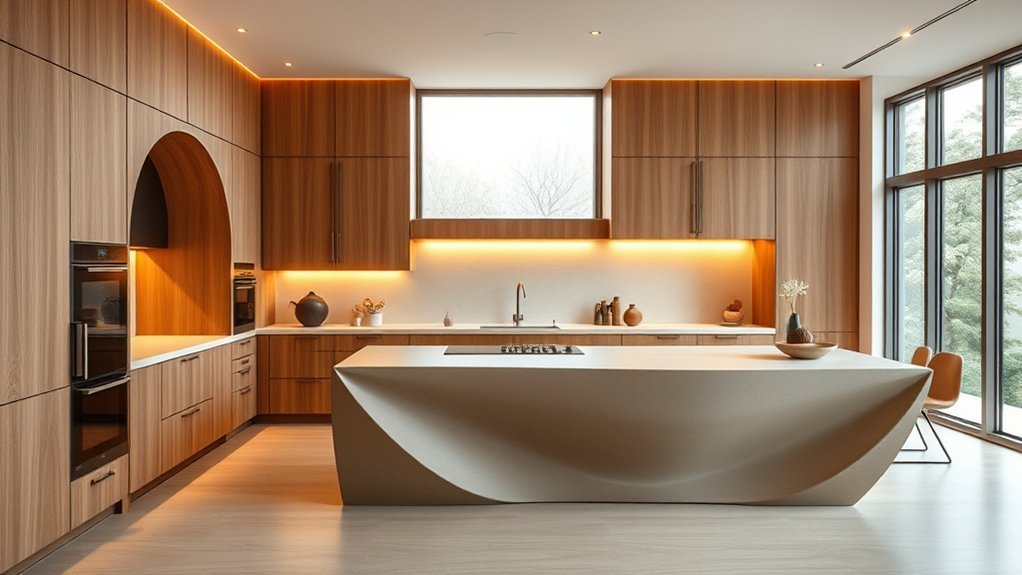
Selecting the right layout is the foundation of a successful small kitchen. The arrangement of cabinets, appliances, doors, and circulation paths determines how easily the room works long before colors or finishes are chosen.
Among common small kitchen ideas, a galley kitchen can make efficient use of a long, narrow room by placing counters on opposing sides. An L-shaped kitchen keeps one side of the room open and often works well where the kitchen connects to a dining or living area. A U-shaped kitchen can provide generous worktop and cabinet space when the room is wide enough. A one-wall kitchen can be the simplest option in a studio, apartment, or open-plan space.
The traditional kitchen work triangle connects the refrigerator, primary sink, and cooking surface. NKBA planning guidance recommends keeping each leg of that triangle roughly 4 to 9 feet long, with the three legs totaling no more than 26 feet, while keeping major through-traffic out of the work area. Treat those figures as planning guidance rather than a substitute for local code or a kitchen-specific design review.
In tighter footprints, a slim island, peninsula, floating bar, or rolling cart may provide extra workspace or seating. However, the feature should be chosen only after the remaining aisle width has been measured. An open connection to an adjacent living area can also improve circulation and spread daylight without adding cabinetry to every available wall.
Measure Before You Choose a Layout
Before ordering cabinets or appliances, record the dimensions and location of everything that cannot easily move. A basic planning sketch should include:
- Wall-to-wall dimensions and ceiling height.
- Doors, windows, trim, radiators, columns, and other fixed obstacles.
- Water, drain, electrical, gas, and ventilation locations.
- Actual appliance width, depth, height, handle projection, and required installation clearance.
- Entry-door, refrigerator-door, dishwasher-door, and oven-door swings.
- Walking routes between the kitchen and nearby rooms.
Pro Tip: Draw appliance and cabinet doors in their fully open position on the floor plan. A layout can look spacious on paper but still fail when an oven door, refrigerator door, or dishwasher blocks the only walkway.
Use Vertical Space for More Storage
Vertical space becomes especially valuable in a small kitchen because it adds capacity without widening the footprint. Ceiling-height cabinets can hold rarely used cookware, serving pieces, and pantry overflow, leaving lower cabinets and counters available for everyday items.
Vertical storage is most useful when everyday items stay within comfortable reach and less-used pieces move to the highest shelves.
Open shelving can keep frequently used dishes close while reducing the visual bulk of upper cabinets. Floating shelves, hooks, rails, and wall-mounted racks can also free drawers for items that are harder to store vertically.
Open shelving is not automatically better in every small kitchen. It exposes dishes to grease and dust and provides less concealed capacity than closed cabinets. Use it selectively where the lighter appearance matters, rather than replacing every upper cabinet.
Floor-to-ceiling cabinets provide high-level storage for equipment used only occasionally. Slim shelves above counters or doorways can hold lightweight items, while pull-out larder cabinets can turn narrow gaps into accessible pantry storage.
When vertical planning is deliberate, the main work surfaces stay clearer and the room becomes easier to maintain.
Choose Space-Saving Cabinets and Appliances
Space-saving cabinets and appliances can improve a small kitchen, but smaller is not always better. The goal is to match appliance capacity and cabinet depth to the household while protecting useful counter space and comfortable movement.
Space-saving cabinets that reach the ceiling add storage without increasing the room’s footprint. Integrated appliances, including built-in dishwashers and microwaves, can create a more continuous cabinet line and reduce visual interruption. Pull-out larder cabinets, deep drawers, and well-designed corner fittings can make awkward spaces easier to reach.
- Floor-to-ceiling cabinetry increases storage without widening the footprint.
- Compact ranges, refrigerators, and dishwashers may free valuable floor or counter space where full-size appliances are unnecessary.
- Multifunctional furniture, such as a wheeled island or cart, can provide movable prep and storage space.
- Pull-out pantry fittings can organize narrow cabinet runs more effectively than deep fixed shelves.
Preserving usable surfaces matters as much as adding cabinets. Avoid filling every wall with tall storage if doing so separates the sink, refrigerator, and cooking area or removes the only practical preparation zone.
Check Appliance and Door Clearance
Appliance specifications should be checked before the cabinet order is finalized. Confirm ventilation clearances, hinge requirements, handle projection, plumbing or electrical connections, and the space required to pull an appliance out for service.
Entry doors should not interfere with the safe operation of appliances, and appliance doors should not collide with one another. This is especially important in galley kitchens, where an open dishwasher or oven can temporarily occupy much of the aisle.
Make a Small Kitchen Feel Brighter
A small kitchen can feel brighter when natural light, task lighting, and reflective surfaces are used together. Light wall colors and pale counters can increase the amount of light moving through the room, while darker finishes can still work when they are balanced with good illumination.
| Element | Practical Effect | Visual Result |
|---|---|---|
| Window or skylight | Adds daylight where the structure allows | Reduces dark corners during the day |
| Open shelving | Reduces the mass of upper cabinetry | Keeps sight lines more open |
| Reflective materials | Bounce some available light | Can make surfaces feel less visually heavy |
| Under-cabinet lighting | Illuminates worktops directly | Improves visibility without relying on one ceiling fixture |
Glossy cabinet fronts, polished tile, glass, stainless steel, and other reflective materials can help distribute available light, but they also show fingerprints and glare more readily than matte finishes.
Layered lighting is usually more effective than a single bright ceiling fixture. Ambient lighting provides general illumination, task lighting brightens counters and the sink, and accent lighting can highlight shelving or architectural details.
Note: Enlarging a window or adding a skylight can involve structural framing, waterproofing, electrical relocation, permits, or other local requirements. Treat those changes as remodeling work, not simply decorating decisions.
Use Banquettes, Islands, and Hidden Storage
Banquettes, islands, and concealed storage can make a compact kitchen more useful, but each feature should solve a specific problem rather than simply fill unused floor area.
A multi-use island may provide preparation space, storage, seating, or a casual dining surface. Hidden storage such as deep drawers, pull-out larders, toe-kick drawers, or lift-up bench seats keeps frequently used items nearby while reducing countertop clutter.
Together, these elements can create a compact kitchen that feels organized without sacrificing circulation.
Banquette Seating Ideas
By tucking a banquette into a corner or along an unused wall, a small kitchen can gain a compact dining nook without needing chairs on every side of a table.
Built-in drawers or lift-up bench seats can add hidden storage for linens, serving pieces, small appliances, or pantry overflow.
Banquettes work best when the table and bench dimensions leave enough room for people to sit down and for anyone who needs to pass behind them. NKBA planning guidance distinguishes between seating with no traffic behind it and seating that forms part of a walking route, so circulation should be measured rather than guessed.
- Corner benches can reduce the amount of loose furniture on the floor.
- Storage seats keep less-used items close without filling wall cabinets.
- Washable cushions improve comfort and are easier to maintain near food.
- A pedestal table can provide more legroom than a table with four corner legs.
Multi-Use Island Designs
When space allows, a well-planned island can combine a prep surface, casual dining area, drawers, shelving, and electrical outlets in one compact feature.
The critical measurement is the space left around it. NKBA planning guidance recommends a work aisle of at least 42 inches for one cook and at least 48 inches for multiple cooks, measured between counter frontage, tall cabinets, and appliances. A general walkway should be at least 36 inches. These are planning recommendations; local requirements and accessibility needs may call for more space.
Warning: Do not force a fixed island into a kitchen that cannot maintain useful circulation and appliance access. A narrower island does not solve the problem if open drawers, an oven door, or a dishwasher still blocks the remaining aisle.
If a permanent island makes the room too tight, consider a rolling cart, narrow movable worktable, fold-down counter, or peninsula instead. These options can provide extra surface area without permanently occupying the center of the room.
Hidden storage inside the island can help declutter countertops. Deep drawers are especially useful for cookware because contents can be viewed from above instead of being stacked behind one another in a deep cabinet.
Open shelving at the end of an island can provide quick access to cookbooks or frequently used dishes, but it works best when the shelves are not overloaded.
Hidden Storage Solutions
The same planning principle can be applied throughout the room: use areas that would otherwise be difficult to reach without making the kitchen harder to navigate.
Banquettes can conceal hidden storage beneath the seat. Islands can combine deep drawers, shallow utensil storage, open ends, and seating. Narrow pull-out larder cabinets can make use of gaps where a conventional hinged cabinet would be difficult to access.
- Use banquettes with lift-up lids or drawers for seasonal and low-frequency items.
- Specify islands with deep drawers where cookware would otherwise be stacked.
- Add narrow shelves above seating or counters when they do not interfere with headroom.
- Choose furniture that folds, rolls, or tucks away when permanent cabinetry would crowd the room.
Protect Prep and Landing Space
A small kitchen still needs somewhere to put groceries, prepare ingredients, and set down a hot pan. Do not trade away every open section of countertop simply to gain another tall cabinet or appliance.
NKBA planning guidance recommends a primary preparation area of about 36 inches wide by 24 inches deep next to a sink. It also recommends landing space around major appliances and work centers. For a cooking surface, the guidance calls for at least 12 inches of landing area on one side and 15 inches on the other.
The exact plan will vary with the room and appliance instructions, but the principle is simple: keep usable counter space close to where food is washed, prepared, cooked, unloaded, and served.
In a very small one-wall kitchen, a cutting board designed to fit securely over a sink, a pull-out work surface, or a movable cart can add temporary preparation space without permanently increasing the kitchen footprint.
Plan Ventilation With the Layout
Ventilation should be considered before the upper cabinets, cooking surface, and ceiling details are finalized. A range hood or other cooking-ventilation system may require ducting, electrical work, clearances, and a specific mounting height.
Follow the cooking-appliance and ventilation manufacturer’s installation instructions and any applicable local requirements. If ducts, wiring, plumbing, walls, windows, or structural framing must be changed, use qualified trades where required.
Planning these elements early is especially useful in a small kitchen because there is less room to reroute ductwork or move cabinets after installation.
Finish the Look Without Adding Clutter
A small kitchen can feel polished without becoming crowded when decorative choices also support everyday use.
In a tiny kitchen, open shelving can display a small group of useful or decorative pieces while keeping frequently used dishes within reach. A rolling kitchen island or cart can add temporary prep space without demanding permanent floor area.
Reflective surfaces, including glossy tile, glass, polished stone, or high-gloss cabinets, can bounce available light and add visual depth. Built-in storage solutions, from pull-out pantry fittings to under-sink organizers, can keep necessary items out of sight.
The strongest small-kitchen finishes do two jobs at once: they support the design while making storage, cleaning, lighting, or daily movement easier.
A cohesive color palette can reduce visual fragmentation, but it does not have to mean an all-white room. Warm wood, soft neutrals, muted color, and darker accents can all work when lighting and contrast are handled carefully.
The goal is not to make a small kitchen pretend to be large. It is to make the available space easy to use, easy to maintain, and visually organized.
Frequently Asked Questions
What Is the Most Efficient Layout for a Small Kitchen?
There is no single most efficient layout for every small kitchen. A galley can work very well in a narrow rectangular room, a one-wall layout suits compact open spaces, an L-shape keeps one side open, and a U-shape provides more storage when the room is wide enough. Compare appliance placement, door swings, work surfaces, and aisle widths before choosing.
What Are the Common Mistakes to Avoid in Small Kitchen Layouts?
Common mistakes include squeezing in an island without enough aisle space, choosing appliances before checking their door swings, sacrificing all usable prep space for storage, placing major traffic through the main work zone, ignoring ventilation, and using more open shelving than the household can keep organized. Measure the room and appliances before finalizing cabinet sizes.
Is There an App to Design a Kitchen Layout?
Yes. SketchUp can create detailed 3D interior models, magicplan can create and edit floor plans and display them in 3D, and Home Design 3D supports 2D floor planning and 3D visualization. Houzz is useful for design inspiration, project research, and finding professionals, but its consumer app is not the same type of floor-plan modeling tool. For cabinet ordering, verify every app-generated dimension against real site measurements.
What Are the 5 Basic Kitchen Layouts?
Five commonly illustrated kitchen layouts are one-wall, galley, L-shaped, U-shaped, and kitchen-with-island configurations. The list is not universal: some planning guides treat an island as an addition to another layout and count a peninsula as a separate type. For a small kitchen, the available room width and circulation matter more than the label.
Conclusion
A small kitchen works best when practical dimensions come before decorative extras. Choose a layout that suits the room, preserve clear walking and working space, and keep useful preparation areas close to the sink and cooking surface. Vertical storage, compact appliances, layered lighting, banquettes, movable islands, and hidden storage can then add capacity without making the kitchen harder to use. The objective is not to fit in the most features possible, but to make every cabinet, surface, appliance, and walkway earn its place.
Sources
- National Kitchen & Bath Association (NKBA), Kitchen Planning Guidelines with Access Standards — supports work-triangle, aisle, walkway, seating, preparation-area, appliance-door, and landing-space guidance.
- IKEA Kitchen Layout Guidance — supports common one-wall, galley, L-shaped, U-shaped, and island planning configurations and use of the work triangle as a starting point.
- SketchUp Interior Design and SketchUp for Web Documentation — supports the description of SketchUp as a current 3D modeling and interior-planning tool.
- magicplan Help Center — supports floor-plan creation, editing, measurements, and 3D viewing functions.
- Home Design 3D — supports current 2D floor-plan and 3D visualization features.
- Houzz Mobile App — supports the current description of the consumer app as a resource for inspiration, remodeling information, professionals, advice, and products.

2 thoughts on “How to Design a Small Kitchen: Layout Ideas & Planning Tips”