
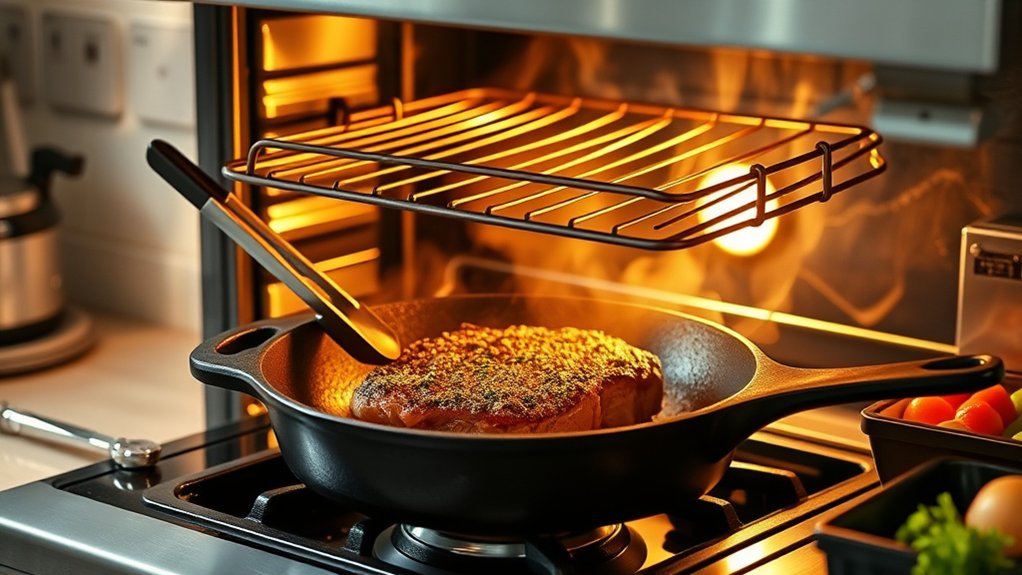
If your oven has no usable broiler, you can still create deep browning with the oven’s highest safe bake or convection setting, a hot cast-iron skillet, a grill, or an air fryer. The best substitute depends on whether you want a browned topping, a seared crust, or charred edges. High-heat cooking moves quickly, so use heat-safe cookware, stay nearby, and check meat with a thermometer.
Quick Answer
To broil without a broiler, preheat the oven to its highest manufacturer-approved bake or convection temperature, place food in the upper part of the oven on broiler-safe metal cookware, and watch it closely. For stronger searing, use a hot cast-iron skillet or grill. High-temperature baking imitates browning but is not identical to true broiling.
Key Takeaways
- Check the oven manual first; some ranges hide the broiler in a lower drawer or use a different function name.
- High-temperature Bake or Convection Bake can brown food, but it does not produce exactly the same direct radiant heat as a broiler.
- Use uncoated metal cookware or cast iron that is rated for the temperature you plan to use.
- Keep food dry and evenly sized, leave space between pieces, and monitor continuously during the final browning stage.
- Use a food thermometer for meat, poultry, and fish instead of judging safety by color alone.
At a Glance
| Time Required | About 10–30 minutes depending on the food, appliance, and preheating time |
| Difficulty | Easy to moderate; close monitoring is required |
| Tools Needed | High-heat-safe metal pan or cast-iron skillet, tongs or spatula, oven mitts, and a food thermometer for meat or fish |
| Cost | No additional cost if you already have suitable high-heat cookware |
Broil Without a Broiler
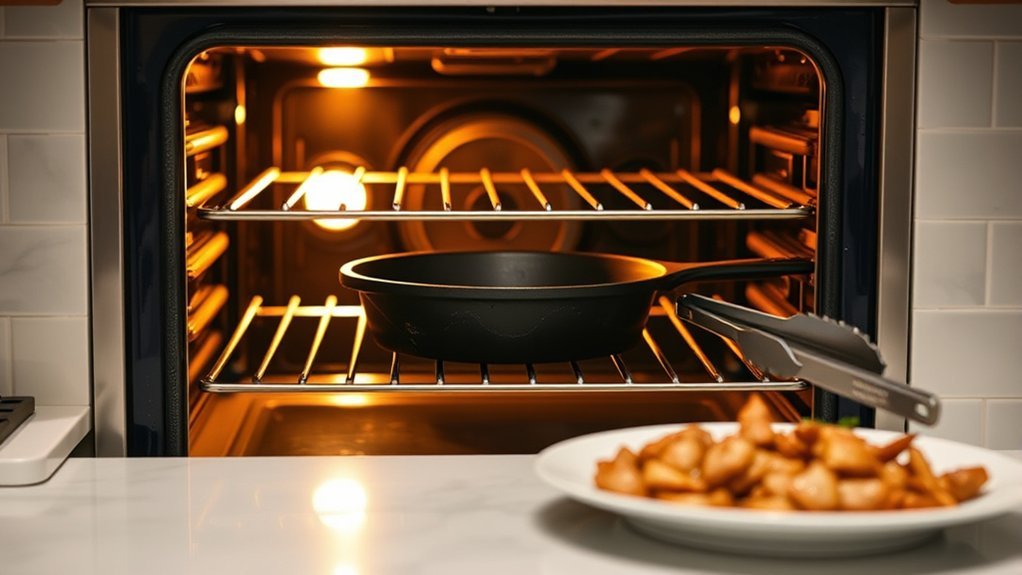
True broiling cooks mainly with intense radiant heat from above. When an oven has no functioning broiler, setting it to a very high Bake or Convection Bake temperature can produce similar surface browning, but the heat pattern is different.
For the oven method, move a rack into the upper third of the oven while the oven is cold, leaving enough clearance between the food and oven ceiling. Set the oven to the highest baking temperature permitted by its manufacturer and let it fully preheat. Many ovens reach 500°F or more, but the available maximum varies by model.
Place the food in a single layer on a sturdy rimmed metal baking sheet, oven-safe rack, or cast-iron skillet. Leave space between pieces so moisture can escape. Watch closely once browning begins.
Warning: Never prop the oven door open unless the owner’s manual for your exact model specifically instructs you to do so. Door requirements vary, and some modern ovens shut the heating element off when the door is opened.
What Broiling Actually Does
A broiler directs intense heat at the exposed surface of food. That fast radiant heating is why cheese bubbles, vegetables blister, and thin meats brown quickly before the interior dries out.
High-temperature baking heats food more broadly from the oven cavity and its active heating elements. It can create excellent browning, but it should be described as a broiler substitute, not true broiling.
Check for a Hidden Broiler First
Before improvising, check the owner’s manual. Some gas ranges place the broiler in a drawer below the main oven rather than at the top of the oven cavity. GE, for example, documents selected ranges with a dedicated lower broiler drawer.
If the appliance normally has a broiler but the element or burner is not working, do not attempt to compensate by altering electrical, gas, or safety components. Use another cooking method until the appliance can be serviced.
High-temperature baking can imitate broiler-style browning, but it does not turn a standard Bake setting into a true overhead broiler.
Use the Highest Oven Setting
For the oven-based substitute, use the highest Bake or Convection Bake setting that the appliance manufacturer allows. Do not assume every oven reaches 500°F to 550°F, and never exceed the controls or instructions supplied with the appliance.
Place the rack in the upper part of the oven before preheating. Instead of relying on an arbitrary 10- or 15-minute preheat, wait until the oven indicates that it has reached the selected temperature.
- Use the highest manufacturer-approved Bake or Convection Bake setting.
- Place the rack in the upper third while the oven is cool.
- Leave safe clearance between food, cookware, and the oven ceiling.
- Preheat completely before adding food.
- Use cookware rated for the selected temperature.
- Begin checking early because surface browning can accelerate quickly.
Pro Tip: If your oven has convection, it often improves surface drying and browning because moving hot air removes moisture from the food more efficiently. Reduce cooking time as needed and follow your appliance instructions.
Choose the Right Pan and Rack
A heavy rimmed metal baking sheet or cast-iron skillet is usually a practical choice for high-temperature cooking. If you place a wire rack inside the sheet, make sure the rack itself is oven-safe at the temperature being used; some cooling racks have coatings that are not designed for extreme oven heat.
Avoid cookware whose manufacturer prohibits broiler or direct-heat use. For example, Pyrex explicitly states that its glass bakeware should not be used under a broiler or other direct heat source.
Best Broiler-Safe Pan
For intense heat, choose sturdy uncoated metal or cast iron that the manufacturer rates for the temperature you plan to use. A rimmed sheet catches juices and fat, while a broiler-style pan with a slotted top can keep food above drippings.
A rack is useful for foods that release fat because it keeps the food elevated. For vegetables or foods that benefit from direct pan contact, a bare metal sheet or cast-iron skillet can produce stronger browning on the underside.
- Use cookware rated for high oven heat.
- Choose a rimmed pan when food may release fat or liquid.
- Use a suitable rack when drainage is helpful.
- Avoid glass products that prohibit broiler or direct-heat use.
- Do not use coated cookware above its manufacturer’s temperature limit.
Rack Height Matters
Rack height affects how quickly the surface browns. In a true broiler, moving food closer to the top element increases radiant heating. With high-temperature Bake, the effect is less direct because the active heating system varies by appliance.
As a starting point, use the upper third of the oven while maintaining enough clearance to prevent the food, rack, parchment, foil, or pan from touching any heating element or oven surface.
If the surface browns too quickly, move the food lower. If it remains pale after the center is nearly cooked, use a stronger finishing method such as convection, a hot skillet, an air fryer, or a grill where appropriate.
Safe Heat-Resistant Materials
Cast iron, stainless steel, and appropriate heavy-gauge metal bakeware are common high-heat choices, but the cookware manufacturer’s temperature rating should always take priority over a generic material rule.
Use a rimmed pan when drippings are expected. The rim should be high enough to contain grease without being so deep that it shields the food unnecessarily from heat.
Do not impose a universal maximum thickness such as 1.5 inches. Instead, select pieces that can cook through safely before their exterior burns, and use a thermometer for meat, poultry, and fish.
Prep Food for Fast Browning
Good browning begins before the food enters the oven. Keep pieces reasonably uniform, remove excess surface moisture, season evenly, and avoid overcrowding.
Wet food must first lose surface water before strong browning can occur. Drying the surface therefore helps high-temperature cooking work more efficiently.
Choose Thin, Even Pieces
Foods with similar thickness cook more predictably because their centers approach doneness at roughly the same rate. This is especially useful when using a fast, high-temperature finishing method.
- Pound chicken cutlets to an even thickness when appropriate.
- Choose steaks or chops of similar thickness when cooking several at once.
- Cut vegetables into similar-size pieces rather than following one rigid measurement.
- Arrange smaller pieces where they can be removed first if necessary.
- Leave enough space between pieces for moisture to escape.
Season for Quick Browning
Season dry food evenly before cooking. A small amount of oil can help seasonings adhere and encourage even color, but excessive oil increases smoke and flare-up risk.
| Action | Purpose |
|---|---|
| Salt appropriately | Seasons the food |
| Add pepper or dry spices | Adds surface flavor |
| Use dry herbs carefully | Adds aroma but may scorch under extreme heat |
| Apply oil sparingly | Encourages browning without excessive grease |
| Use an oil appropriate for high-temperature cooking | Reduces unnecessary smoking |
Sugary sauces can burn quickly. Apply sweet glazes toward the end of cooking unless the recipe specifically calls for another method.
Pat Food Dry First
Pat meat, fish, or vegetables dry with paper towels or a clean kitchen towel before seasoning. Removing visible surface moisture helps the exterior brown instead of steam.
Do not crowd the pan. When many wet pieces are packed together, escaping moisture becomes trapped and slows browning.
- Remove visible moisture.
- Dry all exposed sides.
- Leave space around individual pieces.
- Season after drying when appropriate.
- Use only as much oil as the food needs.
Position Food Close to the Heat
If you are using a true broiler, follow the rack position specified in the owner’s manual or recipe. If you are substituting high-temperature Bake because there is no broiler, use the upper portion of the oven as a starting point but remember that the heat may still come primarily from elsewhere in the cavity.
| Setting | What to Do |
|---|---|
| Rack position | Use the upper third while maintaining safe clearance |
| Temperature | Use the highest manufacturer-approved Bake or Convection Bake setting |
| Pan | Use heat-rated metal or cast iron suited to the food |
| Oven door | Use only the position required by the appliance manual |
| Monitoring | Stay nearby and check frequently as browning accelerates |
Note: Oven-door instructions are model-specific. GE notes that most of its newer ovens require closed-door broiling, while older designs may use a designated partially open broil position. Check your owner’s manual rather than using a universal open-door rule.
Flip Food Before It Burns
High heat can change a surface from lightly browned to burned quickly. Stay near the oven or pan and use a timer as a reminder to inspect the food, not as a substitute for observation.
Turn foods that require browning on both sides after the first side develops the desired color. Foods such as casseroles, gratins, or cheese-topped dishes generally do not need flipping.
Watch Browning Closely
Look for progressive browning rather than waiting for a fixed number of minutes. Cooking time changes with food thickness, sugar content, rack position, cookware, starting temperature, and appliance design.
If one area darkens too rapidly, rotate the pan if your appliance instructions allow it or move the food farther from the strongest heat. If the food is already cooked through, remove it rather than chasing a darker crust.
- Stay in the kitchen.
- Watch color and surface bubbling.
- Check more frequently near the end.
- Move food farther from intense heat if necessary.
- Remove individual pieces early when they finish first.
Flip At The Right Time
Flip steaks, chops, fish fillets, cutlets, or vegetables when the first side has browned enough to release cleanly and the food still has enough cooking time remaining for the second side.
Do not use an internal temperature below the safe minimum as the signal to remove meat from heat and depend on carryover cooking. Whole cuts of meat, ground meat, poultry, and fish should reach the applicable safe temperature before they leave the heat source.
Prevent Burning, Ensure Evenness
Uneven browning usually comes from differences in thickness, crowded cookware, hot spots, or excessive proximity to the heat source.
Space food apart, use similar-size pieces, rotate the pan when useful, and reduce heat or move the rack down if the exterior is browning before the center is ready.
For meat and fish, an instant-read thermometer gives a much better measure of doneness than surface color alone.
Check Doneness and Temperature
Insert an instant-read thermometer into the thickest part of the food without touching bone. For thin steaks, chops, burgers, or fillets, inserting the thermometer from the side can help the probe reach the center. The USDA provides detailed thermometer-placement guidance.
| Food | USDA Minimum | Important Note |
|---|---|---|
| Beef, pork, veal and lamb steaks, chops and roasts | 145°F | Rest at least 3 minutes |
| Ground beef, pork, veal and lamb | 160°F | Check the center |
| Chicken and other poultry | 165°F | Check the thickest portion |
| Fish and shellfish | 145°F | Measure the thickest portion |
These temperatures come from the USDA’s current Safe Minimum Internal Temperature Chart. A food thermometer is more dependable than judging meat by juice color or exterior appearance.
Vegetables do not have the same minimum internal-temperature requirement. Remove them when they reach the tenderness and browning you prefer without scorching.
Broil the Best Foods
Foods that benefit from fast surface browning are the best candidates for broiler substitutes. Thin proteins, vegetables, fruit, toast, and cheese-topped dishes can all work, although the cooking method should match the desired result.
Thin foods and toppings usually respond best to intense finishing heat because the surface can brown before the interior overcooks.
Fish fillets, shrimp, chicken cutlets, thin steaks, asparagus, peppers, zucchini, peaches, pineapple, baked pasta, and gratins are common candidates.
Timing varies too much by appliance and food thickness to promise universal 3-, 5-, or 10-minute results. Begin checking early and use temperature rather than time alone for foods with safety requirements.
- Thin proteins can brown quickly.
- Evenly sized vegetables cook more consistently.
- Fruit can caramelize rapidly because of its sugars.
- Cheese-topped dishes need only surface browning once the dish itself is hot.
- Watch sugary marinades and glazes carefully because they scorch quickly.
Choose the Best Substitute for the Result You Want
| Desired Result | Best Substitute |
|---|---|
| Brown a casserole or cheese topping | Very hot Bake/Convection Bake or an air fryer for small portions |
| Deep crust on steak or chops | Preheated cast-iron skillet or grill |
| Blister vegetables | Hot oven, grill, grill pan, or air fryer |
| Charred grill flavor | Outdoor grill or appropriate indoor grilling appliance |
| Tiny finishing spots such as crème brûlée | A culinary torch used according to its instructions |
A culinary torch is a specialized finishing tool, not a substitute for safely cooking raw meat through. Keep flame away from grease, paper, towels, packaging, and other combustible material.
Prevent Smoke and Fire
High-temperature cooking can generate smoke rapidly when fat, crumbs, oil, or old residue becomes overheated. Trim excessive exterior fat when appropriate, avoid unnecessary oil, and use a rimmed pan to contain drippings.
Run the kitchen exhaust system when suitable and keep the cooking area clean. The U.S. Fire Administration advises staying in the kitchen during broiling and keeping combustible materials away from cooking equipment.
| Action | Purpose |
|---|---|
| Trim excessive fat | Reduces dripping and smoke |
| Use a rimmed metal pan | Contains juices and grease |
| Use the exhaust fan | Helps remove normal cooking smoke |
| Keep oven and pans clean | Reduces combustible residue |
| Stay nearby | Allows immediate response to excessive smoke or scorching |
Warning: If an oven fire starts, turn off the heat and keep the oven door closed. Do not open the door to inspect the flames. If the fire does not go out, spreads beyond the appliance, or you are uncertain it is safe to remain, leave the home and call your local emergency service from a safe location.
Fix Common Broiling Problems
Most problems with a broiler substitute come from excess moisture, incorrect cookware, overcrowding, unsuitable rack placement, or using the wrong method for the result you want.
When browning is weak, first check surface moisture, pan crowding, oven temperature, and cooking method before moving food dangerously close to a heating element.
| Problem | Likely Cause | Fix |
|---|---|---|
| Food stays pale | Wet surface, crowded pan, insufficient heat | Dry the food, create space, fully preheat, or use convection/cast iron |
| One side burns | Hot spot or food too near intense heat | Rotate the pan or move it farther from the heat |
| Food steams | Crowding or excess moisture | Cook in smaller batches and dry surfaces first |
| Heavy smoke | Excess fat, oil, residue, or scorching | Reduce heat, remove excess grease, and clean the pan and oven |
| Food sticks | Pan not prepared or food moved too early | Use suitable oil sparingly and allow a crust to develop before turning |
| Exterior browns before center cooks | Food too thick for the intensity of the method | Move farther from heat, lower temperature, or cook through first and finish at high heat |
If you are finishing an already cooked casserole or baked pasta, strong high heat is useful only for the final surface browning. If you are cooking raw meat, food safety and internal temperature take priority over exterior color.
Frequently Asked Questions
How do you broil if there is no broiler?
Use the highest manufacturer-approved Bake or Convection Bake setting and place the food in the upper part of the oven on high-heat-safe metal cookware. For stronger crust formation, a hot cast-iron skillet, grill, grill pan, or air fryer may work better. High Bake imitates browning but is not identical to true broiling.
What can I use instead of a broiler?
Good substitutes include high-temperature Bake or Convection Bake, a cast-iron skillet, grill or grill pan, and an air fryer. A culinary torch can brown small finished surfaces but should not be used as the primary method for cooking raw meat. A standard microwave is not a broiler substitute because it does not provide the same intense surface browning.
How do you broil without an oven?
Use a hot cast-iron skillet, grill pan, outdoor grill, appropriate countertop grill, or air fryer. A skillet provides strong contact browning, while a grill adds direct heat and char. Use a thermometer whenever cooking meat, poultry, or fish.
How do you broil in a regular oven?
If the oven has a Broil function, use that function and follow its owner’s manual for rack position, temperature, preheating, cookware, and door position. Do not automatically leave the door open. Appliance designs differ, and many newer ovens require the door to remain closed during broiling.
Is baking at 500°F the same as broiling?
No. Broiling relies mainly on intense radiant heat directed at the food, usually from above. Baking at a very high temperature heats the oven cavity more broadly. It can create strong browning, but the heat transfer and results are not identical.
Can you put a glass pan under broiler-style heat?
Use only cookware that its manufacturer approves for the heat source and temperature involved. Pyrex specifically states that its glass bakeware must not be used under a broiler or another direct heat source. When in doubt, use suitable metal cookware instead.
Conclusion
You do not need a dedicated broiler to create a crisp, deeply browned finish, but the substitute should match the food. High-temperature Bake or Convection Bake works well for toppings and vegetables, while cast iron or a grill produces a stronger crust on many proteins. Keep surfaces dry, use heat-rated cookware, stay close to the food, and rely on a thermometer for safe doneness. Most importantly, follow the instructions for your specific oven rather than applying generic advice about rack height or door position.
Sources
- USDA Food Safety and Inspection Service — Safe Minimum Internal Temperature Chart — safe temperatures for meat, poultry, fish, ground meat, and required rest time.
- USDA Food Safety and Inspection Service — Food Thermometers — thermometer placement and safe doneness guidance.
- GE Appliances — Oven Door Position During Broil — explains why open- versus closed-door broiling depends on the appliance design.
- Pyrex — Frequently Asked Questions — manufacturer guidance prohibiting glass bakeware under a broiler or direct heat.
- U.S. Fire Administration — Cooking Fire Safety — monitoring, grease, and kitchen-fire prevention guidance.
- GE Appliances — Roll Out Broiler Drawer — confirms that some gas ranges place the broiler in a lower drawer.
