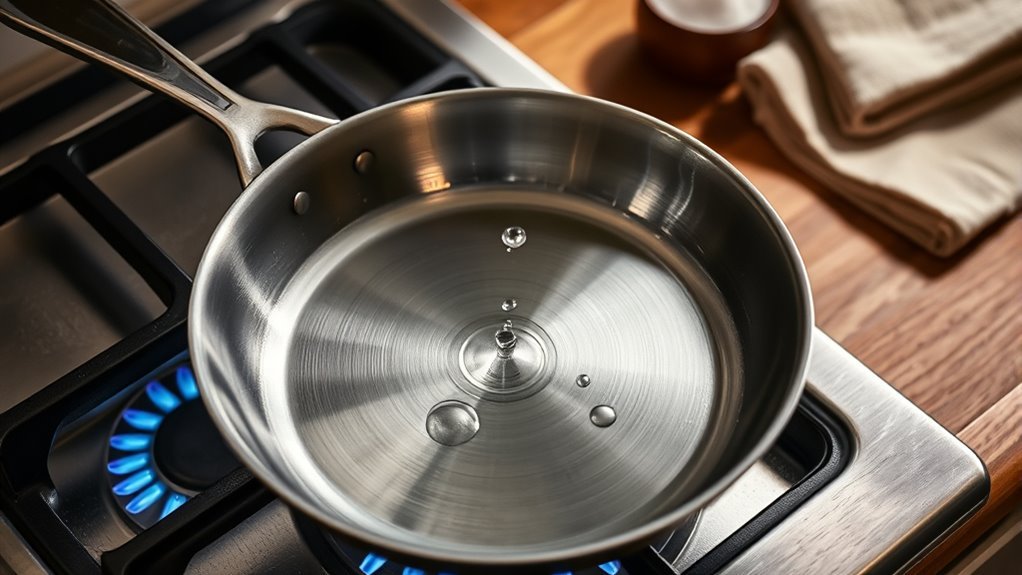
When you see water beads skitter across your pan during a quick test, you know it’s ready for searing—but there’s more to timing and technique than that. You’ll learn how long to preheat by pan size and burner, when to add oil or butter for reliable nonstick eggs, and how to avoid warping or flare-ups. Keep going to get concise, practical steps that make your stainless steel perform predictably every time.
How to Tell When a Stainless-Steel Pan Is Hot Enough
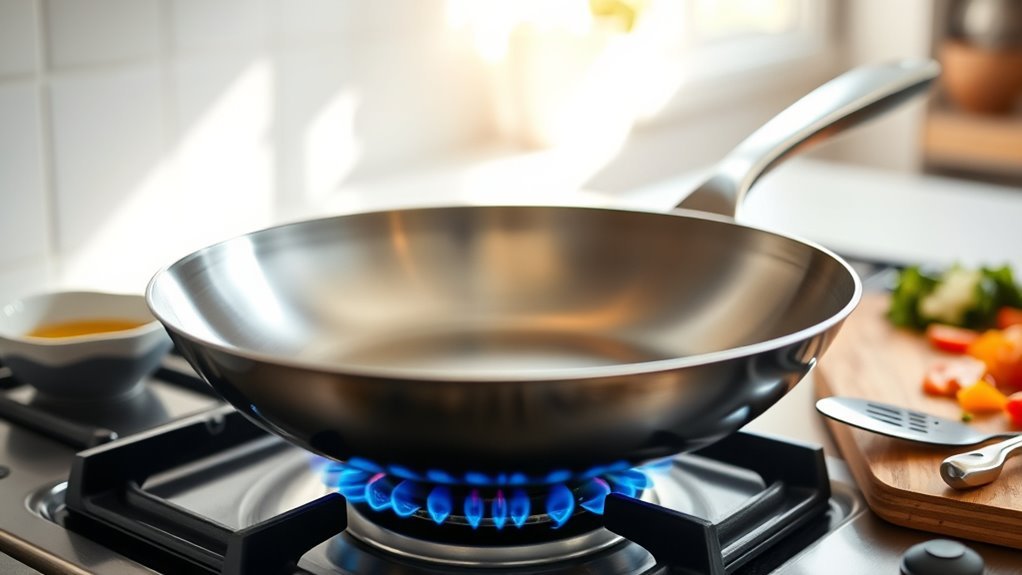
How can you tell when a stainless-steel pan is ready? You’ll preheat it over medium heat for several minutes, letting the metal reach an even temperature without haste.
Hover your hand—if the pan feels warm but not painfully hot, you’re in the right zone. Don’t rely on guesswork; the surface should be uniformly warm to prevent hot spots that cause sticking and uneven cooking.
Hover your hand—when the pan feels evenly warm, not scorching, you’ll avoid hot spots and sticking
If you add oil, watch it closely: when the oil shimmers and flows smoothly across the stainless steel pan, that’s your cue to add food. Avoid cranking the heat; high temperatures risk warping and compromise the pan’s integrity.
Use steady, gentle heat to maintain control and prolong the tool that frees your kitchen practice. These tactile and visual checks give you consistent results: even sear, predictable timing, and less frustration.
You’ll build confidence by observing the pan’s behavior, then acting decisively when conditions align.
Use the Water-Drop (Leidenfrost) Test to Check Readiness
You’ve learned to look and feel for even warmth and shimmering oil; now use the water-drop (Leidenfrost) test to confirm the pan’s readiness. Drop a few tiny droplets onto the preheated pans on medium–medium-high heat. If they skitter and form beads, the surface is at the ideal searing temperature — proteins will crust and release cleanly. If droplets hiss and vanish, wait briefly; if they evaporate instantly, you’ve overheated.
| Observation | Action |
|---|---|
| Beads skitter | Start cooking |
| Hiss then vanish | Slightly increase heat, retest |
| Instant evaporation | Reduce heat, cool briefly |
| Uneven behavior | Redistribute heat, test again |
| No motion | Continue heating, retest |
Use this test to prevent sticking without overcooking. Don’t wait until droplets disappear completely — that’s when burning and warping can begin. The Leidenfrost test gives you decisive, liberating control over temperature so you can sear confidently and free your cooking from guesswork.
Heat Timing for Stovetops and Pan Sizes
Because pan size and stovetop output change how heat spreads, adjust your timing: preheat a stainless pan on medium for about 2–3 minutes for small to medium skillets, adding another minute or two for a 12-inch or larger to reach an even temperature.
You’ll want the pan dry and free of droplets before heating; moisture creates cold spots and defeats consistency. Use the water-drop test to confirm readiness: when beads dance, the surface’s uniform enough for controlled cooking.
Ensure the pan is dry—water droplets cause cold spots. Test readiness: when drops bead and dance, you’re set.
Match heat to purpose — raise to high for searing, keep medium-low for gentle sautéing — but remember larger pans take longer to stabilize, so give them a moment after raising the flame.
Position the pan centrally on the burner so flame or electric coil contacts one place evenly; misalignment produces hotspots.
Stay present: watch the water behavior, feel the handle for rising heat, and trust minimal adjustments. These disciplined steps free you to cook with predictable results and fewer burned experiments.
When to Add Oil or Butter for Non-Stick Eggs
Now that your stainless pan is evenly heated and the water-drop test shows dancing beads, it’s time to add fat for eggs. Preheat on medium until droplets dance; then add oil prior to butter if you want a higher smoke point and steadier heat.
Drop a thin film of oil, watch it shimmer, then add a knob of butter to enrich flavor and further reduce sticking. The fat should melt, spread, and ripple—those visual cues mean your surface is primed.
You’ll act deliberately: don’t add fat to a cold pan or to one that’s screaming hot. Too cool invites sticking and uneven sets; too hot scorches proteins and burns butter.
Aim for steady medium heat, add oil prior to butter when needed, let both stabilize for a few seconds, then introduce eggs. This timing gives you control, freedom from cling, and predictable browning without compromising liberation in technique.
Cooking Eggs in a Stainless-Steel Pan: Step-by-Step
Start with a properly heated pan—perform the water-drop test until droplets bead and dance—set the burner to moderate heat, add a thin film of oil, then a knob of butter to melt and coat the surface.
Heat the pan properly—water should bead and dance—moderate flame, a film of oil, then butter to coat.
You’ll control temperature to protect the pan and your freedom to cook confidently. Use these steps:
- Crack eggs into a warmed bowl, season lightly, then pour into the butter-coated stainless steel pans; let them sit undisturbed until edges set.
- For fried eggs, wait until the white naturally releases before flipping; this yields a clean crust and keeps you in control.
- For scrambled eggs, lower heat and stir gently; for ultra-creamy results, use the bain-marie method—place the pan over simmering water and fold slowly.
- Remove from heat slightly before desired doneness; residual warmth finishes cooking, preserving texture and taste.
These techniques let you master stainless steel pans with precision, reclaiming autonomy at the stovetop.
Quick Fixes: Stuck Eggs, Uneven Browning, and Flare-Ups
When eggs stick, brown unevenly, or cause flare-ups, you can fix them fast with a few targeted moves: preheat and test, add fat, and react calmly.
Use the water drop test — a bead that dances and evaporates means your stainless steel pans are ready; if it flattens, heat more.
Add a small knob of butter or a splash of oil just before eggs hit the surface to create a release layer and boost flavor.
For uneven browning, keep medium, steady heat; let food sear undisturbed until a crust forms, then rotate the pan or shift pieces to even out hot spots.
If eggs begin to stick, slide a thin spatula under a corner and let residual heat release the bond; don’t force it.
When flare-ups occur, drop the heat immediately and use a splash guard to contain splatter while you breathe, adjust, and reclaim control.
These steps free you to cook confidently, not cautiously.
Prevent Warping: Heat-Up Habits to Protect Pan Flatness
Because sudden temperature shifts warp stainless steel, heat your pan gradually over medium rather than blasting it, and never drop a cold pan onto a hot burner. You want control: slow, even warming preserves flatness and performance of frying pans. Use the water drop test—one bead that skates signals readiness—so you don’t overheat.
Heat pans gradually over medium; avoid sudden temperature shifts. Use the water-drop test to know when to start cooking.
- Match burner size to pan base to avoid edge overheating and long-term distortion.
- Preheat on medium, wait for uniform warmth across the bottom before adding fat or ingredients.
- Never set a cold frying pan on a blazing burner; let it come up in temperature with the element.
- Check the pan periodically; if it won’t sit flat, replace it to keep cooking honest.
These habits give you agency over equipment: predictable heat, consistent searing, and less waste.
Practice them and your pans will resist warping, delivering reliable results without drama.
Care and Maintenance to Extend Pan Life + 1-Minute Checklist
If you want your stainless steel pan to last, treat heat, oil, and cleaning as routine maintenance: preheat on medium for 2–3 minutes, use the water-drop test to know when to add oil or food, and wipe a thin film of oil after cooling to bolster nonstick properties. You’ll protect the metal and free yourself from repeat replacements: avoid sustained high heat, don’t shock the pan with cold water after frying, and clean gently with warm soapy water.
| Task | When | Purpose |
|---|---|---|
| Preheat | 2–3 min medium | Even cooking, less sticking |
| Water-drop test | Before oil | Correct readiness |
| Oil wipe | After cool | Maintain seasoning |
| Heat control | During cooking | Prevent warping |
| Gentle wash | After use | Preserve shine |
One-minute checklist: preheat, test with water, add oil when dancing, cook on medium, cool then wipe oil. These steps keep your stainless steel pans reliable and liberate you from needless upkeep.
Frequently Asked Questions
Do I Need to Season a Stainless Steel Pan Before Use?
No—you don’t need to season a stainless steel pan before use.
You’ll heat it gradually, test temperature with the water drop test, then add oil or butter to improve release.
Use simple Seasoning Techniques like oiling a hot surface briefly if you want extra slickness, but it’s optional.
Clean gently, avoid harsh abrasives, and maintain regular care so the pan stays efficient and free, letting you cook confidently and creatively.
What Are the Downsides of Using Stainless Steel Pans?
You’ll face drawbacks: stainless steel can stick if you don’t control temperature and use fats, it often shows discoloration from high heat, and it’s heavier to handle.
Heat distribution isn’t as even as alternatives, creating hot spots that need attention.
You’ll also need more technique to prevent sticking and manage oil, which can feel restrictive but empowers you to master cooking freedom through deliberate temperature and handling control.
Can a Stainless Steel Pan Go in a 400 Degree Oven?
Yes — you can usually put a stainless steel pan in a 400°F oven.
Check manufacturer guidelines for Oven Safety, especially handles or lids that might melt.
Preheat the pan to promote even cooking and reduce sticking, then transfer food to finish roasting or to brown meats.
Use oven mitts; the handle will get hot.
You’ll gain reliable heat and flavor control while staying safe and uncompromised in the kitchen.
How Do You Prepare a Stainless Steel Pan for the First Time?
Initial Cleaning: You wash the pan with warm, soapy water, rinse and dry it thoroughly.
Then you preheat it over low–medium heat for a few minutes, perform the water drop test to confirm proper temperature, and add enough oil or butter to coat the surface. This creates a protective, semi-nonstick layer.
You’ll cool the pan after use and clean gently to preserve its performance and freedom from warping.
Conclusion
You’ll know the pan’s ready when it’s evenly warm and water beads dance across the surface — that’s your cue to add oil and start searing. Heat for 2–5 minutes depending on pan size, center it on the burner, and adjust to avoid warping. For eggs, add fat once the oil shimmers; use gentle techniques to prevent sticking. Care, quick fixes, and steady heat keep performance sharp as a blade.