
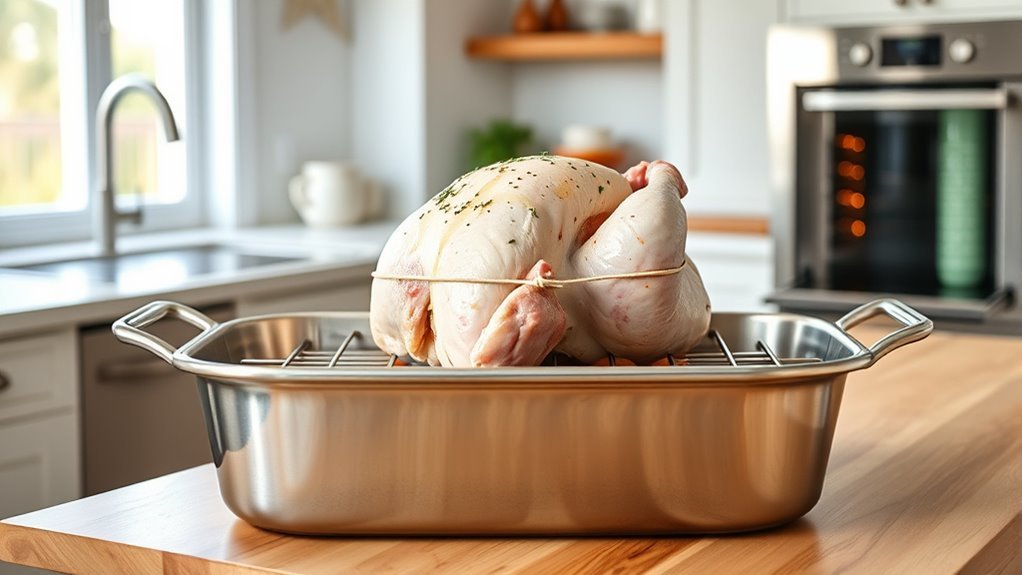
Imagine you’re preparing a succulent roast for a family gathering, and you want it to be perfectly cooked and beautifully presented. Using a roasting pan with a rack can elevate your dish by ensuring even heat distribution and allowing excess fat to drain away. But how do you achieve that ideal roast? Follow this simple step-by-step guide to master the art of roasting and impress your guests with your culinary skills.
How to Use a Roasting Pan and Rack?
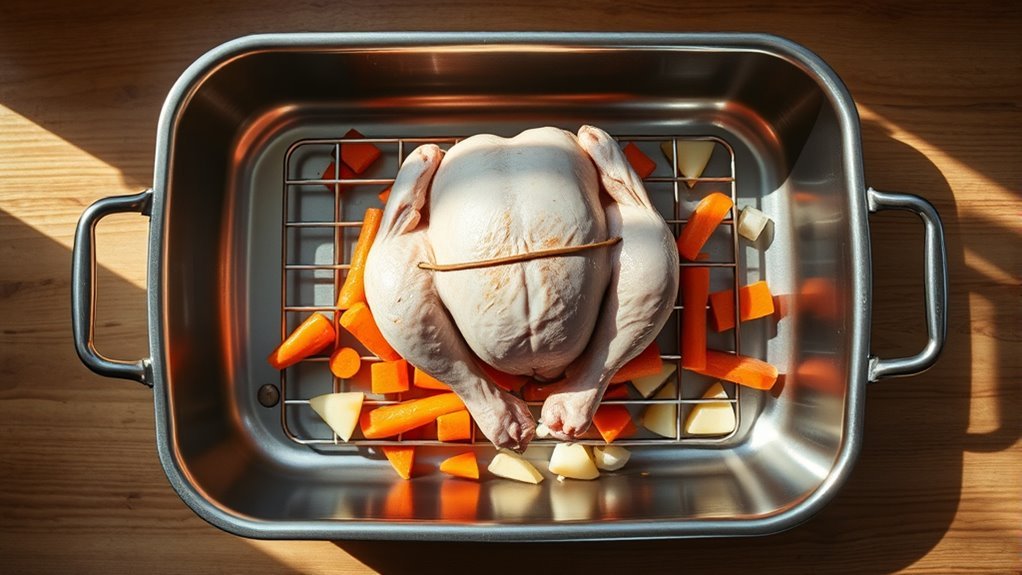
When you’re ready to roast, using a roasting pan and rack can elevate your meal to new heights. Start by selecting the perfect size roasting pan that allows 2-3 inches of space around your meat for ideal air circulation.
Using a roasting pan and rack ensures optimal air circulation, enhancing your meal’s flavor and texture. Select the right size for best results.
Preheat the oven to the desired temperature, ensuring even cooking. Position the rack in the pan to lift the meat above the bottom, letting hot air circulate freely and preventing steaming.
As your meat cooks, don’t forget to baste it with the juices collected in the pan. This not only enhances flavor but also allows excess fat to drip away.
Once your meat reaches the desired doneness, remove it from the oven and let it rest on the rack for 10-15 minutes. This step is essential; it allows the juices to redistribute, ensuring a tender, flavorful result.
Enjoy the deliciousness you’ve created!
Essential Tips for Cooking Meat and Veggies in Your Roasting Pan
Roasting isn’t just about meat; your roasting pan is a versatile tool that can elevate both meats and vegetables to delicious heights.
To guarantee even cooking, place your meat on the roasting rack, leaving 2-3 inches of space around it for ideal air circulation. This setup not only promotes perfectly roasted results but also allows for fat drainage, making your meals healthier and simplifying gravy preparation.
For cooking time, aim for about 20 minutes per pound of meat, adjusting as needed. Use a meat thermometer to check for a safe internal temperature of at least 130°F.
Don’t skip the resting period; letting your meat rest for 10-15 minutes allows juices to redistribute, assuring a moist and flavorful dish.
For veggies, toss them in oil and seasoning, then roast alongside your meat for a complete meal that’s satisfying and beautifully caramelized.
Enjoy your culinary liberation!
Basting Techniques for Perfect Roasts
Basting is a game-changer for achieving perfectly moist and flavorful roasts. By periodically pouring broth or pan drippings over your meat, you not only enhance its flavor but also maintain its juicy texture. Using a roasting rack allows excess fat to drain away, making your basting more effective and preventing a greasy finish.
To get the best results, try the following basting techniques:
| Basting Liquid | Frequency | Tips |
|---|---|---|
| Broth | Every 30-45 mins | Keep the oven door closed as much as possible. |
| Melted Butter | Every 30-45 mins | Mix with herbs for extra flavor. |
| Olive Oil | Every 30-45 mins | Drizzle lightly to avoid greasiness. |
| Wine or Citrus Juice | Every 30-45 mins | Adds a unique twist to the flavor. |
| Pan Drippings | Every 30-45 mins | Use a baster for even application. |
Monitor your meat’s internal temperature, aiming for at least 130°F for safety. Enjoy those perfect roasts!
Cleaning and Caring for Your Roasting Pan
Cleaning and caring for your roasting pan is essential for maintaining its performance and longevity.
Always hand wash your nonstick roasting pans with warm, soapy water and a soft sponge. This protects the coating and prevents damage.
For stainless steel pans, use a gentle abrasive cleaner for stubborn spots and soak the pan to loosen tough food residues.
Clean your roasting pan promptly after use; letting residues harden makes cleaning a chore.
Regularly check for signs of wear on nonstick surfaces to guarantee peak cooking performance and safety.
When storing, keep your pans in a dry place and avoid stacking heavy items on top, as this can scratch and mar their appearance.
Troubleshooting Common Roasting Issues
When tackling common roasting issues, it’s essential to understand the nuances of your roasting pan and how it interacts with heat and ingredients. Here’s a quick guide to help you troubleshoot:
| Issue | Solution |
|---|---|
| Uneven Cooking | Maintain 2-3 inches of space around meat for air circulation. |
| Sticking Meat | Use oil or a nonstick rack for easy lifting post-roast. |
| Excess Smoke | Check for drippings; add liquid to the bottom of the pan. |
To keep your meat moist, baste it regularly, allowing fat to drip away rather than pool. If veggies burn, add them later or reduce the oven temperature for even cooking. These tips not only help achieve that crisp skin but also make cleanup quick and easy, so you can savor your delicious meal without hassle!
Frequently Asked Questions
How Long Do I Cook a Roast in a Roaster Pan?
To cook a roast in a roaster pan, aim for about 20 minutes per pound at 200°F.
Then crank it up to 500°F for browning. Use a cooking time calculator to adjust based on roast type.
Monitor the internal temperature for doneness—130°F for medium rare, up to 160°F for well-done.
Don’t skip the resting period of 10-15 minutes to enhance flavor.
Season generously and consider basting for extra moisture!
How to Use a Roast Pan?
To use a roast pan, start by selecting the right pan materials for your meat type.
Preheat your oven to the desired cooking temperature.
Place the rack inside to elevate your meat, enhancing flavor and allowing drippings to collect below.
Season your meat using your favorite methods for extra taste.
Monitor cooking times and enjoy easy cleanup with non-stick surfaces.
Finally, serve your dish with creative recipe variations for a delightful meal experience!
How to Properly Use a Roaster?
To properly use a roaster, start by selecting the right pan that fits your meat snugly. Preheat it to enhance those cooking temperatures.
Season your meat well for flavor infusion, and don’t forget to include veggies for a delicious contrast. Use basting methods to keep everything moist, and pay attention to roast timing for perfect results.
After, cleanup’s a breeze—just soak the pan to loosen drippings. Enjoy your flavorful feast!
Conclusion
Now that you know how to use a roasting pan with a rack, imagine the succulent aroma wafting through your kitchen as your perfectly cooked meat rests, juices pooling below. Picture your guests gathered around the table, anticipation in their eyes, ready to savor each tender bite. Remember, with a little practice and these tips, you can transform any meal into a feast. So, embrace your roasting pan, and let your culinary creativity shine!