
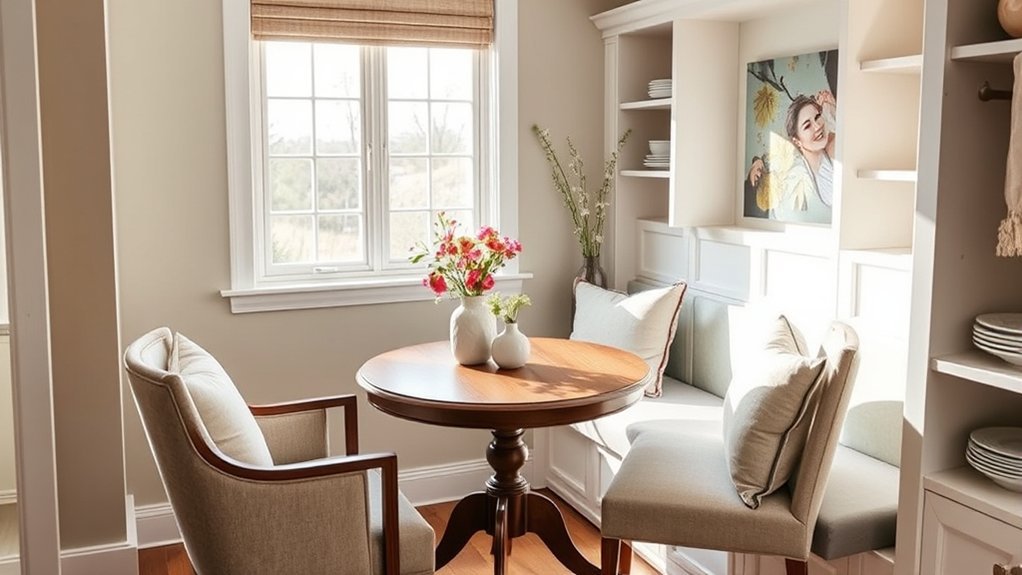
A well-built breakfast nook bench starts with the room, not a fixed set of dimensions. Measure the available walls, decide how the bench will meet the dining table, and size the finished seat for comfortable dining. A 2×4 frame with a plywood seat is a practical DIY method, but the exact cut list, supports, storage, fasteners, and finish should be based on your specific space.
Quick Answer
To build a breakfast nook bench, measure the room and table first, plan for a finished seat height around 18 inches and roughly 18 inches of usable seat depth, build a rigid 2×4 frame, anchor it to structural framing, cover it with plywood, add trim, sand, finish, and install cushions if desired.
Key Takeaways
- Size the nook from the actual room and dining table; there is no universal 12-foot or 6-foot breakfast-nook dimension.
- Aim for about an 18-inch finished seat height, including the compressed cushion, and roughly 18 inches of usable seat depth as a practical starting point.
- Create the 2×4 cut list after measuring; the project does not require a fixed number of frame pieces.
- Support plywood seams and long spans, and anchor the finished frame to wall studs, structural framing, or rated masonry anchors rather than drywall alone.
- Wear appropriate PPE when cutting and sanding, control wood dust, and use lead-safe practices before disturbing painted surfaces in a pre-1978 home.
At a Glance
| Time Required | Usually a weekend for a straightforward bench, plus drying and curing time for filler, primer, paint, or stain |
| Difficulty | Intermediate DIY woodworking |
| Tools Needed | Tape measure, level, stud finder, drill/driver, saw, clamps, pocket-hole jig if used, sander, square, and appropriate PPE |
| Cost | Varies by bench size, plywood grade, storage hardware, cushions, finish, local material prices, and which tools you already own |
Plan Your Breakfast Nook Bench
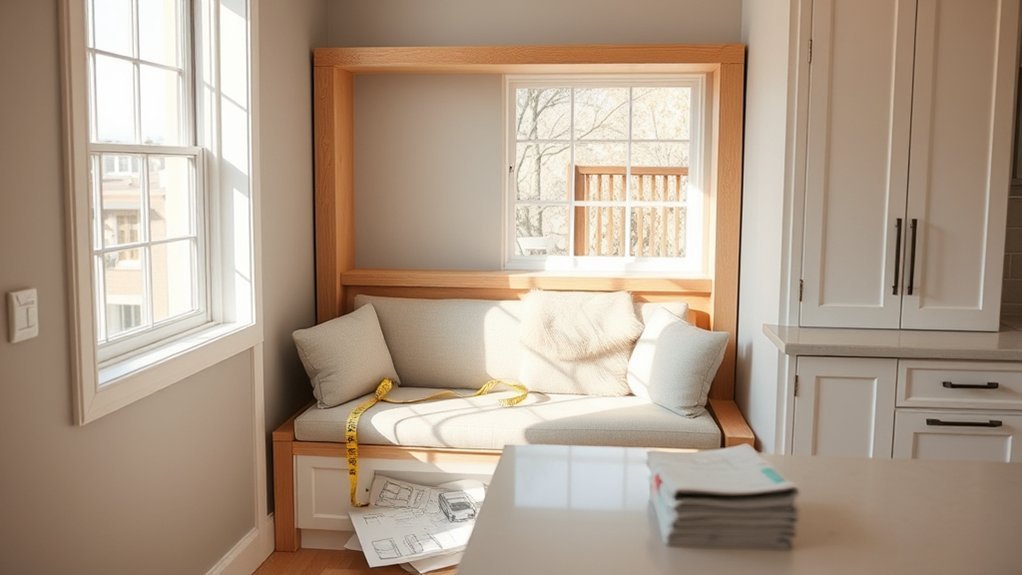
A successful breakfast nook bench begins with careful measurement because the seat, table, wall, and walkway all have to work together. Do not assume that a particular overall footprint will suit every kitchen.
Measure each wall at the floor, at seat height, and slightly above the planned bench. Older walls are often not perfectly straight or square. Check the corner with a framing square and note baseboards, outlets, heat registers, doors, windows, plumbing access, and anything else the bench could block.
Choose Comfortable Bench Dimensions
A useful starting target is a finished seat height of about 18 inches from the floor to the top of the seat or compressed cushion. Professional banquette-building guidance commonly uses approximately an 18-inch finished seat height and an 18-inch usable seat depth.
If you plan to add a thick cushion, subtract its compressed thickness when deciding how high to build the plywood platform. A 16-inch wooden platform plus a cushion that compresses to roughly 2 inches, for example, produces an approximately 18-inch finished seat.
| Measurement | Practical Starting Point | What to Check |
|---|---|---|
| Finished seat height | About 18 in. | Include the compressed cushion thickness. |
| Usable seat depth | About 18 in. | Account for back cushions or an angled backrest. |
| Dining surface | Coordinate with the actual table | Check knee space, apron depth, and entry into the bench. |
| Length | Project-specific | Base it on wall length, table size, desired capacity, and circulation. |
The National Kitchen & Bath Association planning guidelines recommend about 24 inches of width and 18 inches of knee-space depth per diner at a 30-inch-high table or counter. Use the actual table dimensions, apron, pedestal, and bench location when confirming the fit.
Pro Tip: Put painter’s tape on the floor to mark the bench and table footprint before cutting lumber. Pull chairs into place and walk around the taped layout. It is much easier to move tape than a finished built-in.
If the nook will use a backrest, remember that a slightly reclined back generally feels more comfortable than a perfectly vertical board. A back cushion also reduces usable seat depth, so include it in the mock-up.
Storage can be integrated into the base with drawers, doors, removable panels, or lift-up seat lids. Decide on the storage type before framing because drawer openings and hinged lids affect the location of cross supports.
Gather Materials and Tools
Once the dimensions are confirmed, make a project-specific materials list. There is no universal twelve-piece cut list because every breakfast nook has different dimensions and storage requirements.
Typical Materials
- 2×4 lumber for the structural frame
- ¾-inch plywood for the seat top and, if desired, visible sides or fronts
- 1x trim boards or molding for finished edges and face details
- Pocket-hole screws if pocket joinery is used
- Construction or structural screws appropriate for attaching the frame to the wall structure
- Wood glue where appropriate
- Finish nails or brads for nonstructural trim
- Wood filler or paintable filler
- Primer and durable interior paint, or stain plus a compatible clear finish
- Hinges, drawer slides, pulls, or other storage hardware if required
- Cushions or upholstery if the design includes them
If joining standard 2×4 framing with pocket holes, follow the jig manufacturer’s setup and screw recommendations. Kreg’s current guidance specifies 2½-inch pocket-hole screws for 1½-inch-thick material and recommends coarse threads for common softwoods and sheet goods. See the Kreg pocket-hole guide for the correct material settings.
Typical Tools
- Tape measure and pencil
- 4-foot level or laser level
- Framing square or combination square
- Stud finder
- Drill/driver and drill bits
- Circular saw or miter saw
- Oscillating multi-tool if existing trim must be cut
- Pocket-hole jig if using pocket joinery
- Clamps
- Random-orbit sander or sanding block
- Vacuum or dust extraction
- Eye protection, hearing protection, and appropriate respiratory protection for dusty work
Warning: Cutting and sanding create blade, noise, and dust hazards. Keep saw guards functioning, clamp work securely, keep hands clear of the cutting path, and wear appropriate eye and hearing protection. OSHA’s handheld-saw safety guidance specifically identifies blade contact as a hazard and calls for proper guarding and eye/face protection. Follow the instructions supplied with every power tool you use.
Make a Cut List Before Building
Instead of cutting an arbitrary number of 2x4s, draw the frame and label every part before making the first cut. A simple straight bench usually needs:
- A front top rail and rear top rail.
- A front bottom rail and rear bottom rail where the design uses them.
- End framing at both sides.
- Intermediate vertical supports.
- Cross supports between the front and rear rails.
- Extra framing around drawers, doors, hinged lids, plywood seams, or corners.
For an L-shaped nook, draw each bench run independently and then plan how the two frames will meet in the corner. Support every plywood joint so two unsupported sheet edges do not meet over an open cavity.
Write the finished length beside every part on the drawing and group identical pieces. Recheck the room dimensions before cutting. Walls and floors can be uneven, so leave the final scribing or trim adjustment until the frame has been test-fitted.
Build the Bench Frame
Cut the 2×4 lumber to the lengths in your measured cut list. Dry-fit the pieces on a flat surface before driving screws.
- Assemble the front and rear rails with the end pieces.
- Add vertical supports and cross members according to the bench length and storage layout.
- Place framing below plywood seams and other points that need direct support.
- Check each section for square by measuring diagonally corner to corner.
- Check the top rails with a level before tightening the final fasteners.
- Test-fit the frame in the nook before attaching plywood.
Pocket holes are useful for concealed framing joints, but they are not the only option. Use correctly sized screws and do not overdrive them, which can weaken the joint or strip the wood.
Note: A long bench or one intended for unusually heavy loads may require additional framing beyond a simple DIY layout. If you are unsure whether a span, connection, wall, or unusual cantilever is adequate, have the design reviewed by an experienced carpenter or qualified building professional.
Trim Baseboards and Fit the Bench
Some built-in benches fit more neatly when the baseboard is removed only where the new structure meets the wall. In other rooms, the frame can be notched or scribed around existing trim. Choose the method that avoids unnecessary damage.
Warning: If the home was built before 1978, painted baseboards or walls may contain lead-based paint. Cutting, drilling, or sanding those surfaces can create hazardous dust. Review the U.S. EPA’s lead-safe renovation guidance for DIYers before disturbing old paint, or use an appropriate lead-safe certified professional.
- Set the assembled frame in position.
- Check that it is level from side to side and front to back.
- Mark any baseboard areas that must be removed or notched.
- Cut only the required trim sections with an appropriate tool.
- Shim the frame where necessary if the floor is slightly uneven.
- Recheck the finished seat-height calculation after shimming.
Locate wall studs or other structural framing before anchoring the bench. Also consider whether electrical wiring or plumbing could be present where you plan to drill.
Fasten the frame to structural framing with screws suitable for the actual wall assembly. The screw must be long enough to pass through the bench framing and wall finish and achieve the embedment required by the fastener manufacturer. For masonry walls, use anchors specifically rated for the substrate and expected load. Do not rely on drywall alone to hold a built-in seating bench.
Add Plywood, Trim, and Seat Tops
With the frame level and secure, cut ¾-inch plywood panels for the seat and any visible front or side surfaces. Dry-fit every panel before fastening it permanently.
Plywood Panel Installation
- Measure each opening rather than assuming the frame is perfectly identical from one end to the other.
- Mark the plywood and cut with the finished face supported to reduce tear-out.
- Confirm that every plywood seam lands over framing.
- Pre-drill near vulnerable edges where splitting is possible.
- Fasten the plywood securely without driving screw heads so deeply that they damage the face veneer.
- Leave planned storage openings accessible.
If storage is built beneath the seat, choose the access method before permanently installing the top. Drawers provide easy front access but require slides and clearance. Hinged lids use fewer interior parts but require the user to lift the seat or cushion.
Warning: A heavy hinged plywood lid can pinch fingers or fall unexpectedly. Use hinges and lid supports designed for the panel size and weight, and keep hinge hardware out of the seating surface.
Seat Top Finishing
Cut the seat top to the final bench dimensions. A small front overhang can hide the frame and create a cleaner edge, but it should not be so large that the unsupported plywood flexes when someone sits near the front.
Trim pieces cut from 1x material can cover exposed plywood edges and create a more finished face. Miter outside corners when that suits the trim profile, or use square butt joints for a simpler look.
| Task | Purpose |
|---|---|
| Wood glue plus finish nails or brads | Secure nonstructural trim while the adhesive cures |
| Mitered corners | Create a continuous decorative trim line |
| Wood filler | Level small nail holes and surface defects before finishing |
Sand, Paint, and Secure the Bench
Sanding and finishing protect the surface and make the bench easier to clean. The correct sanding sequence and coating system depend on the plywood, trim, stain, or paint you selected.
Sanding the Surface
Begin with a grit suitable for the condition of the wood. For already smooth plywood and trim, aggressive sanding may do more harm than good. Sand in the direction of the grain where practical and soften sharp exposed edges without rounding over joinery that must remain crisp.
- Fill nail holes, small gaps, and minor defects with a compatible filler.
- Allow the filler to dry according to its instructions.
- Sand the filler flush.
- Remove sanding dust with a vacuum and appropriate dust-removal method.
- Inspect the surface under angled light before applying finish.
Wood sanding produces fine dust. Use effective dust extraction and personal protection appropriate for the material and task rather than allowing dust to spread through the kitchen.
Paint and Anchor
For a painted breakfast nook, choose a durable, washable interior finish intended for trim, cabinets, or furniture. Apply primer when required by the paint system, then apply the number of top coats specified by the coating manufacturer.
Do not assume that every project needs three or four coats. Different products have different coverage, recoat times, and cure schedules. Allow each layer to dry properly and let the final finish cure before placing heavy cushions, storage bins, or constant seating pressure on it.
If staining, test the stain on a scrap of the same plywood or trim first. Plywood face veneers, solid wood, and filler can absorb stain differently, so a test piece helps avoid a mismatched finish.
After finishing, recheck all structural attachment points. The bench should not rock, pull away from the wall, or flex noticeably during normal use.
Fit the Table and Cushions
The bench is only comfortable if it works with the dining table. Move the actual table into position before ordering custom cushions or declaring the project complete.
- Check that diners can slide into the bench without getting trapped by table legs.
- Confirm adequate knee space beneath the tabletop and any apron.
- Make sure the tabletop is close enough for comfortable eating without forcing users to lean far forward.
- Verify that chairs on the open side have enough room to pull out.
- Confirm that nearby doors, drawers, refrigerators, and appliances can still open.
Pedestal and trestle-style tables can work especially well with built-in banquettes because they reduce the number of legs near entry points.
Measure for cushions only after the finished bench dimensions are known. Include the cushion’s compressed height when checking the final seating position.
Optional Accessibility Considerations
A private residential breakfast nook is not automatically governed by commercial ADA dining requirements, but accessibility dimensions can still provide useful design guidance if someone in the household uses a mobility device.
The U.S. Access Board accessibility standards use a 30-by-48-inch minimum clear floor space for many accessible approaches and specify accessible dining surfaces 28 to 34 inches above the floor where those standards apply. A movable chair position at one end of the table may be easier to adapt than enclosing every side with fixed bench seating.
Troubleshoot Common Breakfast Nook Problems
Bench Rocks on the Floor
Recheck the floor with a level. Use durable shims beneath structural frame locations as needed, then secure the frame so the shims cannot move. Do not force a twisted frame flat with the plywood top.
Wall Is Not Square
Keep the structural frame square and scribe the finish panel or trim to the wall where practical. Trying to twist the entire bench to match an irregular wall can create poor joints elsewhere.
Seat Top Flexes
Check whether the plywood is properly supported, especially at seams and along long open spans. Add framing beneath inadequately supported areas before regular use.
Bench Squeaks
Check loose frame joints, plywood rubbing against framing, and wall connections. Tighten accessible fasteners and correct movement at the source instead of simply adding more nails through finished surfaces.
Storage Drawer Binds
Recheck whether the opening is square and whether the slides are parallel and level. A slightly twisted frame can make an otherwise correctly sized drawer bind.
The Table Feels Too Far Away
Move the table before changing the bench. If table legs prevent a comfortable position, a pedestal or trestle-style base may create better access than a four-leg table.
The most important breakfast-nook measurement is not an arbitrary room size; it is the relationship between the finished seat, table, knee space, cushion, and circulation around the nook.
Frequently Asked Questions
How Do I Make My Own Breakfast Nook?
Measure the room and table, mark the footprint, calculate the finished seat height and depth, create a measured cut list, build and level a 2×4 frame, anchor it to structural framing, install plywood and storage components, add trim, sand, finish, and then fit the table and cushions. Soft cushions, artwork, and appropriately placed lighting can finish the nook after the structural work is complete.
How Much Would It Cost to Build a Breakfast Nook?
There is no dependable universal price because a short open bench and a large L-shaped banquette with drawers, premium plywood, custom cushions, and new tools are very different projects. Build the cut list first, then price the lumber, plywood, trim, fasteners, storage hardware, finish, cushions, and any tools you do not own at current local prices.
What Is a Good Size for a Breakfast Nook?
A good breakfast-nook size is one that fits the table, desired number of diners, and surrounding circulation. Instead of using a universal room footprint, start with roughly an 18-inch finished bench height and about 18 inches of usable seat depth, then determine the bench length and table position from the actual room. Allow additional space for chairs and walking where the layout requires it.
How Do I Make a Small Nook More Functional?
Use an L-shaped or single-wall bench where it improves floor efficiency, select a table base that does not block entry, and use the cavity below the seat for drawers or lift-up storage when practical. Keep appliance doors, pathways, heat registers, electrical access, and other service points unobstructed.
Should a Breakfast Nook Bench Be Attached to the Wall?
A built-in bench should be stabilized according to its design and wall construction. When the design relies on wall attachment, fasten it to structural studs, blocking, framing, or rated masonry anchors rather than drywall alone. Use fasteners suitable for the actual substrate and follow their installation requirements.
Conclusion
A breakfast nook works best when its dimensions come from the room and table rather than a generic template. Plan the finished seat height and depth first, make a measured cut list, build a square and well-supported frame, anchor it to structural material, and finish the plywood and trim carefully.
Before calling the project complete, sit at the table, test entry and knee space, open nearby cabinets and appliances, check the bench for movement or flex, and let the finish cure fully. Those final checks turn a basic built-in bench into a comfortable nook that works well for everyday meals.
Sources
- National Kitchen & Bath Association — Kitchen Planning Guidelines — dining and knee-space planning guidance.
- Kreg — How to Use a Pocket-Hole Jig — pocket-hole setup and screw sizing for different material thicknesses.
- Occupational Safety and Health Administration — Handheld Saw Safety — saw guarding, blade hazards, and eye/face protection.
- U.S. Environmental Protection Agency — Lead-Safe Renovations for DIYers — precautions when disturbing painted surfaces in pre-1978 homes.
- U.S. Access Board — ADA Accessibility Standards — reference dimensions for accessible floor space and dining surfaces where applicable.
