
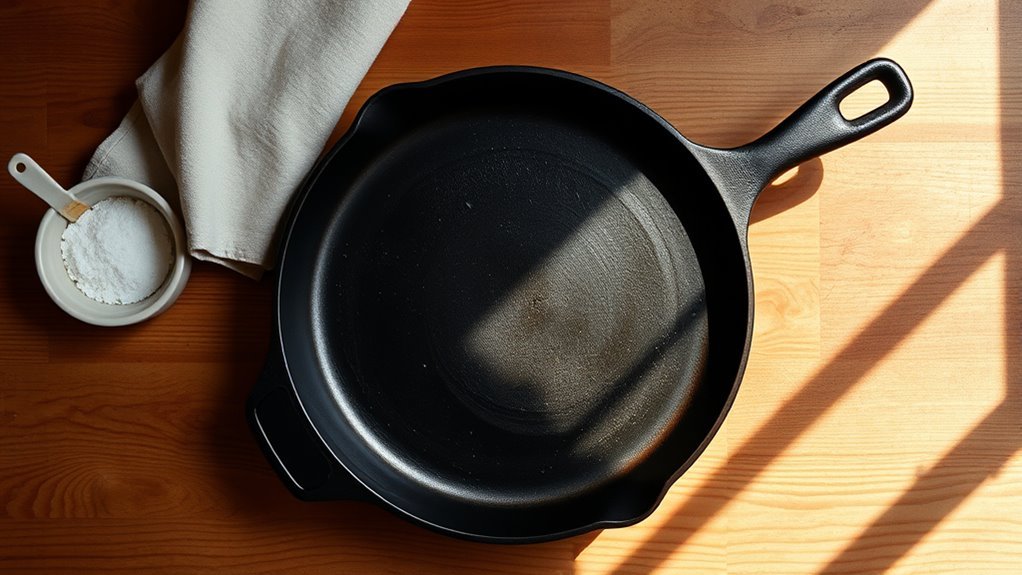
You’ll want your cast iron ready before it hits the stove: feel the weight, scan for rust or rough spots, and smell for factory oils that need removing. With a few simple tools and the right oil, you’ll strip, dry, and bake a durable nonstick surface that improves with use. Follow the steps that come next and you’ll avoid sticky, patchy seasoning and keep the pan cooking beautifully for years.
Quick Checklist: Prep Cast-Iron in 5 Steps
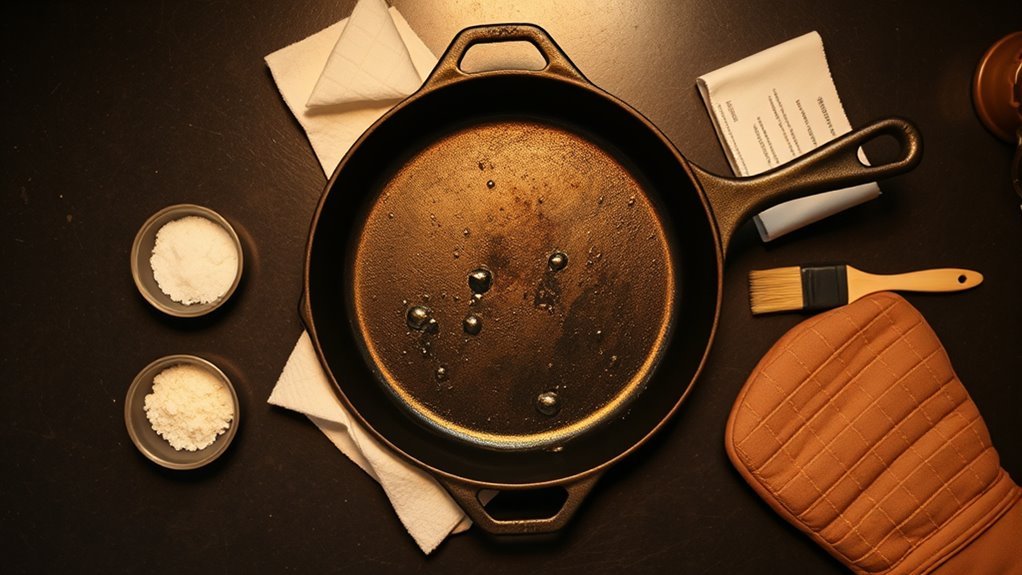
Start by washing the skillet with warm, soapy water to strip any factory residue, then rinse and dry it completely—either towel-dry or warm it on the stove until no moisture remains.
Next, coat every surface with a thin layer of vegetable, canola, or lard; buff until it looks barely shiny so the oil spreads evenly.
Rub a thin sheen of vegetable oil, canola, or lard over every surface; buff until it’s just barely shiny.
Place the pan upside down on a rack in a 425°F (220°C) oven, catching drips with foil below, and bake for 30 minutes so the oil polymerizes into a protective film.
Let it cool, then repeat the oiling and baking cycle 3–4 times to build a resilient, nonstick patina.
You’re creating a seasoned cast iron surface that frees you from sticky cooking and constant worry.
Follow this compact checklist each time you prep a new pan, and you’ll claim a reliable tool that rewards you with better flavor, easier cleanup, and the quiet satisfaction of mastery.
Inspect the Pan: Refurbish, Re-Season, or Replace?
Run a quick inspection before you season: check for cracks or chips by sight and with a light rap on the bottom, feel for pitting or rough rusted spots, and note whether the seasoning is patchy or worn.
If rust is surface-level you can scrub it away and re-season, but deep pitting or a dull thud on the sound test usually means replacement.
Use these findings to decide whether to restore the pan with steel wool and oil or move on to a safer cast-iron.
Check For Structural Damage
Before you cook, give the pan a careful once-over: look for cracks, chips, or deep pitting that can affect heat and safety, listen for a clear ping when you tap the bottom (a dull thud can mean hidden damage), and check the handle and surface for loose parts or heavy rust that might require refurbishing or replacement.
- Inspect edges and interior for visible structural damage — cracks or chips weaken the cast iron pan.
- Rap the bottom lightly; a bright ping means it’s sound, a dull thud warns of hidden flaws.
- Test the handle for tightness and movement; a loose handle is a safety risk you shouldn’t accept.
- If you find severe wear, decide to refurbish or replace — choose freedom from unsafe gear and cook boldly.
Assess Rust And Pitting
When you spot reddish-brown speckles or small pits on the cooking surface, you’re looking at rust and pitting that need prompt attention to keep the pan safe and usable.
Run your fingers over the area—rust feels flaky, pitting feels like tiny divots—and breathe in the metallic tang as you inspect.
If rust is light, scrub with fine-grade steel wool or a stiff brush until the flakes lift, rinse thoroughly, and prep to re-season.
For noticeable pitting or heavy, stubborn rust, try an oven cleaner or a controlled vinegar soak to strip residue so you can truly assess the damage.
Your goal is a smooth, gunmetal gray finish; that surface accepts seasoning better and frees you from sticky, compromised cooking.
Decide Restore Or Replace
After you’ve removed rust and smoothed any pits, inspect the whole pan to decide if it’s worth restoring or better off replaced.
Trust your senses: look for hairline cracks, run your fingers over pits, and note uneven seasoning.
Minor surface rust? You can restore it with warm soapy water and fine-grade steel wool, then dry and re-season.
Deep cracks or severe structural damage mean you should replace the pan—safety and heat integrity matter.
- Surface rust/pitting: clean, re-season, and test.
- Flaking/uneven seasoning: strip and re-season for a fresh non-stick layer.
- Vintage, good-quality finish: likely worth restoring for superior results.
- Deep cracks/structural failure: replace immediately.
Deep-Clean: Remove Factory Residue, Rust, and Old Seasoning
Although it might seem intimidating, you can strip a cast iron pan back to bare metal with a few simple steps: start with warm, soapy water and a sponge or nylon scrub pad to lift factory residue. Feel the slickness give way under your hands; you’re breaking the pan free. Use fine steel wool or a stiff brush to attack rust and old seasoning until the surface evens to gunmetal gray. Rinse thoroughly under hot water to clear soap and particles, then dry immediately.
| Step | Action |
|---|---|
| 1 | Wash with soap and sponge |
| 2 | Scrub rust with steel wool |
| 3 | Rinse under hot water |
| 4 | Treat stubborn spots (oven cleaner) |
For stubborn residue, follow oven cleaner directions, wearing gloves and eye protection. Once it’s clean and bone-dry, you’ll be ready to begin the first seasoning layer, liberated and in control of your skillet’s future.
Drying Cast Iron: Make It Bone Dry and Rust-Free
Someone’s care in drying your cast iron makes all the difference: wipe it thoroughly with a clean cloth, then set the pan over low heat for a few minutes so any hidden moisture evaporates and you can see the metal’s true matte sheen.
When you commit to drying cast iron, you’re protecting freedom from rust and reclaiming control over your cookware.
- Wipe: Use a clean, lint-free cloth to remove standing water immediately.
- Heat: Place the pan on low heat until steam stops rising and the surface looks dry.
- Inspect: Look and feel for damp spots; trapped moisture breeds corrosion in pores.
- Store: Only put oil on a pan that’s completely dry, then store in a dry place.
This process is tactile and deliberate — the warmth, the silent steam, the matte feel — and it keeps your pan ready for seasoning or use.
Be vigilant: regular checks prevent rust and preserve the pan’s long, liberated life.
First Seasoning Layer: Oil Choices, Temp, and Timing
Choose a high-smoke point oil like vegetable, canola, or grapeseed so the first layer bonds hard and smells clean, not burnt.
Preheat your oven to its highest setting (about 450–500°F), coat the pan thinly and wipe off any excess, then place the skillet upside down so drips fall away.
Bake for one hour, turn the oven off, and let the pan cool inside to finish forming a smooth, durable seasoning.
Oil Type Selection
Which oil should you pick for that first layer of seasoning? You want oil type selection that creates a tough, slick surface so your pan frees you from sticky cooking.
Choose oils with high smoke points — vegetable, canola, or flaxseed — because they polymerize into durable layers.
- Vegetable oil — reliable, neutral aroma, good for proper seasoning.
- Canola oil — affordable, high smoke point, forms a smooth coating.
- Flaxseed oil — yields a hard, glossy finish but needs thin coats.
- Avoid heavy, low-smoke oils that gum up.
Apply a paper-towel-thin coat across all surfaces, wipe away drips, and you’ll feel the difference: a clean, responsive pan that empowers your kitchen freedom.
Temperature And Timing
Preheat your oven to its highest setting—around 450°F (232°C)—and make sure the pan is wiped with a paper‑towel‑thin coat of vegetable or canola oil so the heat can do its work; place the skillet upside down on the middle rack to stop pooling.
You’ll feel the kitchen warm as the temperature pushes oil molecules to bond — that’s polymerization forming your first seasoning layer.
Bake it for one hour uninterrupted, then turn the oven off and let the pan cool inside; abrupt changes will stress the metal and the new finish.
This steady, controlled timing gives you a resilient, smooth surface that frees you from sticky pans and timid cooking.
Repeat builds strength; you’re creating durable liberation, one layer at a time.
Build Seasoning Layers: How Many Coats and Which Fats to Use
Start with 4–5 thin, even coats of a high‑smoke‑point fat—think vegetable or canola oil, or rendered bacon grease—and you’ll build a durable, nonstick surface.
Start with 4–5 thin coats of high‑smoke‑point fat—vegetable, canola, or bacon grease—to build a durable, nonstick surface
You want seasoning layers that bond, so spread each coat thinly until the pan is barely shiny, then bake.
Place the pan upside down at 425°F and let it bake 30 minutes per layer; this heat transforms fat into slick polymerized seasoning.
Cool completely on the stove before repeating; the slow return to room temperature helps the layer lock in.
- Choose a fat with high smoke points: vegetable, canola, or bacon grease.
- Apply a paper‑thin coat; wipe away excess until almost dry.
- Bake upside down at 425°F for 30 minutes per coat.
- Let the pan cool fully before starting the next coat.
You’ll sense the smell of hot oil and the pan’s surface tightening.
Each precise layer frees you from sticking and lets you cook confidently.
After-Cook Care: Cleaning, Drying, and Light Oiling Every Time
Scrub away crumbs and stuck bits with a stiff brush or non‑metal scrubber, rinse under hot water, and skip the soap unless you really need it—soap can dull seasoning.
If something’s stubborn, sprinkle kosher salt and scrub; you’ll feel grit break the residue free. The pan will hiss as hot water hits it; use that steam.
Drying is nonnegotiable: towel off immediately, then set the skillet on low heat for a minute or two until any remaining moisture evaporates.
You’ll see the surface go from dull to warm and satin. While it’s still warm, pour a few drops of vegetable or canola oil and rub a thin, even coat with a paper towel—no pooling, just a whisper of oil.
Store the pan somewhere dry, ideally without a lid so air circulates and rust can’t form.
These simple rituals keep your seasoning strong and free you from constant rework.
Troubleshoot Seasoning: Sticky, Patchy, or Flaking?
You’ve just finished the rinse-dry-oil routine, but sometimes the surface still feels off—sticky, spotty, or even flaking. You can reclaim that pan.
Sticky seasoning usually means you used too much oil; wipe a paper-thin layer and buff off excess before heating. Patchy areas often come from residual moisture or incomplete cleaning—dry thoroughly and remove any residue before reapplying oil. Flaking seasoning signals heat was too intense or too sudden; warm the pan gradually and keep temperatures moderate.
Too much oil makes it sticky—wipe thin, dry thoroughly to avoid patches, and heat gradually to prevent flaking.
- Strip and reset: scrub with fine-grade steel wool to remove problem layers.
- Thin coats only: apply a whisper of oil, wipe away surplus, then bake gently.
- Slow build: heat slowly to bond layers and avoid flaking seasoning.
- Maintain: after each use, dry fully and rub a light coat of oil to prevent sticky seasoning.
You’ll feel the difference—smooth, durable surface that frees you to cook without fear.
Store Cast Iron: Best Practices to Preserve Seasoning
When you’re done cooking and the pan’s cool and dry, store it somewhere airy and moisture-free so the seasoning stays intact and rust can’t take hold.
Wipe the surface with a lint-free cloth and leave the lid off or the pan slightly ajar if stacked; you’ll feel the smooth, dry finish under your fingertips.
Rub a whisper-thin coat of oil over the interior — not a puddle, you don’t want excess oil — to seal pores and keep oxidation at bay.
If you stack pans, slip a paper towel or cloth between them to absorb stray humidity and prevent scratching.
Never seal cast iron in plastic or airtight containers; trapped moisture defeats your work.
Choose a cabinet or open shelf with good airflow and low humidity, and always confirm the pan is completely cool before storing.
Treat storage as the final act of care, a simple ritual that preserves seasoning and frees you to cook boldly next time.
Frequently Asked Questions
What Ruins Cast Iron Seasoning?
You ruin cast iron seasoning by using harsh soaps, soaking it, cooking very acidic foods, letting it stay wet, or overheating it — all of which strip layers and invite rust.
You’ll protect seasoning with gentle cleaning techniques, thorough drying, and mindful heat control for rust prevention.
Feel free to scrub with a brush, wipe with oil while still warm, and reclaim freedom from sticky pans by treating them with steady, sensory care.
Do You Oil Cast Iron After Every Use?
Yes — you should oil cast iron after every use.
Sensory satisfaction starts with simple, silent strokes: wipe warm cookware, apply a light coating of high‑smoke oil types like vegetable or canola, then buff until it gleams.
That ritual preserves cast iron benefits, prevents rust, and builds resilient seasoning.
You’ll feel empowered, free to cook boldly, knowing your pan’s protected and performing, ready for the next liberating meal.
What Should You Not Cook in Cast Iron?
You shouldn’t cook acidic foods or sugary dishes in cast iron; they’ll strip seasoning and leave off tastes.
Steer clear of sticky ingredients like delicate eggs or caramelizing sugar until your pan’s rock-solid seasoned.
Avoid high-acid marinades, citrus, tomatoes, and very moist recipes that encourage rust.
Choose bold, dry-seared meats and roasted vegetables instead so you reclaim kitchen freedom, keep cleanup easy, and preserve that resilient, nonstick surface.
What Is the First Thing I Should Do With a Cast Iron Skillet?
The first thing you should do is wash it—use warm, soapy water and a sponge to remove factory residue and dust.
You’ll feel the grime lift and the metal cool under your hands. Rinse thoroughly, dry by warming on the stove, then apply a thin coat of oil using seasoning methods so it’s barely shiny.
These cleaning techniques free the pan and start your liberation into confident, lasting care.
Conclusion
You’ve learned the five essentials: inspect, deep-clean, dry, season, and maintain—do those and your pan lasts generations. Fun fact: a properly seasoned cast iron can reduce sticking by over 90% compared with unseasoned metal, so that first thin oil bake matters. Trust your senses—shine, smoothness, and a faint, nutty scent mean success. Keep care simple: wipe, dry, oil lightly, and your skillet will reward you with reliable, flavorful cooking.