
Seasoning a cast‑iron griddle is something you can do well with a little time and the right steps, and it makes a huge difference in how food releases and how long the pan lasts. You’ll clean and dry the surface, apply a thin coat of oil, and bake it at high heat—often repeating the cycle for a stronger finish. Keep going to learn the exact temperatures, oils, and troubleshooting tips that guarantee a durable, nonstick surface.
Cast‑Iron Griddle Seasoning: Quick Checklist
Start by giving your griddle a thorough clean to remove any rust or old residue so the new seasoning can bond properly. You’ll strip away corrosion and old gunk to expose clean cast iron, then dry it completely so oil won’t bead.
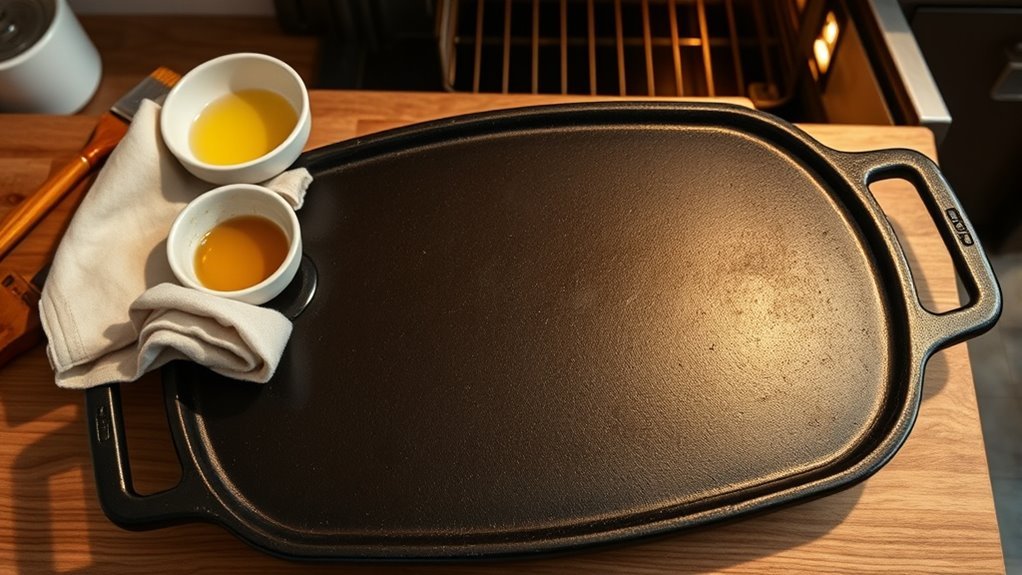
Next, apply a thin layer of seasoning oil—flaxseed or vegetable works—wiping evenly until the surface looks just barely glossy. Position the griddle upside down when you heat it to let excess oil run off and bond uniformly.
Coat thinly with flaxseed or vegetable oil, wipe to a faint gloss, then bake upside down for even bonding
After baking and cooling, inspect for a smooth, darkened, non-stick surface; if it’s patchy, repeat the cycle until coverage is consistent.
Finally, adopt a maintenance habit: after each cook, wipe with a light coating of oil and avoid harsh soaps that’ll remove layers. These steps free you from sticky pans and let you maintain your griddle confidently, turning raw metal into a reliable, liberating tool for daily cooking.
Season a Cast‑Iron Griddle : Step‑By‑Step (Initial)
Now that you’ve got the checklist down, let’s walk through the initial seasoning step‑by‑step so you can turn a bare griddle into a durable, nonstick surface.
Start by cleaning your cast iron griddle thoroughly: remove dust, grease, or rust with steel wool or a scrub pad until the metal is bare and dry.
Next, preheat oven to 450°F (232°C).
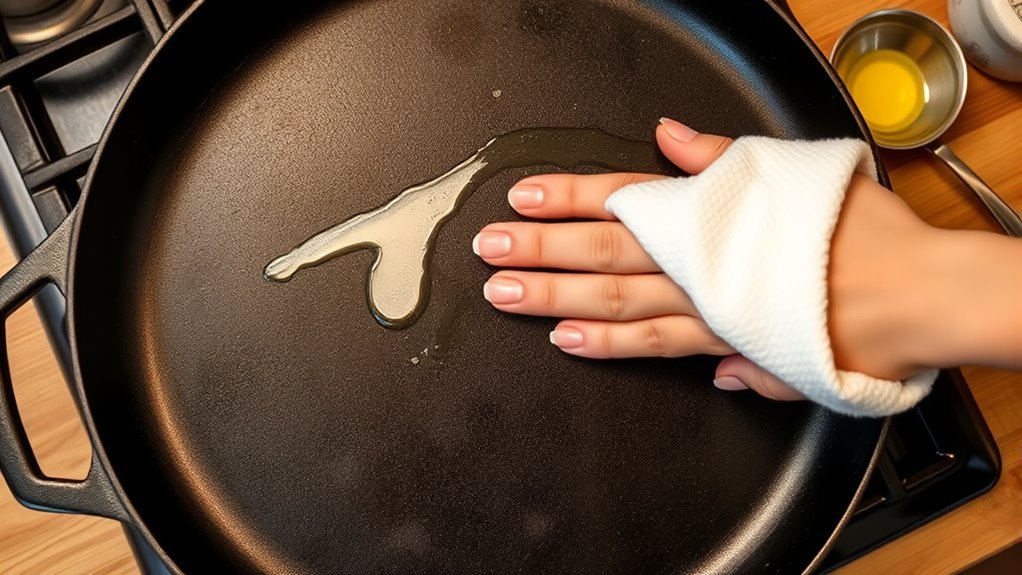
Apply a thin, even layer of vegetable oil or flaxseed oil across the cooking surface; wipe off any excess oil so the coat is barely visible.
Place the griddle upside down in the oven with a baking sheet below to catch drips, then bake for one hour to polymerize the oil.
When the hour’s up, turn off the oven and let the griddle cool inside so the bond sets.
For a resilient, semi‑matte finish, repeat the process multiple times—up to six cycles—until the surface is dark and reliably nonstick.
Season Cast Iron deliberately; liberation is a well‑oiled practice.
Re‑Season Your Cast‑Iron Griddle After Rust or Heavy Use
Scrape away loose rust and stubborn residue until the surface’s bare metal shows, then scrub the griddle with warm water and coarse salt to lift remaining grime; dry it thoroughly so moisture won’t invite more rust. You’ll re-season your cast iron by applying a thin, even coat of oil, wiping off excess so no pools remain. Heat your oven to 450°F and place the griddle upside down for one hour so the oil can polymerize into a hard, protective, non-stick layer. Repeat 2–3 times for a resilient finish after heavy use.
| Step | Action |
|---|---|
| 1 | Scrape and remove rust flakes |
| 2 | Clean with warm water + coarse salt |
| 3 | Dry completely |
| 4 | Thin oil coat, wipe off excess |
| 5 | Bake upside down 450°F to polymerize |
You’ll reclaim freedom in the kitchen: consistent care restores performance and prevents future rust, letting the griddle serve your bold cooking.
When Seasoning Won’t Stick: Common Problems and Fixes
If your seasoning won’t stick, it’s usually because the surface isn’t truly clean, dry, or you’re putting on too much oil—each of those problems prevents the oil from bonding and polymerizing into a hard, nonstick layer.
First, strip any residue buildup: scrape, heat, and wipe with a cloth until the pan looks bare. Don’t let old degraded layers remain when you re-seasoning; they’ll trap flavors and block proper polymerization.
Clean and dry the griddle thoroughly—moisture and bits of food defeat the process. Avoid tempting shortcuts: don’t use soap regularly or harsh abrasives that strip good seasoning, but do use soap sparingly when you need to remove rancid buildup, then rinse and dry instantly.
Apply only a thin, even coat of oil and wipe excess; overapplication creates a tacky film instead of a hard layer. Treat your iron like a tool for freedom: precise care gives you reliable, liberated cast iron cookware performance and a true nonstick surface.
Daily Care and When to Re‑Season Again
Because cast iron keeps getting better with simple, consistent care, you should rinse your griddle with hot water and scrub it with a non‑abrasive pad after every use to remove food and prevent buildup.
This daily care habit protects your seasoning and keeps the surface ready for the next meal. After cleaning, dry thoroughly—set the griddle on low heat for a few minutes to evaporate hidden moisture and stop rust.
While still warm, apply a thin layer of oil (vegetable or flaxseed works) and wipe off excess so the surface stays slick, not sticky.
Store the griddle in a dry place; tuck a paper towel between pans to absorb humidity and guard the seasoning.
Know when to re‑season: if food begins sticking, the surface looks dull, or rust appears, it’s time.
For regular home use, you’ll likely re‑season every 3–6 months.
These steps free you from worry and keep your griddle resilient, reliable, and ready to cook.
Frequently Asked Questions
What Are Some Common Mistakes I Can Make When Seasoning Cast Iron?
You’ll make mistakes like overapplying oil and believing seasoning myths, which leaves sticky buildup and poor food compatibility.
Skipping preheat, using wrong oil types, or ignoring temperature control prevents proper bonding.
Rushed curing and bad cleaning methods invite rust, so follow frequency guidelines for re-seasoning and maintenance.
You’ll gain freedom in the kitchen by mastering oil choice, consistent temps, careful wiping, and proactive rust prevention to keep the surface resilient.
Should I Season Cast Iron at 350 or 450?
Season at 450. You’ll get stronger cast iron benefits because seasoning oils polymerize fully at that temperature; 350 won’t bond as well.
Temperature impact matters for durable non-stick surfaces, rust prevention, and easier cleaning methods.
Bake upside down, use thin oil layers, and follow maintenance tips after cooling.
These cooking techniques free you from sticky pans and limited use, letting you embrace reliable, long-lasting performance and confident kitchen freedom.
What Ruins Cast Iron Seasoning?
Sticky sludge, scorched surface, and stubborn rust ruin cast iron seasoning. You’ll wreck it by overapplying oil and choosing poor oil selection, skipping cleaning techniques, or using excessive temperature control that burns layers.
Moisture and bad storage methods invite rust prevention failures, while acidic foods can harm food compatibility.
Follow maintenance tips: clean gently, pick polymerizing oils, bake at proper heat, dry fully, and store dry to reclaim culinary freedom.
How to Tell if Your Cast Iron Is Properly Seasoned?
You’ll know it’s properly seasoned when the surface is smooth, dark, semi-matte, and food releases easily.
Seasoning benefits include nonstick performance and rust resistance; use appropriate seasoning oils and proper seasoning techniques to build that finish.
Check that water beads up and doesn’t pool.
Practice regular seasoning frequency and cast iron care—clean gently and oil lightly.
For troubleshooting seasoning, reapply thin oil layers and bake to restore the coating.
Conclusion
Seasoning your griddle gives you a durable, naturally nonstick surface—if you do it right. You’ll clean and dry thoroughly, oil thinly, and bake upside down at high heat, repeating to build layers. While lore claims flaxseed oil polymerizes best, tests show any high‑smoke‑point vegetable oil done in thin coats works well. Follow the steps, troubleshoot rust or unevenness promptly, and you’ll keep a reliable cooking surface for years.