
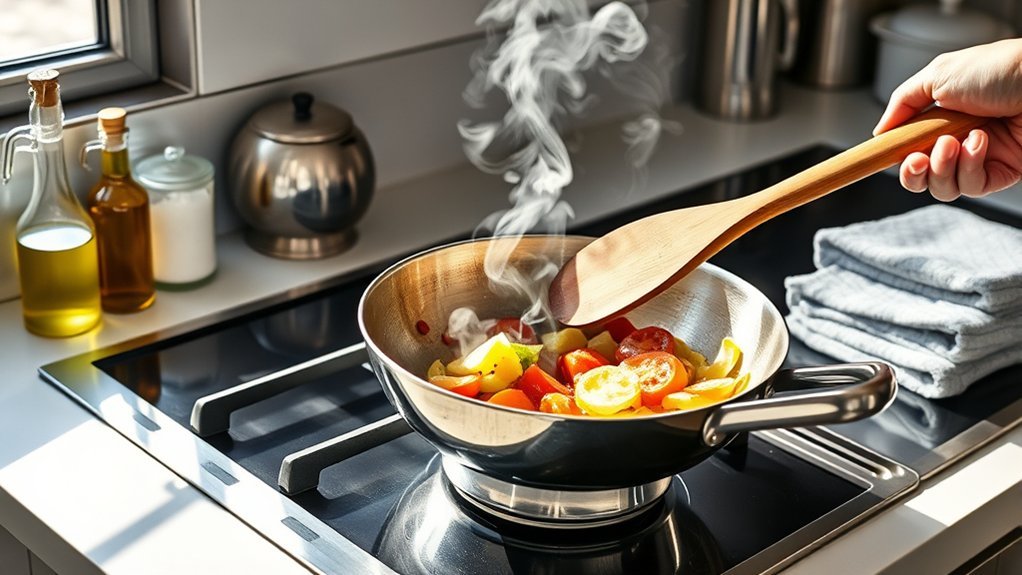
Cooking with stainless steel pans without excessive sticking comes down to heat control, enough cooking fat, dry ingredients, and patience. Preheat the pan over moderate heat, add oil once the surface is hot, and let proteins brown before trying to turn them. After cooking, cool the pan before washing it with warm soapy water and dry it promptly.
Quick Answer
To keep food from sticking to stainless steel, preheat the pan over medium or medium-low heat, add a thin layer of oil, then add dry food without crowding the surface. Let meat or fish cook undisturbed until it releases easily. If the oil smokes, the pan is too hot and the heat should be reduced.
Key Takeaways
- Use low to medium heat for most stainless steel cooking rather than automatically turning the burner to high.
- Preheat first, then add enough oil or other cooking fat to lightly coat the cooking surface.
- Pat meat and fish dry, avoid crowding, and wait for a browned crust to form before trying to flip.
- Treat the water-drop test as an optional readiness cue, not an exact temperature measurement.
- Let the pan cool before washing, and never shock a very hot pan with cold water.
At a Glance
| Time Required | A few minutes to preheat, plus the recipe’s cooking time |
| Difficulty | Easy to moderate; heat control improves quickly with practice |
| Tools Needed | Stainless steel pan, suitable utensil, cooking oil or fat, and a food thermometer when cooking meat or poultry |
| Cost | No special cost beyond normal cooking oil and dish soap; stainless steel cleaner is optional |
How to Cook Stainless Steel Pans Without Sticking
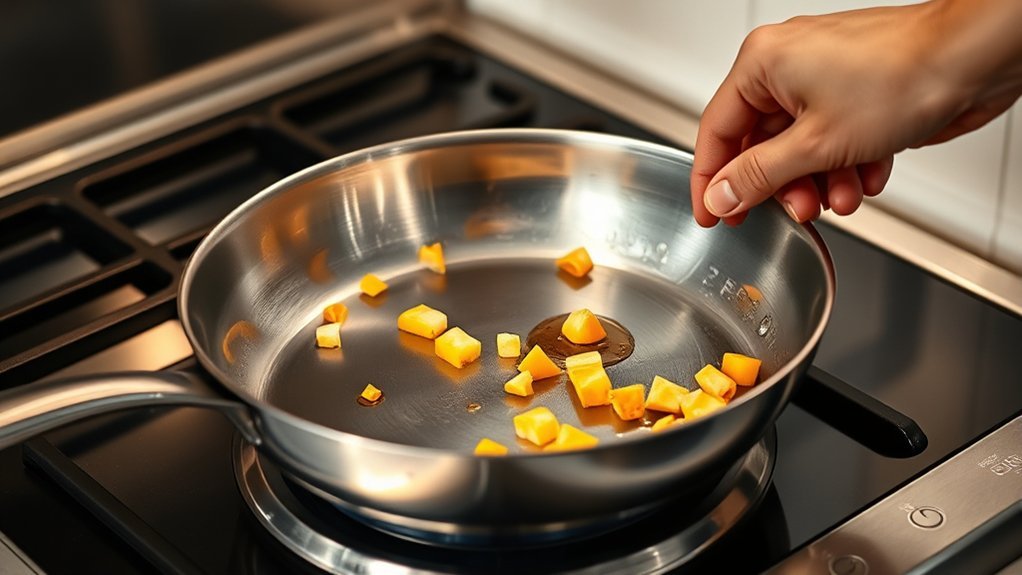
A stainless steel pan cooks most predictably when the heat, oil, moisture, and timing are controlled. Unlike coated nonstick cookware, bare stainless steel allows food to make direct contact with metal, so proteins may initially grip the cooking surface.
The basic sequence is simple: preheat the clean, dry pan over low to medium heat, add cooking fat, add dry food, and leave it alone long enough to brown. All-Clad’s current stainless steel care guidance similarly recommends low-to-moderate preheating, adding oil once the pan is hot, and waiting until food releases before turning it.
A few drops of water can be used as an optional readiness check. When the drops gather into beads and move across the surface instead of immediately sitting and boiling away, the pan is hot enough for many browning and searing jobs. This is related to the Leidenfrost effect, but it does not identify one exact surface temperature because the transition varies with the pan, liquid, surface condition, and testing method.
Once the pan is ready, discard any test water and let the surface dry before adding oil. Use enough oil to lightly coat the cooking area. When the oil moves easily and begins to shimmer, add the food. Avoid waiting until the oil produces heavy smoke.
Place food in a single layer. Meat, chicken, and fish should usually be patted dry first because surface moisture cools the pan and encourages steaming instead of browning. Once a protein touches the pan, let it cook until a browned crust forms and it releases with gentle pressure.
Pro Tip: If meat resists when you try to flip it, wait a little longer instead of scraping it free. Properly browned proteins often release more easily once a crust has developed.
Preheat the Pan Before Adding Oil
Preheating is important, but there is no universal number of minutes that works for every stainless steel pan. A lightweight skillet on induction can heat far faster than a heavy multi-ply pan on a low-output electric burner.
| Step | Action | What to Look For |
|---|---|---|
| 1 | Preheat the clean, dry pan over medium or medium-low heat | Evenly heated surface without visible smoke |
| 2 | Check readiness if needed | A few water drops bead and move across the surface |
| 3 | Dry the pan and add cooking fat | Oil spreads easily and begins to shimmer |
| 4 | Add dry food in one layer | A controlled sizzle rather than violent smoking |
| 5 | Adjust the burner as needed | Steady browning without burning |
Manufacturer instructions should take priority for a specific pan. For example, All-Clad recommends low to moderate heat for preheating and notes that high heat is generally unnecessary except for boiling. Its support guidance also describes roughly one to two minutes as a starting point for some pans rather than a universal 3–5 minute rule.
Induction users should be especially conservative at first because compatible cookware can respond very quickly. Start below maximum power and increase only if the pan is not browning effectively.
Warning: Do not leave an empty stainless steel pan unattended on a hot burner. If oil starts producing heavy smoke, reduce the heat and move the pan off the burner briefly if necessary. Handles can also become hot during prolonged stovetop or oven use.
Use the Water Test to Check Heat
The water-drop test can help a beginner recognize when a stainless steel pan is hot enough for many sautéing and searing jobs, but it should not be treated as a precise thermometer.
Water that forms mobile beads shows a very hot surface, but the test does not prove that every stainless steel pan has reached one exact temperature.
When a droplet meets a sufficiently hot surface, vapor can form underneath it and reduce direct contact with the metal. The droplet then appears to skate or dance. This behavior is associated with the Leidenfrost effect. Experimental research shows that Leidenfrost temperature changes with the liquid, metal surface, geometry, roughness, and other test conditions, so a universal 350–375°F rule is not appropriate.
If water simply sits and slowly boils, the pan may need additional preheating for a strong sear. If tiny droplets vanish almost instantly while the pan or oil is smoking aggressively, the surface may be hotter than necessary.
Note: The water test is optional. With experience, you can judge readiness from how quickly oil spreads and shimmers and from the controlled sizzle when food enters the pan.
Add Oil and Cook Without Crowding
After preheating, add enough oil, butter, or other suitable cooking fat to coat the area where the food will sit. The purpose of the fat is to help transfer heat, improve browning, and reduce direct sticking between the food and steel.
Arrange each piece in a single layer with some space around it. Crowding introduces a large amount of relatively cool food at once and traps more released moisture near the surface. The pan temperature drops, browning slows, and the food is more likely to steam.
- Pat proteins dry before they enter the pan.
- Do not add more food than the pan can comfortably hold in one layer.
- Listen for a steady sizzle rather than violent crackling.
- Let meat and fish brown before trying to turn them.
- Cook additional portions in batches when necessary.
When cooking several batches, finished food can be held warm according to the recipe while the pan comes back to the proper cooking temperature.
Adjust the Technique for Different Foods
Steaks, chops, burgers, and chicken: Dry the exterior well, preheat the pan, add oil, and leave the first side undisturbed long enough to brown. Do not judge food safety by crust color alone.
Fish: Dry the surface carefully and use enough fat. For skin-on fish, beginning skin-side down and resisting the urge to move it too soon can improve release and crispness.
Eggs: Stainless steel can cook eggs, but they are less forgiving than meat. Use moderate to lower heat after the pan is warmed and use enough butter or oil to coat the cooking area. If easy egg release is the only goal, coated nonstick cookware is generally more forgiving.
Vegetables: Preheat, add oil, then add vegetables in a layer that allows moisture to evaporate. Stir or toss as needed instead of waiting for the same natural release used with a steak.
Use a Food Thermometer for Safe Doneness
Browning, sizzling, and natural release tell you how the food is interacting with the pan; they do not prove that meat or poultry is safe to eat. The USDA safe minimum internal temperature chart recommends checking temperature with a food thermometer.
- Beef, pork, veal, and lamb steaks, chops, and roasts: 145°F (62.8°C), followed by at least a 3-minute rest.
- Ground meats: 160°F (71.1°C).
- Poultry: 165°F (73.9°C).
- Fish and shellfish: 145°F (62.8°C).
Troubleshoot Sticking and Browning
| Problem | Likely Cause | What to Do |
|---|---|---|
| Food sticks immediately | Pan too cool, too little fat, wet food, or food moved too soon | Preheat more consistently, dry the food, use enough fat, and wait for browning |
| Oil smokes quickly | Pan is too hot | Reduce the burner and let the pan cool slightly before continuing |
| Food is pale and watery | Pan temperature dropped or the pan is crowded | Cook smaller batches and let the pan recover between batches |
| Outside burns before inside cooks | Heat is too high for the thickness of the food | Reduce the heat after the initial sear and finish more gently |
| Browning is uneven | Uneven preheating, mismatched burner size, or uneven food contact | Center the pan, preheat more gradually, and use a burner suited to the pan base |
Deglaze the Pan and Use the Fond
Browned bits left behind after cooking meat are often called fond. They are not necessarily a cleaning problem. If they are browned rather than black and burned, they can become the base of a pan sauce.
After removing the food, carefully add an appropriate liquid such as water, stock, or another recipe-specific liquid and scrape the browned bits with a wooden or heat-safe utensil while the liquid simmers. All-Clad specifically recommends deglazing browned bits after cooking when making a sauce.
Clean Stainless Steel Pans After Cooking
After cooking, allow the pan to cool before normal washing. Exposing a very hot pan to cold water can cause thermal shock and may warp the base.
For routine cleaning, use warm soapy water and a soft sponge or cloth. Rinse thoroughly and dry the pan promptly to reduce water spotting.
If ordinary washing does not remove residue, use a method suited to the type of mark rather than scrubbing aggressively.
Cool Before Washing
Let stainless steel cookware cool enough that it is no longer dangerously hot before washing. All-Clad’s current care instructions specifically warn against putting a hot pan under cold water because the temperature change can cause warping.
- Remove the pan from the heat after cooking.
- Let it cool before routine sink washing.
- Wash with warm water, mild dish soap, and a sponge or soft cloth.
- Use a nylon scrubber only when extra scrubbing is needed and the manufacturer permits it.
- Rinse well and dry promptly to reduce spotting.
A brief soak in warm soapy water can soften ordinary residue. Avoid oven cleaner, steel wool, harsh chlorine bleach, and other cleaners that the cookware manufacturer advises against.
Remove Stuck-On Residue
Stuck-on food is easier to remove when you match the cleaning method to the problem. For burned food, All-Clad recommends baking soda with water and heating the mixture, then loosening the residue with a wooden spoon. For mineral deposits or discoloration, vinegar can be more appropriate.
| Method | Action | Best For |
|---|---|---|
| Warm soapy soak | Soak briefly, then wash with a soft sponge | Normal grease and food residue |
| Baking soda and water | Add to burned residue, heat as directed by the cookware manufacturer, then loosen gently | Burned or stubborn food |
| Vinegar solution | Use on discoloration or mineral deposits, then rinse thoroughly | Rainbow tint and hard-water marks |
| Compatible stainless cleaner | Use according to product and cookware instructions | Tough stains and cosmetic discoloration |
Do not use steel wool simply because residue is stubborn. It can leave deep scratches and is unnecessary for normal stainless steel maintenance.
Remove Stains and Restore Shine
Different marks on stainless steel require different treatment. Brown or black carbonized food is not the same as rainbow heat tint or chalky mineral deposits.
For burned food, use warm soapy water first. If residue remains, baking soda and water can help loosen it. A manufacturer-approved stainless steel cleaner is another option for difficult marks.
For blue or rainbow discoloration, white vinegar applied with a soft sponge or cloth can help restore the appearance. All-Clad also recommends a 1:1 vinegar-and-water solution for cloudy hard-water spots.
After cleaning, rinse the pan thoroughly and dry it with a clean towel. There is no need to coat the pan with olive oil to maintain its cooking performance.
- Use mild cleaning first.
- Match stronger cleaning methods to the specific stain.
- Avoid steel wool and harsh oven cleaners.
- Dry the pan promptly to limit water spots.
- Expect minor cosmetic scratches with normal stainless steel use.
Frequently Asked Questions
How to Use a Stainless Steel Pan for the First Time?
Wash the new pan with warm water and mild dish soap, rinse it thoroughly, and dry it. Then preheat it over low to medium heat according to the manufacturer’s instructions, add cooking fat, and begin cooking. Stainless steel does not require seasoning before its first use.
What Are the Cooking Instructions for a Stainless Steel Pan?
Start with a clean, dry pan. Preheat over moderate heat, add enough oil or fat to coat the cooking area, then add dry food without crowding the pan. Let proteins brown until they release more easily before turning them. Adjust the burner downward if the oil smokes or the food browns too quickly.
Do You Need to Prep a Stainless Steel Pan Before First Use?
Yes, but preparation is simple: wash it with warm soapy water, rinse, and dry it thoroughly. Ordinary stainless steel does not need to be seasoned. A permanent nonstick layer is not created by wiping the pan with cooking oil.
How Do You Keep Food From Sticking to Stainless Steel Pans?
Preheat the pan over moderate heat, add enough cooking fat, dry wet ingredients, avoid overcrowding, and do not force proteins to move before they have browned. If food repeatedly burns or the oil smokes, use less heat. If food stays pale and sticks without browning, the pan may be too cool or overcrowded.
Should You Season Stainless Steel Cookware?
No permanent seasoning is required for normal stainless steel cookware. All-Clad’s current support guidance specifically states that seasoning is not required. Correct preheating, cooking fat, moisture control, and timing are more important for reducing sticking.
Can You Use Metal Utensils on Stainless Steel Pans?
Generally, yes for uncoated stainless steel cookware when the manufacturer allows it. Metal utensils can leave superficial scratches, so use reasonable care and avoid cutting directly in the pan. The advice is different for cookware with a nonstick coating.
Why Does My Stainless Steel Pan Turn Rainbow Colors?
Blue, gold, or rainbow discoloration can appear after heating stainless steel and is usually cosmetic rather than stuck food. White vinegar applied with a soft sponge or cloth can help remove this heat tint. Always follow the care instructions for your specific cookware.
Conclusion
Mastering stainless steel pans does not require extreme heat or a perfectly timed trick. Preheat gradually, use enough cooking fat, keep wet ingredients dry, avoid crowding, and give proteins time to brown before turning them. After cooking, let the pan cool before washing and use gentle cleaning methods suited to the type of residue. With those habits, stainless steel provides reliable browning, excellent pan sauces, and long service without relying on a nonstick coating.
Sources
- All-Clad Use & Care Guide — preheating, cooking, cleaning, discoloration, baking soda, vinegar, and thermal-shock guidance.
- All-Clad Cookware FAQ — sticking prevention, first-use preparation, seasoning, heat settings, and utensil guidance.
- Tramontina: How to Cook With Stainless Steel — current practical guidance on preheating, cooking fat, natural release, and heat control.
- USDA Food Safety and Inspection Service: Safe Minimum Internal Temperature Chart — safe cooking temperatures for meat, poultry, and seafood.
- Case Studies in Thermal Engineering: Critical Heat Flux and Leidenfrost Temperature on Stainless Steel — experimental evidence showing that Leidenfrost behavior depends on test conditions rather than one universal cookware temperature.
