
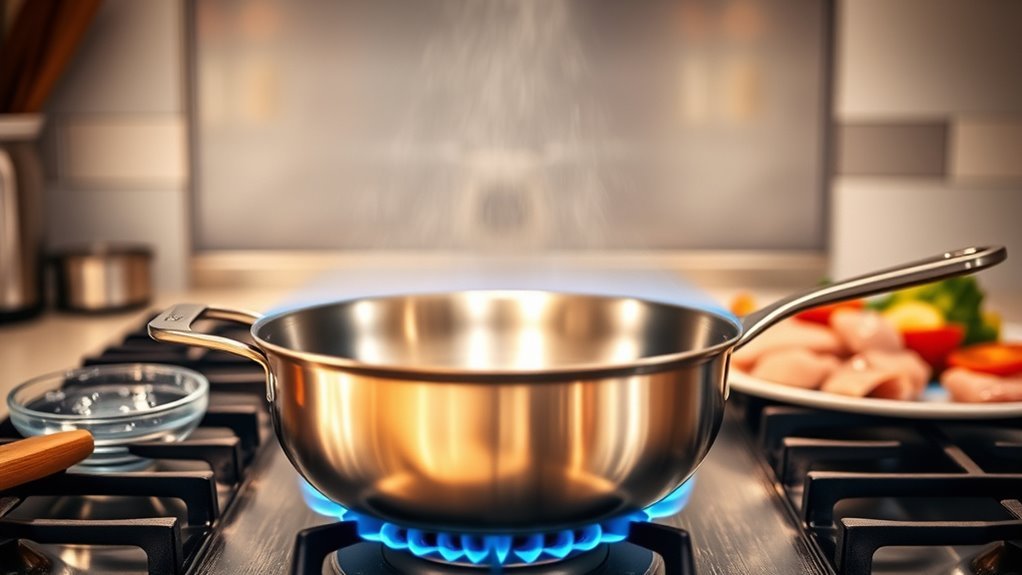
Imagine the satisfying sizzle of food hitting a perfectly preheated stainless steel pan. Getting this step right is essential for achieving that golden crust you crave. But how long should you really wait before cooking? Timing and technique matter more than you might think. Let’s explore the best practices to guarantee your pan is ready when you are, and discover how to avoid common pitfalls that could derail your cooking.
The Importance of Preheating Your Stainless Steel Pan
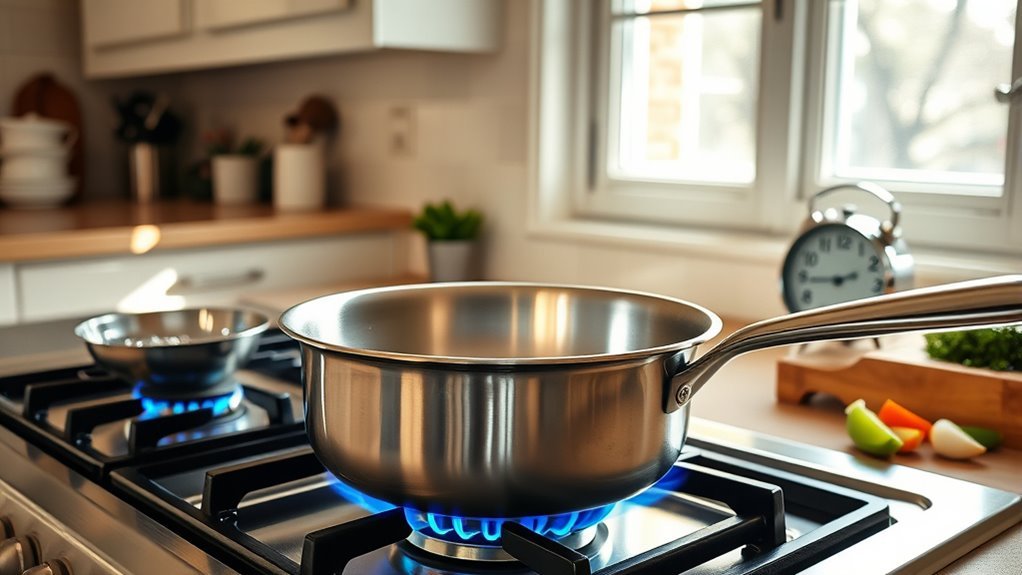
Preheating your stainless steel pan is crucial for achieving perfect cooking results. When you preheat, the pan’s surface reaches an ideal temperature, creating a nonstick barrier when you add oil. This simple step can drastically reduce the chances of food sticking, making your cooking experience smoother and your cleanup easier.
For best results, heat the pan over medium heat for about 2-3 minutes. You can test its readiness by sprinkling a few drops of water; if they dance and evaporate quickly, your pan’s hot enough.
Aiming for around 350°F (175°C) guarantees you’re in the sweet spot for most tasks. By mastering the art of preheating, you not only enhance your cooking but also liberate yourself from frustrating kitchen mishaps. Embrace this crucial technique, and watch your culinary skills soar!
How to Preheat Your Pan: Step-by-Step Guide
To achieve the best cooking results, follow this simple step-by-step guide for preheating your stainless steel pan.
Start by placing your pan on medium heat for about 2-3 minutes. This guarantees even heating throughout the surface.
Next, use the water droplet test: flick a few drops of water onto the pan. If they sizzle and dance, your pan is ready.
Use the water droplet test: if the droplets sizzle and dance, your pan is perfectly preheated and ready to go!
Now, add your cooking oil to the preheated pan, allowing it to heat for another 30 seconds.
Look for the oil to shimmer without smoking, which indicates it’s at the perfect temperature for cooking.
This preheating process helps create a temporary nonstick surface, reducing the likelihood of food sticking to your stainless steel pans.
Following these steps will elevate your cooking experience and yield delicious results!
Ideal Preheating Time: How Long Should You Wait?
To get the best results when cooking, you should preheat your stainless steel pan for about 2-3 minutes on medium heat.
You can easily test the temperature by sprinkling a few drops of water; if they dance and evaporate quickly, your pan is ready.
Preheat Duration Guidelines
For ideal cooking results, aim to preheat your stainless steel pan for about 2 to 3 minutes over medium heat.
This preheat duration guideline guarantees an even cooking surface, essential for preventing food from sticking. To check if your pan’s ready, sprinkle a few drops of water on it; if they dance and evaporate quickly, you’re good to go.
For those seeking precise control, consider using an infrared thermometer to confirm the surface reaches around 375°F (190°C) before adding oil.
Be cautious—if your pan starts to smoke, lower the heat immediately to protect your stainless steel cookware.
This careful approach will enhance your culinary experience and empower your cooking journey.
Temperature Testing Methods
Understanding how to test the temperature of your stainless steel pan is essential to achieving perfect cooking results. To verify your pan is ready, preheat it for about 2-3 minutes over medium heat.
A simple method is to sprinkle a few drops of water on the surface; if they dance and evaporate, you’re at the ideal temperature of around 400°F (204°C). This heat level is vital for ideal searing and browning.
Remember, add oil only after the pan is preheated to create a nonstick barrier. Also, avoid overcrowding the pan post-preheating, as this can lower the temperature and lead to steaming instead of that perfect sear you desire.
Use these temperature testing methods for delicious results!
Signs Your Pan Is Ready for Cooking
How can you tell when your stainless steel pan is ready for cooking? First, try the water droplet test. Add a few drops of water; if they sizzle and form beads that dance around the pan, it’s adequately preheated.
Aim for a temperature of around 375°F to 400°F (190°C to 204°C) for peak cooking results. When you add oil, look for a slight shimmer on the surface—that’s a good sign your pan’s reached the right temperature.
If you notice smoke, your pan might be too hot; reduce the heat slightly to prevent damage and guarantee even cooking. Generally, heating the pan for about 3-5 minutes on medium heat is sufficient, but adjust based on your recipe and desired results.
Top Preheating Mistakes and How to Avoid Them
When preheating your stainless steel pan, it’s easy to make common mistakes that can affect your cooking.
Staying aware of temperature and choosing the right oil are essential for achieving that perfect sear.
Let’s explore these pitfalls and how to avoid them for better results in the kitchen.
Common Preheating Errors
Many home cooks make critical preheating errors that can ruin their culinary efforts. One common mistake is inadequate heating time; you should aim for 2-3 minutes on medium heat before adding oil or food.
Don’t forget to check the temperature properly—water droplets should dance and evaporate quickly, signaling the pan’s readiness.
Skipping oil is another error; make sure you coat the surface with a thin layer after preheating to create a nonstick barrier.
Also, avoid adding cold ingredients directly into the pan, as they can cause sticking.
Finally, overcrowding the pan lowers its temperature, leading to uneven cooking. Cooking in batches allows for better results and a liberating cooking experience.
Temperature Awareness Importance
Understanding temperature awareness during preheating is key to achieving perfect cooking results. Proper preheating guarantees your stainless steel pan creates a nonstick surface when oil is added.
Here are some essential tips to keep in mind:
- Preheat on medium heat for 2-5 minutes, depending on your pan’s size and thickness.
- Test readiness by sprinkling a few drops of water; they should dance and evaporate quickly.
- Avoid high heat to prevent warping and discoloration.
Maintaining consistent temperature awareness not only helps prevent sticking but also enhances the overall cooking experience.
For precise readings, consider using an infrared thermometer to confirm your pan is at the best cooking temperature before adding ingredients.
Embrace this knowledge to elevate your culinary skills!
Oil Selection Tips
Choosing the right oil is essential for ensuring your stainless steel pan performs at its best during preheating. Oils with high smoke points, like canola or avocado oil, prevent burning and maintain flavor. Always preheat your pan for 2-3 minutes on medium heat before adding oil. This creates a temporary nonstick barrier, making food release easier. Avoid olive oil for high-heat cooking due to its lower smoke point.
Here’s a quick reference table for oil selection tips:
| Oil Type | Smoke Point (°F) |
|---|---|
| Canola Oil | 400 |
| Avocado Oil | 520 |
| Olive Oil | 375 |
| Grapeseed Oil | 420 |
| Peanut Oil | 450 |
Using the Water Test to Check Your Pan Readiness
Have you ever wondered how to tell if your stainless steel pan is ready for cooking? The water test is your go-to method. Simply drop a few water droplets into the preheated pan. If they dance or bead up, your pan’s just right for searing and sautéing.
Here are some quick tips for the water test:
- Wait for 2-3 minutes: Give your pan time to heat on medium.
- Observe the droplets: They should form a cohesive ball if the temperature is ideal.
- Adjust if necessary: If they evaporate too quickly or spread flat, tweak your heat settings.
Using the water test not only guarantees your pan is ready but also prevents food from sticking and promotes even cooking.
Embrace this simple technique for culinary success!
Should You Use Medium or High Heat?
While you might be tempted to crank up the heat for faster results, using medium heat is often the smarter choice when preheating a stainless steel pan. This approach guarantees even temperature distribution, preventing warping or discoloration. High heat can lead to the pan overheating quickly, which may cause your food to stick and burn instead of searing beautifully.
A good rule of thumb is to preheat your pan for about 2-3 minutes on medium heat before adding oil and ingredients.
To check if your pan’s ready, sprinkle a few drops of water on it; if they dance and evaporate quickly, you’re good to go.
Starting on medium heat gives you the control to adjust as you cook, allowing for a gradual increase to medium-high for tasks like searing.
Starting on medium heat allows you to control the cooking process, gradually adjusting to achieve perfect searing.
Embrace medium heat for better results and a more enjoyable cooking experience.
Adjusting Preheating for Different Cooking Methods
When you’re adjusting preheating times for different cooking methods, it’s essential to take into account your technique.
For searing, you’ll want to extend preheating to about 4 to 5 minutes to maximize browning, while sautéing can be done in just 2 to 3 minutes.
Keep in mind that thicker pans may need a bit longer to heat up adequately for both methods.
Searing Techniques Adjustments
To achieve the best sear on your ingredients, understanding how to adjust preheating techniques is key.
With precise heat control, you can create mouthwatering results.
- Preheat your stainless steel pan for 2-3 minutes on medium heat.
- Use the water droplet test: droplets should dance and evaporate quickly.
- Add oil when the pan is hot; it should shimmer but not smoke.
Baking vs. Sautéing Preheating
Understanding the differences in preheating techniques for baking and sautéing can greatly enhance your cooking outcomes.
When sautéing, preheat your stainless steel pan on medium heat for about 2-3 minutes. This guarantees it reaches high heat, creating a nonstick surface when you add oil.
For baking, particularly with delicate foods like sourdough, you might need to preheat the pan for 10-15 minutes for ideal crust formation, though some bakers skip this step entirely.
Always test readiness by sprinkling a few drops of water; if they dance and evaporate quickly, your pan’s ready.
Adjust your preheating time based on the pan’s thickness to guarantee even heat distribution every time you cook.
What Happens If You Overheat Your Pan?
Overheating your stainless steel pan can lead to significant issues that impact both its performance and your cooking experience. Here’s what can happen:
- Warping: Excessive heat can cause the pan to warp, disrupting its heat distribution and cooking efficiency.
- Discoloration: Extreme temperatures often result in unsightly stains that may be tough to clean off.
- Toxic Fumes: If your pan has a nonstick coating, overheating can release harmful fumes, compromising your kitchen’s air quality.
To avoid these pitfalls, keep a close eye on your pan while cooking. Adjust the heat as necessary to maintain ideal temperatures and guarantee your dishes turn out perfectly.
Care Tips After Preheating Your Stainless Steel Pan
After ensuring your stainless steel pan is preheated properly, taking care of it afterward is just as important. Allow your pan to cool down gradually; this helps maintain its structure and prevents warping.
For cleaning, use a soft sponge and mild detergent—this protects the stainless steel surface from scratches. If you encounter stubborn residues, deglaze the pan with warm water or broth while it’s still warm; this makes food release much easier.
For ideal storage, stack your pans with separators or cloth to avoid scratches and damage. Regular maintenance is key—clean thoroughly after each use to prevent discoloration and keep your cookware looking new.
Frequently Asked Questions
How to Tell When a Stainless Steel Pan Is Preheated?
To tell when your stainless steel pan is preheated, look for temperature indicators. Sprinkle a few drops of water on the surface; if they sizzle and dance, you’re good to go.
The pan should feel warm when you touch it, and after letting it sit undisturbed for a minute, it’ll heat evenly.
For precision, use a thermometer to check if it’s around 350°F (175°C), ideal for cooking. Enjoy your culinary freedom!
Should You Preheat a Stainless Steel Pan?
Yes, you should preheat a stainless steel pan. Preheating guarantees even cooking, enhances pan temperature, and creates a temporary nonstick barrier.
As you heat the pan, you’re setting the stage for success. You’ll achieve a beautiful sear, maintain moisture in your food, and simplify cleanup.
Can a Stainless Steel Pan Go in a 400 Degree Oven?
Yes, a stainless steel pan can safely go in a 400-degree oven. These pans are built for high temperatures, ensuring oven safety without warping.
Just make sure any non-metal handles are oven-safe too. Preheating the pan enhances your cooking by creating a great sear for meats and veggies.
Always check the manufacturer’s guidelines to confirm temperature limits, so you can fully enjoy your culinary adventures without worry.
What Is the Trick to Using Stainless Steel Pans?
The trick to using stainless steel pans lies in mastering cooking techniques.
Start by preheating your pan until it’s hot enough—test with water droplets that dance and evaporate.
Use adequate oil to create a nonstick barrier, and let your food come to room temperature before adding it.
Be patient; wait for food to release naturally before flipping or stirring.
These steps empower you to achieve perfect searing and prevent sticking, making your cooking more enjoyable.
Conclusion
Think of preheating your stainless steel pan as warming up an engine before a race. Just as a car needs that initial boost to run smoothly, your pan requires a few minutes over medium heat to reach its prime. When done right, it creates a perfect canvas for your culinary masterpiece. So, take those extra moments to guarantee your pan’s ready, and watch your ingredients sizzle and dance like champions on the track of your kitchen!