
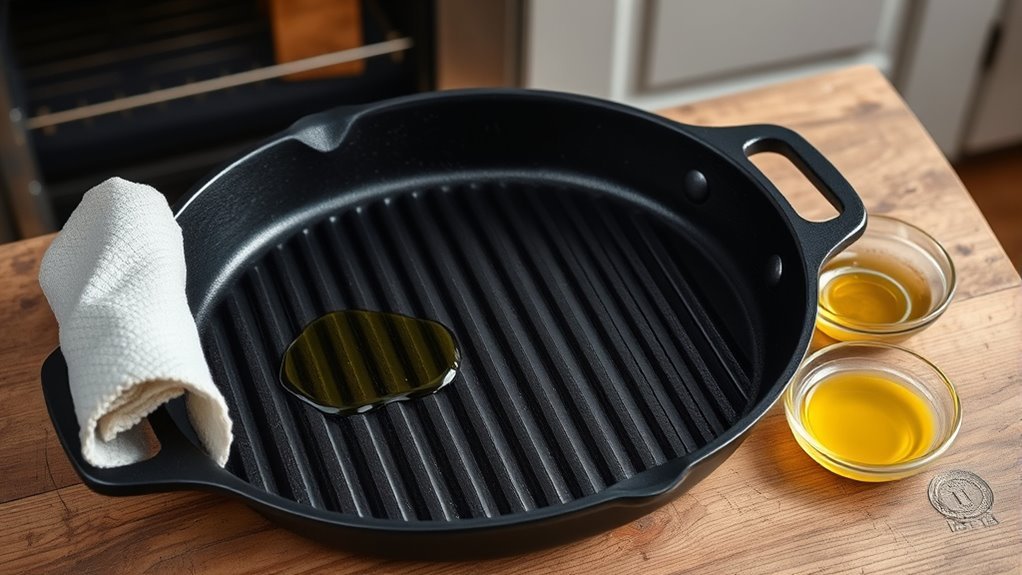
Seasoning a cast iron grill pan is important for durability, necessary for nonstick properties, and essential for flavor enhancement. You’ll want to start by cleaning, applying oil, and baking your pan to create a protective layer. But there are specific techniques and tips that can make all the difference. Understanding these steps can transform your cooking experience and guarantee your grill pan lasts for generations. Are you ready to learn the details?
Why Seasoning a Cast Iron Grill Pan Is Essential
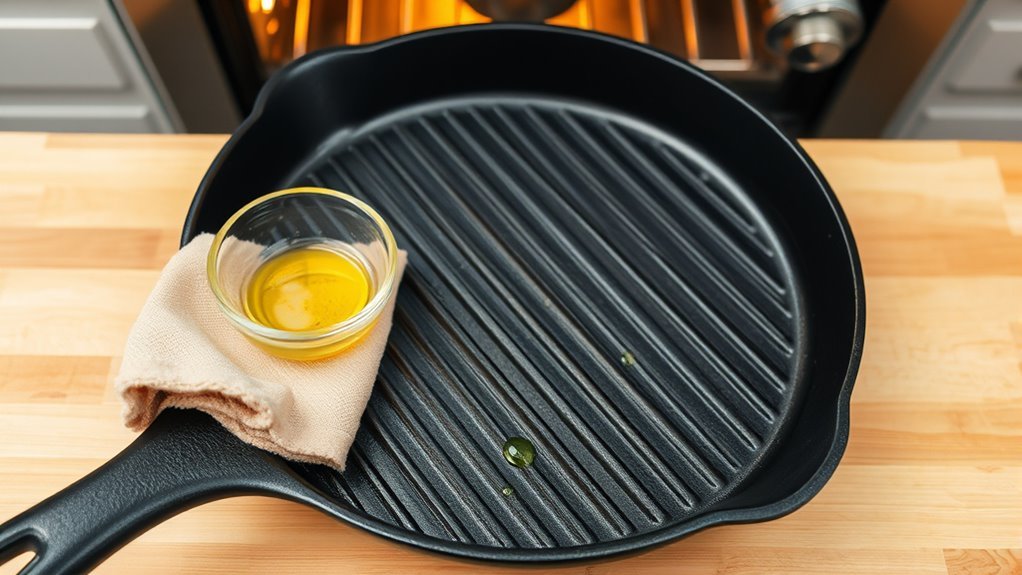
Seasoning a cast iron grill pan isn’t just a nice-to-have; it’s essential for maximizing its performance and lifespan. When you season your pan, you’re creating a protective layer that prevents rust and enhances durability. This process involves polymerization, where oil is heated to high temperatures, resulting in a smooth, nonstick surface that’s perfect for grilling.
A well-seasoned cast iron pan can handle high heat, allowing you to achieve excellent searing and flavor development in your favorite grilled dishes.
Regular seasoning not only improves the pan’s nonstick properties but also makes cooking and cleaning a breeze. Plus, it prevents metallic flavors from leaching into your food, ensuring a better taste experience.
Embracing the art of seasoning liberates you from the hassles of inferior cookware, empowering you to create delicious meals with ease and confidence.
Step-by-Step Guide to Seasoning Your Grill Pan
Ready to transform your cast iron grill pan into a culinary powerhouse? Follow this step-by-step guide to season cast iron like a pro:
- Wash the Pan: Start by washing your grill pan with warm, soapy water to eliminate any factory residues.
- Dry It Thoroughly: Make certain it’s completely dry to prevent rust. You can use a stovetop flame to remove any lingering moisture.
- Apply Oil: Use a high smoke point oil, like vegetable or canola oil. Apply a thin, even layer both inside and out, buffing off any excess to avoid pooling.
- Bake: Preheat your oven to 450°F (230°C) and place the oiled pan upside down for 30 minutes, with a baking sheet below to catch drips.
Repeat this process 2-3 more times to build a solid layer of seasoning, enhancing your cooking performance and guaranteeing a nonstick surface.
Enjoy your culinary adventures!
Gathering Your Supplies for the Seasoning Process
Before diving into the seasoning process, it’s essential to gather a few key supplies. First, choose a high smoke point oil like vegetable, canola, or corn oil—these are perfect for ideal results.
You’ll also need a clean cloth or paper towels to apply and buff the oil, ensuring you avoid excess that could lead to stickiness.
Don’t forget to prepare a baking sheet to catch any drips; place the pan upside down in the oven for the best results. Preheat your oven to 450°F (230°C)—this temperature is vital for polymerizing the oil and creating durable layers of seasoning.
Finally, keep a stiff brush or chain mail scrubber handy to clean completely before you start. This initial step in Cast Iron Care sets the foundation for a long-lasting, nonstick surface.
With everything ready, you’re all set to begin!
Essential Tips for Long-Lasting Cast Iron Seasoning
Maintaining a well-seasoned cast iron grill pan is essential for ensuring its longevity and performance. Follow these tips to keep your cast iron seasoning in top shape:
- Cook Regularly: Use oils or fats when cooking to enhance the nonstick cooking surface and build additional seasoning layers over time.
- Clean Wisely: After each use, rinse with hot water and a stiff brush. Avoid soap, as it can strip away your seasoning.
- Dry Completely: Always dry your pan immediately after washing to prevent rust formation. A light coat of oil helps maintain the seasoning.
- Re-season Periodically: Every few months, apply a thin layer of oil and heat your pan in the oven at 450°F for about an hour to restore rusty spots and reinforce the protective coating.
Avoid These Common Seasoning Mistakes
When seasoning your cast iron grill pan, it’s essential to avoid using excess oil; too much can create a sticky mess instead of a smooth surface.
Additionally, make certain you’re heating the pan properly; inadequate temperatures can prevent the oil from bonding effectively.
Excess Oil Application
Overusing oil during the seasoning process can sabotage your cast iron grill pan’s performance. To achieve the best results, follow these guidelines to avoid excess oil:
- Apply a Thin Layer: Use just enough oil to coat the pan lightly; it should look almost dry after buffing.
- Choose High Smoke Point Oils: Oils like flaxseed or grapeseed are ideal, but remember—less is more.
- Inspect Regularly: Check for any sticky surface after seasoning, which signals too much oil was used.
- Correct Mistakes: If you notice a gummy texture, re-clean and reseason the pan to restore peak iron seasoning.
Inadequate Heating Time
Inadequate heating time can lead to frustrating results when seasoning your cast iron grill pan. If you don’t maintain the correct temperature—between 450°F and 500°F—your seasoning won’t bond properly.
Aim for at least 45–60 minutes to guarantee full polymerization, creating a durable nonstick layer. Rushing this process can leave you with a sticky or uneven surface that affects cooking performance.
Always start with a preheated pan; a cold one leads to uneven heating. Don’t forget to repeat the seasoning process 2–3 times for a robust protective layer.
Finally, allow the pan to cool gradually in the oven; rushing this can cause the seasoning to crack or peel. Embrace the process for best results!
How to Recover From Failed Seasoning?
If you find yourself dealing with a cast iron grill pan that has flaking or uneven seasoning, don’t worry—recovering it’s entirely possible. Follow these steps to restore your pan to its former glory:
- Cast Iron Cleaning: Scrub the pan with steel wool to remove damaged layers of seasoning.
- Wash and Dry: Thoroughly wash it with warm, soapy water, then dry completely to prevent rust.
- Apply Oil: Coat the surface with a thin, even layer of high smoke point oil. Buff off any excess to avoid pooling during the seasoning process.
- Re-season: Preheat your oven to 450°F (230°C) and place the oiled pan upside down for 30-60 minutes.
Repeat this seasoning process 2-3 times to build a durable, nonstick surface.
With patience and care, you’ll transform your grill pan into a reliable cooking companion!
Frequently Asked Questions
What Ruins Cast Iron Seasoning?
To avoid ruining your cast iron seasoning, focus on rust prevention through proper cleaning and moisture management.
Skip soap and abrasive tools that strip the seasoning. Manage heat carefully when cooking, as high acidity can erode the layer.
Store your pan in a dry place, ensuring it remains seasoned.
Finally, remember to season it regularly to maintain that smooth, nonstick surface, preventing the need for frequent restoration.
What Is the Best Oil to Use for Seasoning a Cast Iron Grill?
For seasoning your cast iron grill pan, choose oils with high smoke points—think vegetable, canola, or grapeseed oil.
These grill pan oils create a smooth, nonstick layer without that sticky residue. As you apply a thin coat, imagine the shimmering surface glistening, bonding flavors over time.
For maintenance, reapply your chosen oil after cleaning. This guarantees your pan stays ready for culinary adventures, enhancing its flavor profiles with each use.
Do You Oil Cast Iron After Seasoning?
Yes, you should oil your cast iron after seasoning.
Apply a thin layer of high smoke point oil, like vegetable or grapeseed oil, to maintain its nonstick surface.
Make this oil application part of your cleaning methods, doing it after each use for ideal seasoning frequency.
This maintenance tip helps build up the seasoning, ensuring your pan stays in great shape and lasts longer.
Keep it dry before oiling to prevent rust!
What Are Some Common Mistakes When Seasoning Cast Iron?
When seasoning cast iron, you can easily trip over common pitfalls. Over-oiling leads to a sticky mess, while not cleaning properly allows residue to ruin your efforts.
Use oils with high smoke points to avoid off-flavors, and make sure you heat your pan thoroughly for even seasoning.
Forgetting to reapply oil regularly can undermine the benefits of a well-seasoned surface, so keep your seasoning frequency in check for best results.
Conclusion
Just like nurturing a garden, seasoning your cast iron grill pan requires care and attention. With each layer of oil, you’re planting seeds for a durable, nonstick surface that’ll flourish with every meal you create. Remember, it’s not just about cooking; it’s about building a legacy of flavor and memories. So, embrace the process, tend to your pan, and watch it transform into a trusted companion in your culinary adventures. Happy cooking!