
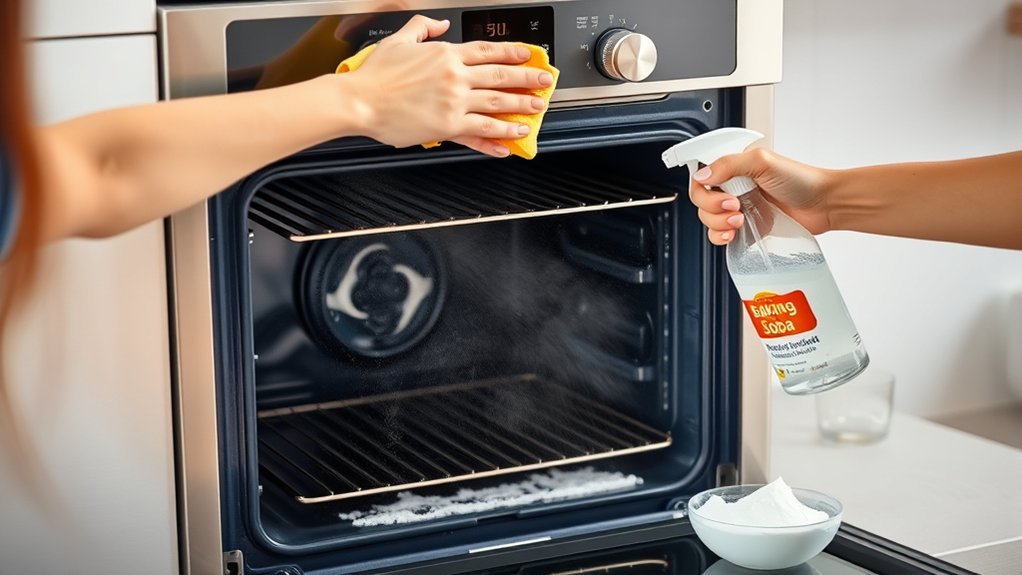
Baking soda and white vinegar can help clean many oven interiors without relying on a commercial oven cleaner, but the safest method depends on the oven’s finish and manufacturer instructions. Start with a completely cool oven, remove loose debris and racks, spread a thick baking soda-and-water paste over approved interior surfaces, let it work, then wipe it away. Use a small amount of vinegar afterward to react with leftover baking soda and make the remaining residue easier to see and remove.
Quick Answer
To clean an oven with baking soda and vinegar, make a thick paste of roughly three parts baking soda to one part water. Apply it to approved surfaces in a cool oven, avoiding sensitive parts. Let it sit from 20 minutes to overnight, wipe it away, then lightly spray remaining baking soda with white vinegar and wipe again.
Key Takeaways
- Check the oven’s owner manual before using baking soda, vinegar, soaking, or abrasive scrubbing on special finishes or racks.
- Make the cleaning paste with baking soda and water, not baking soda and vinegar.
- Keep paste and liquid away from the door gasket, heating elements, igniters, vents, fan openings, sensors, wiring openings, and other parts the manufacturer says not to wet.
- Use vinegar after most of the paste has been removed; the fizz comes from vinegar reacting with residual baking soda.
- Never mix vinegar with chlorine bleach or an unknown cleaning chemical.
At a Glance
| Time Required | About 30–45 minutes of active work, plus 20 minutes to overnight for the paste to sit |
| Difficulty | Easy to moderate |
| Tools Needed | Bowl, gloves, sponge or microfiber cloth, soft brush, plastic or silicone scraper, spray bottle, towels |
| Cost | Low when using common household supplies |
Why Use Baking Soda for Oven Cleaning
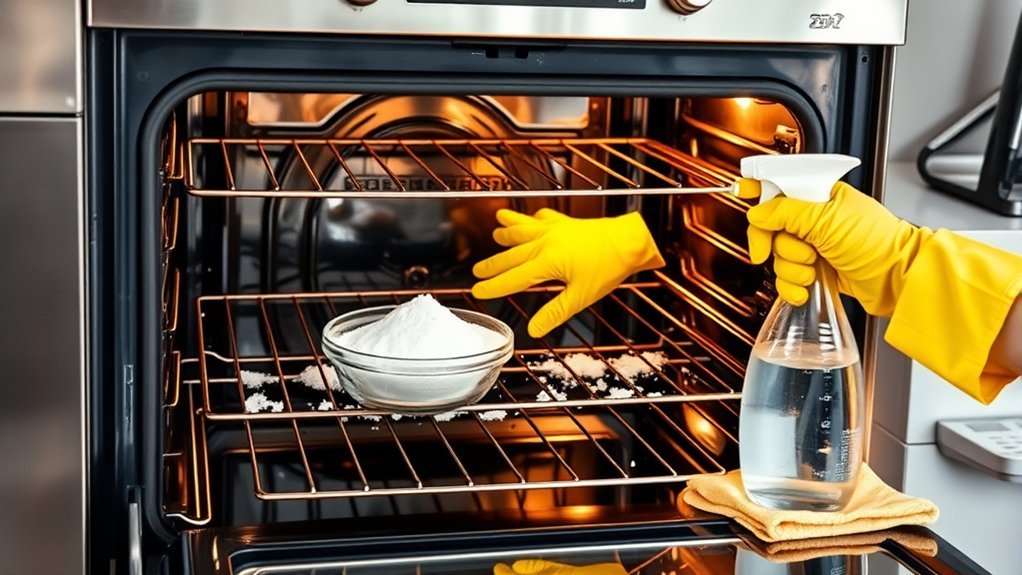
Baking soda is useful for manual oven cleaning because it can form a mildly abrasive, alkaline paste that stays on greasy, baked-on residue. The paste gives moisture time to soften deposits while the baking soda provides gentle scrubbing action when it is wiped away.
The most useful part of the method is the baking soda-and-water paste plus enough dwell time—not mixing baking soda and vinegar together at the start.
White vinegar is more useful near the end of the process. When it contacts leftover baking soda, an acid-base reaction releases carbon dioxide bubbles. That fizz makes residual baking soda easy to identify and can help loosen small remaining deposits, but it does not make the original baking soda paste chemically stronger.
This method also avoids the strong fumes associated with some commercial oven cleaners. However, “natural” does not mean universally safe for every oven surface. Always follow the cleaning instructions for the specific appliance.
Check Your Oven Before Cleaning
Before putting any homemade cleaner inside the oven, check the Use and Care Guide for the exact model. Manufacturers may give different instructions for standard enamel, self-cleaning cavities, steam-clean systems, catalytic or porous liners, special rack coatings, telescoping racks, door glass, and stainless-steel trim.
Warning: Clean only when the oven is switched off and completely cool. Keep baking soda paste, vinegar, and excess water away from the door gasket, heating elements, gas igniters, thermostat or temperature sensors, wiring openings, fan vents, oven vents, and other components the owner manual says not to wet or clean. Never mix vinegar with chlorine bleach; the combination can release hazardous chlorine gas.
GE Appliances specifically advises keeping water and cleaner away from the oven-door gasket because moisture and cleaning can damage it. Samsung also recommends keeping the gasket dry and using non-abrasive methods on oven components. See the manufacturer guidance in the Sources section below.
Note: If another cleaning chemical was previously used inside the oven, remove it according to its label and the appliance manual before introducing vinegar. Do not combine household cleaners unless their labels specifically say the combination is safe.
What You’ll Need
- About 3/4 cup baking soda
- About 1/4 cup warm water, adjusted as needed
- White distilled vinegar
- Warm water and dish soap for ordinary removable racks, if permitted by the manual
- Small mixing bowl
- Gloves
- Soft sponge, microfiber cloth, or non-abrasive scrubber
- Soft nylon brush for approved surfaces
- Plastic or silicone scraper
- Spray bottle
- Clean towels
The exact amount of paste is not critical. A roughly 3:1 ratio of baking soda to water is a practical starting point. Add the water gradually until the mixture is thick enough to spread without running down the oven walls.
Dish soap is best reserved for racks or manufacturer-approved surfaces rather than being automatically mixed into the baking-soda paste. This keeps the process simple and makes final rinsing easier.
How to Clean Oven Racks
Many standard oven racks can be cleaned separately with warm, soapy water, followed by non-abrasive scrubbing and thorough drying. Special racks are different, so check the manual first. Telescoping, ball-bearing, coated, aluminum, or other specialty racks may require a specific cleaning method.
Remove And Soak Racks
Make sure the oven and racks are fully cool. Remove the racks carefully and place ordinary manufacturer-approved racks in a sink, large basin, or protected bathtub containing warm water and a small amount of dish soap.
A soak of roughly 30 minutes is often enough for moderate grease, although heavier buildup may need longer. If using a bathtub, protect the tub surface with old towels so the metal racks do not scratch it.
Do not automatically soak telescoping or ball-bearing racks. Water or cleaner can enter sliding mechanisms on some designs, so use the method specified for the rack type.
Scrub Built-Up Grease
After soaking, scrub ordinary racks with a sponge, nylon brush, or non-abrasive pad. Work along the bars, corners, and joints where baked-on grease collects.
If a manufacturer permits baking soda on the rack finish, a small amount of baking soda paste can be applied to stubborn deposits. Avoid aggressive abrasives on coated, polished, aluminum, or specialty surfaces unless the manual specifically permits them.
Pro Tip: Start with warm soapy water and the least abrasive tool that works. Escalating immediately to harsh scrubbing can damage a finish before the grease has had time to soften.
Rinse And Dry
Rinse the racks thoroughly with clean water to remove soap and loosened debris. Check corners, joints, and rack guides for residue.
Dry the racks completely with clean towels or allow them to air dry fully before reinstalling them. Complete drying helps reduce the chance of corrosion on susceptible metal components.
If the racks become difficult to slide after cleaning, consult the appliance manual before applying lubricant. Some manufacturers permit a small amount of cooking oil on specific rack guides, while specialty sliding racks may have different requirements.
Make the Baking Soda Paste
Combine about 3/4 cup baking soda with about 1/4 cup warm water. Add the water gradually and stir until the mixture resembles a thick, spreadable paste. Make more using the same approximate ratio if the oven is large.
| Goal | Result |
|---|---|
| Thick, spreadable texture | Clings to approved oven surfaces |
| Too much water | Paste drips and becomes harder to control |
| Vinegar | Reserve it for residual baking soda during final cleanup |
| Dwell time | About 20 minutes for lighter soil; several hours or overnight for stubborn buildup |
Do not add vinegar to the bowl as a supposed grease-fighting booster. Vinegar is acidic and baking soda is basic; when combined, they react and release carbon dioxide. Keeping the baking soda paste separate allows it to remain in contact with the greasy residue for the full dwell period.
Apply the Paste to the Oven Interior
Remove loose crumbs and dry debris first so they do not turn into muddy residue when the paste is applied. Place towels or another washable protective layer below the open oven door to catch drips.
Using a gloved hand, soft brush, or flexible silicone spatula, spread the baking soda paste over manufacturer-approved interior surfaces. Give baked-on spots a slightly thicker coat.
Do not smear the paste indiscriminately over every component. Keep it off the door gasket and away from heating elements, gas igniters, temperature sensors, fan openings, vents, electrical openings, exposed wiring, and other sensitive parts identified in the appliance manual.
For light splatters, the paste may need only about 20 minutes. For heavy, baked-on deposits, leaving it for several hours or overnight gives moisture more time to soften the buildup. Whirlpool states that particularly stubborn areas can be treated for 12 to 24 hours.
Remove the Paste and Grime
Once the dwell period is over, wipe away the baking soda paste with a damp sponge or microfiber cloth. Rinse the cloth frequently rather than spreading loosened grease around the cavity.
For hardened patches, use a plastic or silicone scraper at a shallow angle. Avoid metal scrapers, steel wool, or aggressive abrasive pads unless the oven manufacturer specifically approves them for that surface.
Repeat the damp wiping until most of the visible baking soda is gone. At this stage, a few white, chalky patches may remain in seams or on textured surfaces. Those areas are where the vinegar finish is most useful.
Finish With a Vinegar Rinse
After most of the baking soda has been wiped away, lightly spray white vinegar onto remaining baking-soda residue on surfaces where the manufacturer permits vinegar.
The vinegar and baking soda react to form carbon dioxide bubbles, water, and sodium acetate. The bubbling is not proof that the mixture has become a stronger cleaner; it mainly shows that acid and base are reacting. In practical oven cleaning, the fizz also makes leftover baking soda easier to identify and wipe away.
Vinegar Spray Finish
Use a light mist rather than soaking the oven. Allow the brief fizzing to subside, then wipe the area with a clean damp cloth.
Do not spray vinegar directly onto the door gasket, electrical openings, heating elements, igniters, fan vents, sensors, or surfaces that the appliance manual excludes from acidic cleaners.
If visible baking soda remains, repeat with another damp-cloth pass rather than flooding the cavity with vinegar.
Wipe And Dry
Finish with a cloth dampened with fresh water to remove remaining baking soda, vinegar, soap, and loosened grime.
Inspect seams and corners carefully because dried baking soda can leave a white film. Continue rinsing the cloth and wiping until the interior no longer feels gritty or chalky.
Allow the oven to dry completely before reinstalling dry racks and using the appliance.
Clean the Oven Door and Glass
The oven door often needs separate attention because grease can bake onto the interior glass while the gasket around the opening must be protected.
GE Appliances lists soap and water, a diluted vinegar-and-water solution, or a baking soda-and-water paste among options for compatible interior door glass. Apply the cleaner to the cloth or approved glass surface rather than saturating the door.
Keep water and cleaner away from the woven or flexible door gasket. Do not scrub, pull, saturate, or reposition the gasket. Also avoid letting liquid run into openings where it can become trapped between glass panels.
Use a soft cloth, non-abrasive sponge, or plastic scraper for stubborn spots. If the glass has a special coating, follow its model-specific instructions instead of assuming baking soda is appropriate.
Troubleshoot Stubborn Baked-On Grease
If one treatment does not remove a heavily burned deposit, do not immediately switch to a metal blade or harsh abrasive. Apply fresh baking soda-and-water paste to the spot, let it sit longer, then try a plastic scraper and damp cloth again.
For ovens with an approved self-clean or steam-clean function, the manufacturer may recommend that cycle for soil that remains after ordinary manual cleaning. Follow the appliance instructions because rack removal, preparation, ventilation, and permitted cleaners vary by model.
If an oven starts smoking during normal cooking after cleaning, turn it off safely and allow it to cool. Check for leftover food, grease, baking soda, cleaning residue, or material that entered an inappropriate area. If the source cannot be identified or the appliance behaves abnormally, stop using it and follow the manufacturer’s service guidance.
How Often to Clean an Oven
There is no single cleaning interval that fits every kitchen. Usage, spills, cooking style, and oven design all affect how quickly residue accumulates.
Once the oven is cool, wipe up fresh spills before repeated heating bakes them onto the surface. A deeper clean is useful when visible grease accumulates, burnt food begins to smoke or smell during normal cooking, or routine wiping no longer removes the residue.
Whirlpool notes that ovens used for frequent multi-course cooking may require deep cleaning more often than every three months. The appliance manual should remain the primary maintenance reference for the specific model.
Frequently Asked Questions
Does Cleaning an Oven With Baking Soda and Vinegar Work?
Yes, it can work well for many manually cleaned oven interiors when the manufacturer allows these ingredients. The most effective sequence is baking soda plus water first, followed by wiping and then a small amount of vinegar on remaining baking-soda residue. Heavy carbonized buildup may need a second treatment or a manufacturer-approved cleaning cycle.
What Is the Easiest Way to Clean a Really Dirty Oven?
For a compatible oven, remove loose debris, coat approved dirty surfaces with a thick baking soda-and-water paste, and leave it for several hours or overnight. Wipe away the softened grime, use a plastic scraper on stubborn deposits, and apply a light vinegar mist only to leftover baking soda. Repeat spot treatment if needed.
How Do I Get the Black Stuff off the Bottom of My Oven?
If the oven manual permits manual cleaning on the floor of the cavity, apply a thick baking soda-and-water paste to the cool surface and let it sit for several hours or overnight. Wipe it away and use a plastic scraper for softened deposits. Avoid heating elements, vents, igniters, sensors, and special liners. Repeat the treatment instead of using aggressive metal scrapers.
What Is the Best Homemade Oven Cleaner That Actually Works?
A simple baking soda-and-water paste is a practical homemade option for many compatible oven interiors. Start at roughly three parts baking soda to one part water and adjust until spreadable. There is no need to add vinegar to the paste. Use vinegar later on residual baking soda, and always follow the appliance manufacturer’s surface-care instructions.
Can I Use Baking Soda and Vinegar in a Self-Cleaning Oven?
Possibly, but do not assume the method is approved for every self-cleaning oven. Some manufacturers permit limited manual cleaning while others specify particular products, surfaces, or procedures. Check the Use and Care Guide first, especially for porous, catalytic, coated, or otherwise specialized liners.
Can I Mix Vinegar With Bleach While Cleaning an Oven?
No. Never mix vinegar with chlorine bleach. Acidic vinegar can react with bleach and release hazardous chlorine gas. Do not combine vinegar with an unknown cleaning product either. If another cleaner was previously used, follow its label and the oven manual for complete removal before using a different product.
Conclusion
Cleaning an oven with baking soda and vinegar works best when the ingredients are used in the right order. Let a baking soda-and-water paste soften approved dirty surfaces first, remove the bulk of the residue, then use a small amount of vinegar on remaining baking soda. Just as important, protect the gasket, heating components, vents, sensors, special liners, and specialty racks by following the oven manufacturer’s instructions. With those precautions, the method can provide a simple, low-cost way to handle everyday grease and baked-on food.
Sources
- Whirlpool — How to Clean an Oven Inside and Out — baking soda paste, dwell time, vinegar finishing, rack cleaning, and model-specific care.
- GE Appliances — Cleaning the Oven Door Interior — door-glass cleaning options and protecting the oven-door gasket.
- Samsung — How to Clean Your Samsung Oven — rack care, gasket precautions, self-clean preparation, and non-abrasive cleaning.
- American Chemical Society — Gas Sudsation — explains the carbon-dioxide-producing reaction between baking soda and vinegar.
- Poison Control — No, Vinegar Is Not Always Safe — vinegar safety and the warning not to mix vinegar with chlorine bleach.
