
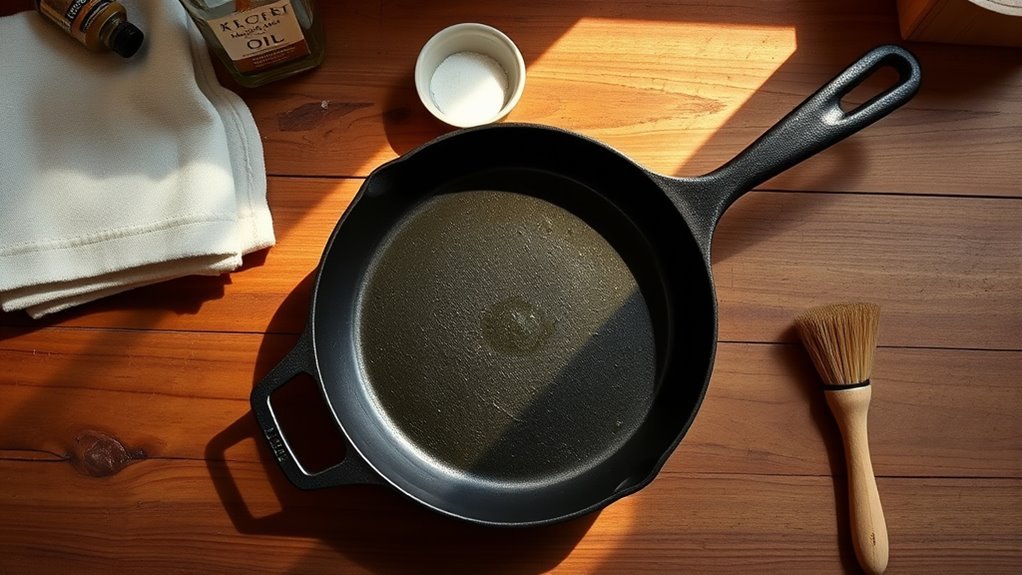
Have you ever wondered if a new cast iron pan really lives up to the hype? Proper seasoning and care can transform your skillet into a culinary powerhouse, but many overlook the initial steps. From creating that essential nonstick layer to knowing what foods to avoid, there’s a lot to contemplate. By mastering these basics, you’ll reveal the true potential of your cast iron. Let’s explore how to get started on this journey.
Why Seasoning Your Cast Iron Pan Matters
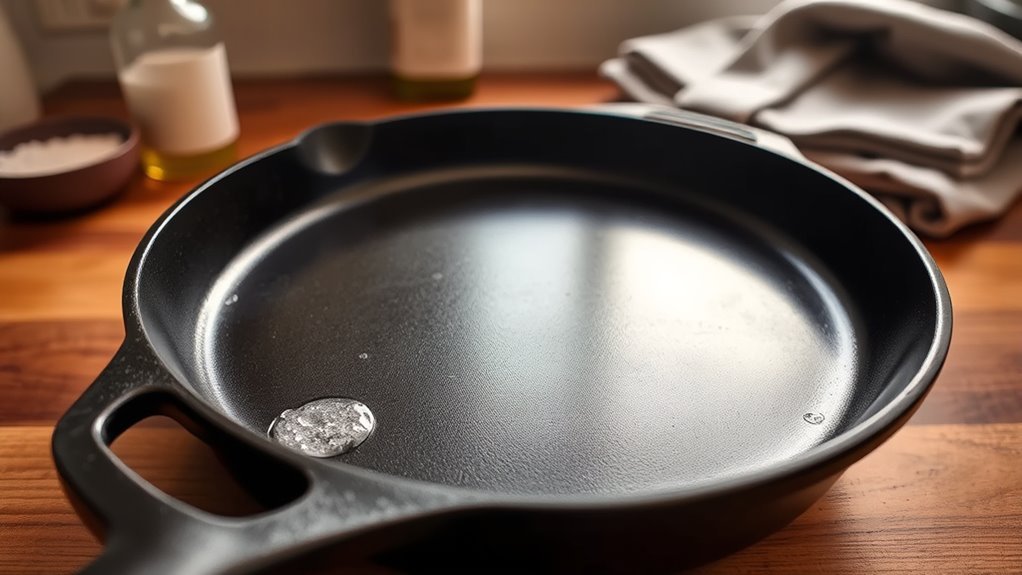
When you first get your cast iron pan, seasoning it’s essential for maximizing its potential. This process creates a protective layer that prevents rust and enhances nonstick properties through the polymerization of cooking fats.
Proper seasoning transforms your cast iron into a culinary powerhouse, developing a hard, blackened surface that makes even the stickiest foods slide right off.
As you cook with oil, you’re not just preparing meals; you’re continually building that seasoning layer, making your pan more effective and easier to use over time.
However, be cautious with acidic ingredients like tomatoes and lemons until your seasoning is well-established, as they can compromise that precious layer.
While many new pans come pre-seasoned, adding extra layers of seasoning is highly recommended for ideal performance and longevity.
Embrace this ritual, and your cast iron will reward you with delicious meals for years to come.
How to Season Your New Cast Iron Pan: A Simple Guide
To season your new cast iron pan, you’ll want to follow a few essential steps that guarantee its longevity and performance.
Choosing the right oil is vital, as it impacts the seasoning process and the pan’s future cooking capabilities.
With a bit of care and maintenance, your skillet will become a beloved kitchen companion for years to come.
Essential Seasoning Steps
Seasoning your new cast iron pan is essential for creating a durable, nonstick surface that enhances your cooking experience.
Start the seasoning process by washing your pan with warm, soapy water, then dry it thoroughly.
Next, apply a thin, even layer of cooking oil to both the inside and outside, buffing off any excess to prevent pooling.
Preheat your oven to 450°F (230°C) and place the oiled pan upside down on a baking sheet to catch drips.
Bake for 30 minutes to polymerize the oil.
Repeat this oiling and baking three to four times to build a solid layer of seasoning.
Choosing The Right Oil
Choosing the right oil for seasoning your cast iron pan can make all the difference in achieving that coveted nonstick surface.
Opt for oils with high smoke points, like vegetable, canola, or corn oil. These oils allow you to season effectively without burning, unlike olive oil or butter, which can lead to a sticky mess.
Apply a thin layer of oil to both the interior and exterior, buffing it until it’s not greasy to prevent pooling during seasoning.
For best results, reapply oil and season your pan 3 to 4 times at 450°F (230°C). This will establish a strong protective coating, enhancing your pan’s nonstick properties and setting you on a path to culinary freedom.
Maintenance For Longevity
After you’ve selected the right oil and seasoned your cast iron pan, it’s time to focus on maintenance for longevity.
First, whenever you use your pan, wash and dry it promptly with hot water and a stiff brush. Make sure to dry completely to prevent rust, as moisture is cast iron’s worst enemy.
After cleaning, apply a light coat of oil to keep that lovely seasoning intact; this simple step is essential for maintaining its nonstick surface.
Remember, routine maintenance for longevity doesn’t just preserve your pan—it enhances your cooking experience.
With a little care, your cast iron will serve you well for generations, becoming a cherished companion in your kitchen adventures.
Essential Tips for Cooking With Cast Iron
To get the most out of your cast iron skillet, start by preheating it on medium-low heat for a few minutes; this helps guarantee even cooking and prevents sticking.
Don’t skimp on the oil—using a generous amount of fat not only enhances flavor but also boosts the skillet’s nonstick surface.
Proper Preheating Techniques
Preheating your cast iron skillet properly is one of the keys to achieving perfectly cooked meals. Start by preheating on medium-low heat for a few minutes. This guarantees even cooking and helps prevent sticking. Use a small amount of oil to enhance the skillet’s natural nonstick properties. Remember, don’t fiddle with your food; let it develop a proper sear before flipping. If you’re preparing high-temperature dishes, consider preheating your skillet in the oven for consistent heat.
| Step | Description |
|---|---|
| 1. Preheat | Start on medium-low heat. |
| 2. Add Oil | Use a small amount for coating. |
| 3. Let It Sear | Avoid flipping too soon. |
| 4. Adjust Heat | Lower if it gets too hot. |
Best Cooking Oils
Cooking with a cast iron pan opens up a world of flavor, but choosing the right oil is essential for ideal results. The best cooking oils for seasoning and cooking are vegetable, canola, and corn oil. These oils have high smoke points that promote effective polymerization, allowing a durable nonstick layer to form.
Avoid using olive oil for initial seasoning; its lower smoke point can create a sticky residue instead of a smooth finish. After cleaning your pan, always apply a light layer of oil to maintain the seasoning and prevent rust.
When cooking, use enough oil to prevent sticking, especially with delicate foods. Regularly cooking with oil builds up the seasoning layer, enhancing your skillet’s nonstick properties over time.
Mistakes to Avoid When Cooking With Cast Iron
While using a cast iron pan can elevate your cooking, making certain mistakes can hinder its performance and longevity. First, avoid high heat; it can damage the seasoning and lead to sticking. Stick to medium-low for best results.
Also, steer clear of acidic foods like tomatoes or lemons until your skillet’s seasoning is well-established, as they can strip away that protective layer you’ve worked hard to build.
Avoid acidic ingredients like tomatoes and lemons until your skillet’s seasoning is strong enough to withstand them.
When seasoning, use only a thin layer of oil—too much can pool and cause stickiness.
Don’t let your cast iron skillet sit unused for long periods; regular cooking helps maintain its seasoning and prevents rust.
Finally, never toss your skillet in the dishwasher. Instead, hand wash it with warm, soapy water and dry it immediately to keep rust at bay.
How to Clean and Maintain Your Cast Iron Skillet
Cleaning and maintaining your cast iron skillet is vital for preserving its non-stick surface and preventing rust. After your skillet cools, hand-wash it with warm, soapy water, making certain to scrub away any stuck-on food without damaging the seasoning.
For tougher messes, simmer a bit of water in the skillet for 3-5 minutes to loosen debris, then scrape it off with a spatula or brush.
Once clean, dry your skillet thoroughly—use a towel or heat it on the stove to guarantee every drop of moisture is gone. This step is essential to prevent rust.
Finally, apply a light layer of cooking oil to maintain the seasoning and protect against moisture. Remember, never toss your skillet in the dishwasher; harsh detergents and prolonged water exposure will strip away its protective layer, leading to rust.
Embrace these steps to keep your skillet in prime condition!
Reseasoning: When and How to Do It?
Over time, even the best-maintained cast iron skillet can show signs of wear, like rust or a dull surface. Reseasoning is essential to restore its nonstick properties and protect the metal.
Start by thoroughly cleaning your cast iron pan with warm, soapy water to eliminate old seasoning and debris. Once it’s completely dry, apply a thin layer of cooking oil both inside and out, ensuring even coverage to prevent pooling.
Next, heat the oiled pan upside down in a preheated oven at 450°F (230°C) for about 30 minutes, placing a baking sheet beneath to catch any drips.
To build a strong, protective seasoning layer, repeat this oiling and heating process three to four times. This simple ritual not only enhances your skillet’s cooking performance but also reaffirms your connection to this timeless kitchen essential.
Embrace the art of reseasoning and keep your cast iron pan thriving!
Cooking Techniques That Shine in Cast Iron
Cast iron pans are culinary powerhouses, and mastering a few key cooking techniques can elevate your dishes to new heights. The exceptional heat retention of cast iron cookware allows you to sear meats beautifully, creating a perfect crust.
Start by preheating your skillet gradually on medium-low heat; this guarantees even use without those pesky hot spots. When cooking, use fats like butter or oil to enhance the pan’s nonstick properties, making food release a breeze.
Versatility is another strength of cast iron; it excels both on the stovetop and in the oven, perfect for baking cornbread or roasting vibrant vegetables.
With regular use, the natural seasoning improves, allowing you to cook even delicate items like eggs and crepes without sticking. Embrace these techniques, and you’ll reveal the full potential of your cast iron pan, transforming every meal into a culinary masterpiece.
Storing Your Cast Iron Pan Properly
To keep your cast iron pan in top shape, proper storage is essential. If you want to maintain that beautiful seasoning and avoid rust, follow these simple tips:
- Dry Place: Store your skillet in a dry location to prevent moisture buildup.
- Absorb Moisture: Before storing, wipe down the pan with a paper towel or cloth to eliminate any residual moisture.
- Stack Wisely: If you’re stacking, place parchment paper or a cloth between pans to protect that precious seasoning from scratches.
- Cool and Oil: Confirm the pan is completely cooled and lightly oiled before storage to help maintain its seasoning and minimize rust.
Avoid covering your pan with a lid; this allows air circulation, keeping moisture at bay.
Delicious Recipes to Try in Your Cast Iron Skillet
Your cast iron skillet is a versatile kitchen companion that can elevate a variety of dishes.
Start your culinary adventure with Southern-Style Cornbread, which bakes to a crispy, buttery crust that’s perfect for serving straight from the skillet.
For a hearty meal, try Skillet-Roasted Chicken Breasts; they’re simple to prepare and boast a 4.5-star rating from satisfied home cooks.
If you’re craving a quick weeknight dinner, whip up Cast Iron Pork Fajitas—these flavorful bites are quick to make and a hit for family gatherings.
Don’t forget dessert! A Hot Fudge Pudding Cake will impress your guests with its decadent layers.
Finally, a Spinach and Feta Frittata makes for a delightful breakfast or brunch, with a crispy bottom and bubbly top that’s ideal for serving directly from your cast iron skillet.
Jump in and enjoy the freedom of cooking with this timeless tool!
Frequently Asked Questions
What to Do With a New Cast Iron Pan Before First Use?
Before using your new cast iron pan, start with some essential cleaning methods.
Wash it with warm, soapy water to remove factory residues.
Dry it thoroughly to prevent rust, then apply a thin layer of oil for initial seasoning.
Bake the oiled pan upside down in a preheated oven at 450°F for 30 minutes.
This builds a durable layer, setting you up for successful cooking techniques and effortless maintenance in the future.
What Should I Do With My Cast Iron Cookware for the First Time?
Start sizzling with your splendid cast iron! To embrace its benefits, heat it up with fatty foods like bacon or sautéed veggies—ideal beginner recipes.
Mastering cooking techniques is key, so let your pan soak up those flavors.
For maintenance, always dry it thoroughly and apply a light coat of oil after each use. This’ll keep your cookware in top shape, ensuring delicious dishes for years to come.
Happy cooking!
Should I Season a Brand New Cast Iron Skillet?
Yes, you should definitely season your brand new cast iron skillet! Start with light oil choices like vegetable or canola for the best results.
Use effective seasoning techniques by preheating your oven to 450°F (230°C) and placing the oiled skillet upside down for 30 minutes. This temperature tip guarantees even seasoning.
Repeat this process three to four times for a durable layer. Embrace these maintenance methods, and your skillet will serve you well for years!
How Do You Break in a Brand New Cast Iron Pan?
To break in your brand new cast iron pan, start with some dramatic flair! Wash it with warm, soapy water to banish any factory residue.
Next, embrace seasoning techniques: coat it with a thin layer of oil and heat it upside down in a roaring oven.
For your inaugural feast, opt for fatty delights like bacon.
Follow these cleaning methods and cooking tips, and your pan will thrive with proper maintenance advice for years!
Conclusion
In the end, it’s ironic how a simple cast iron pan can become your most cherished kitchen companion, yet many shy away from it. With just a bit of seasoning and care, you’ll reveal a world of culinary possibilities. Embrace the quirks, and watch as your skillet transforms from a rusty relic into a gleaming powerhouse. So, don’t let the initial intimidation deter you; your cast iron pan is just waiting to share its secrets with you.