
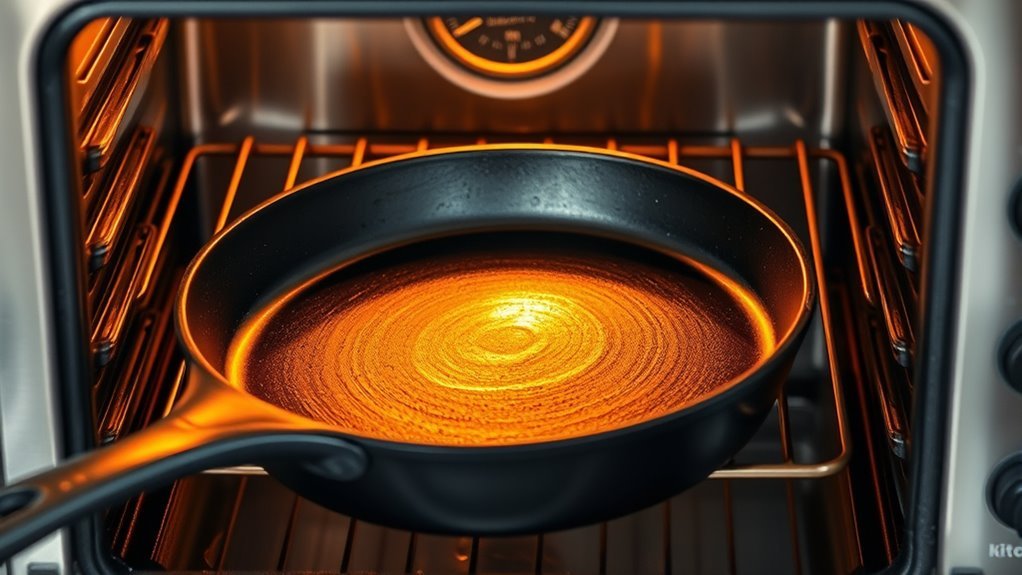
Is there a secret to achieving the perfect seasoning on cast iron? Understanding the ideal temperature and timing can mean the difference between a durable, non-stick surface and a pan that quickly rusts or sticks. You’ll want to contemplate a carefully structured process that starts at lower temperatures and gradually builds. What steps should you take to guarantee your cast iron performs at its best? Let’s explore the temperature guidelines and techniques that can enhance your cookware’s longevity.
Understanding the Importance of Seasoning Cast Iron
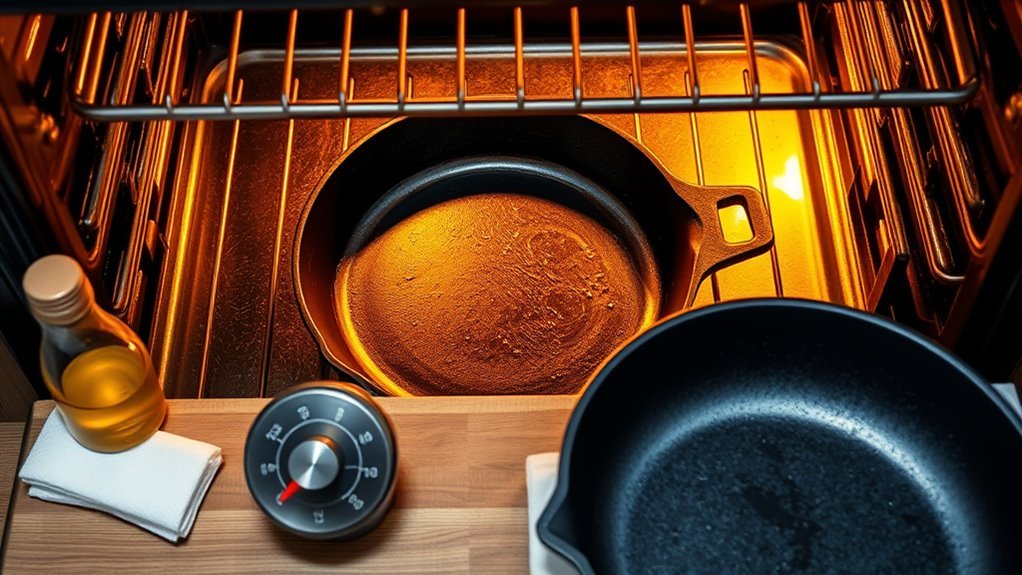
When you season cast iron, you’re not just applying oil—you’re creating an essential protective layer that prevents rust and enhances non-stick properties through the polymerization of fats. This process forms a hard, blackened surface that withstands high heat and resists sticking, making your cooking experience smoother.
Seasoning cast iron creates a vital protective layer, enhancing non-stick properties and ensuring a smoother cooking experience.
A well-seasoned pan not only protects but also improves flavor by establishing a natural barrier against acidic ingredients, which can otherwise react negatively with the metal.
Regular seasoning maintenance is vital; the non-stick properties improve with each layer, ensuring your cookware remains functional and effective over time.
As you use your cast iron, remember that the longevity of this cookware hinges on proper seasoning techniques. By understanding the importance of seasoning, you’re liberating your cooking potential, allowing you to harness the full capabilities of your cast iron cookware for years to come.
What’s the Best Temperature for Seasoning Cast Iron?
To effectively season your cast iron, aim for a temperature between 450°F and 500°F. This range promotes the polymerization of oil, creating a strong nonstick surface.
Starting with a preheat at 200°F for 20 minutes opens the pores, setting the stage for ideal seasoning results.
Ideal Seasoning Temperatures
Achieving the perfect seasoning for cast iron hinges on understanding the ideal temperature range, which lies between 450°F and 500°F. This range promotes effective polymerization of the oil, creating a strong, nonstick coating.
To maximize your results, consider seasoning at 400°F for two hours, giving the oil ample time to bond with the metal. Start by preheating your oven to 200°F, then gradually increase the temperature to prevent smoke and guarantee an even seasoning process.
It’s vital to avoid exceeding the smoke point of your chosen oil—opt for high-smoke-point oils like canola or flaxseed. For enhanced durability, repeat the seasoning process three to four times at these ideal temperatures, solidifying your cast iron’s nonstick surface.
Timing for Effective Seasoning
While many factors contribute to successful cast iron seasoning, timing plays a critical role. To effectively season your cast iron, aim for an oven temperature between 450°F and 500°F. This range facilitates the polymerization of oil, forming a durable nonstick surface.
Place the oiled pan upside down in the oven for about 30 minutes, using a baking sheet below to catch any drips and prevent pooling. After the initial seasoning, repeat this process three to four times at the same high temperature to build a strong layer.
Be mindful to maintain a consistent temperature; exceeding the oil’s smoke point can result in burnt seasoning. Finally, let the cast iron cool completely in the oven to enhance bonding.
Step-by-Step Guide to Seasoning Your Cast Iron Pan
To effectively season your cast iron pan, you need to focus on the right temperatures, timing, and oils.
Start by preheating your oven and selecting a suitable oil to guarantee ideal polymerization.
Then, follow a precise timing method to build a durable seasoning layer that enhances your cooking experience.
Essential Seasoning Temperatures
When it comes to seasoning your cast iron pan, understanding the essential temperatures is crucial for achieving a durable, non-stick surface.
Start by preheating your oven to 200°F (93°C) to warm the skillet gradually. After applying a liberal amount of Crisco shortening and wiping off the excess, increase the temperature to 300°F (149°C) for 15 minutes; this initiates the polymerization process, where the oil begins to bond with the cast iron.
For best results, raise the temperature to 400°F (204°C) and bake the skillet upside down for two hours, ensuring a smooth, non-sticky finish.
Monitor the smoke point of your oil to prevent burning, and allow the skillet to cool completely in the oven to set the seasoning layers.
Timing for Effective Seasoning
Effective seasoning of your cast iron pan hinges on timing and methodical application. Follow this detailed timing guide to guarantee success in your seasoning process:
- Preheat your oven to 450°F (230°C) and place the cast iron pan upside down for 30 minutes. This allows the oil to polymerize effectively.
- After the initial heating, apply a thin layer of oil; buff it out gently and repeat this step.
- Heat the pan again at 450°F for one hour during the final phase to solidify the seasoning layer.
- Allow the pan to cool inside the oven for best results.
Best Oils for Seasoning
Choosing the right oil for seasoning your cast iron pan is essential for achieving a durable, nonstick surface. High smoke point oils are your best bet for effective polymerization without burning. Here’s a quick overview of the best options:
| Oil Type | Smoke Point (°F) | Notes |
|---|---|---|
| Canola Oil | 400 | Affordable and widely available. |
| Vegetable Oil | 400 | Versatile and neutral flavor. |
| Flaxseed Oil | 225 | Creates a hard, durable finish. |
| Melted Shortening | 360 | Good for a thick coating. |
| Grapeseed Oil | 420 | High smoke point, great flavor. |
Apply a thin layer of your chosen oil, buff it until non-greasy, and bake at 450°F for best results. Repeat this process three to four times for a solid seasoning layer.
How Long to Season Cast Iron?
To achieve a well-seasoned cast iron skillet, you need to allocate sufficient time for the process.
A well-executed seasoning process guarantees a durable, nonstick surface that liberates your cooking experience.
Here’s how long you should spend:
- Preheat your oven to 450°F (230°C) and bake the oiled pan upside down for 30 minutes.
- Allow the pan to cool completely in the oven to enhance the protective layer.
- Repeat the seasoning process 3 to 4 times to build a solid initial layer of seasoning.
- Each session should last about one hour at high temperatures for ideal oil bonding.
Signs You Need to Reseason Your Cast Iron
Recognizing when it’s time to reseason your cast iron can greatly extend its life and performance. Here are some signs to watch for:
| Sign | Description |
|---|---|
| Food Sticking | If food starts to stick, the seasoning layer may be thinning. |
| Dull Appearance | A gray surface indicates that the seasoning has deteriorated. |
| Rust Spots | Rust signifies a breakdown in the seasoning, needing immediate attention. |
| Flaking or Peeling | If you see flakes, the layers haven’t bonded properly, requiring reseasoning. |
Additionally, a persistent metallic taste or odor during cooking points to compromised seasoning. Being attentive to these signs helps you maintain a robust layer of seasoning, ensuring your cast iron cookware remains functional and enjoyable for years to come. Regular reseasoning keeps your pan in prime condition, ready for all your culinary adventures.
Avoid These Common Mistakes in Cast Iron Seasoning
While many home cooks embrace the art of seasoning cast iron, several common mistakes can undermine your efforts and affect performance. To achieve that perfect non-stick surface, keep these pitfalls in check:
- Over-applying oil: Using excess oil can lead to a sticky residue. Always apply a thin layer and buff until non-greasy.
- Ignoring smoke point: Choosing oils without high smoke points can cause burnt seasoning. Stick to oils like canola or vegetable oil for best results.
- Failing to preheat the oven: Not reaching the recommended temperature before placing your pan can result in uneven seasoning. Always preheat properly.
- Insufficient cooling time: Rushing the cooling process can compromise the bond of the oil. Let your pan cool completely in the oven before removal.
Best Oils for Seasoning Cast Iron
Seasoning your cast iron pan effectively hinges not just on technique, but also on the oil you choose. The best oils for seasoning cast iron should have high smoke points to guarantee a stable, even layer. Canola, vegetable, and melted shortening are excellent choices for their resilience under heat.
| Oil Type | Smoke Point (°F) | Notes |
|---|---|---|
| Canola Oil | 400 | Affordable and readily available. |
| Vegetable Oil | 400 | Versatile and neutral flavor. |
| Flaxseed Oil | 225 | Prone to burning; monitor closely. |
| Lodge Seasoning Oil | 450 | Kosher-certified; ideal bonding. |
Avoid low smoke point oils like olive oil or butter, as they lead to sticky, uneven layers. Choosing the right oil not only liberates your cooking experience but also enhances the longevity of your cast iron cookware.
Maintaining Your Cast Iron Seasoning: Best Practices
To maintain the seasoning on your cast iron cookware, it’s essential to adopt a consistent cleaning and care routine. Follow these best practices to guarantee your layers of seasoning remain intact and effective:
- Clean Regularly: Use hot water and a stiff brush to clean your cast iron, avoiding soap that can strip the seasoning.
- Dry Immediately: After each use, dry your pan right away to prevent rust, guaranteeing it’s ready for the next cooking session.
- Oil Up: Apply a light layer of high-smoke point oil, like vegetable or canola oil, to maintain and enhance the seasoning.
- Store Properly: Keep your cast iron cookware in a dry place, possibly with a paper towel inside to absorb moisture.
Cooking with fats during regular use will help build and enhance the seasoning, creating a superior nonstick surface over time.
Troubleshooting: What to Do If Seasoning Doesn’t Work?
Maintaining your cast iron’s seasoning can sometimes lead to unexpected challenges. If your seasoning doesn’t work, start by checking the oil you’re using; opt for oils with a high smoke point, like canola or vegetable oil, to avoid sticky residues.
Make sure you apply a thin, even layer of oil—too much can pool and hinder proper bonding during the seasoning process. Preheating your oven adequately is essential; inadequate temperature can severely impact the effectiveness of the seasoning.
If you notice flaking, consider repeating the seasoning process. Focus on thoroughly cleaning the pan and applying multiple thin layers of oil to build a solid foundation.
For rough surfaces, regular cooking will gradually smooth out the texture and enhance the seasoning over time. These steps will help you achieve a well-seasoned cast iron skillet that performs beautifully.
Frequently Asked Questions
Should I Season Cast Iron at 350 or 450?
You should season cast iron at 450°F rather than 350°F. Higher temperatures allow the oil types to polymerize effectively, creating a durable, nonstick surface.
At 350°F, you risk a less effective bond, leading to a sticky finish. Using proper seasoning techniques, like upside down placement, helps prevent pooling.
Aim for about two hours at 450°F for best results, ensuring a strong, even coating that liberates your cooking experience.
Can I Season My Cast Iron at 400 Degrees?
Yes, you can season your cast iron at 400 degrees.
Picture your skillet glowing in the oven, oil shimmering like liquid gold. This temperature promotes polymerization, creating that coveted non-stick surface.
Using oils like flaxseed or grapeseed enhances the seasoning’s durability. Bake for about two hours, allowing the heat to bond the oil to the metal.
As it cools, you’re not just preserving; you’re liberating your cookware for a lifetime of culinary adventures.
What Ruins Cast Iron Seasoning?
Over-applying oil during seasoning methods creates a sticky surface, while ignoring the oil’s smoke point can lead to burnt seasoning.
Preheating the oven inadequately causes uneven coating, and failing to cool the pan properly traps moisture, inviting rust.
Regular maintenance is essential; neglecting cleaning and re-oiling leads to flaking.
Do You Oil Cast Iron After Seasoning?
Yes, you should oil your cast iron after seasoning. It’s essential for maintaining that protective coating and enhancing nonstick properties.
Use high smoke point oils like vegetable or canola oil, and buff it well to prevent pooling. Many worry about making it sticky, but with the right oil types and seasoning methods, you’ll reinforce the seasoning and keep rust at bay.
Regularly oiling your pan guarantees it performs beautifully for every meal.
Conclusion
In the world of cast iron, seasoning is key to revealing its full potential. By following the right temperature and timing, you guarantee a robust, non-stick surface that’ll last for generations. Remember, a little care goes a long way—don’t let your pan sit idle. If you keep an eye on your cookware and address issues promptly, you’ll always be cooking with a well-seasoned skillet. With these tips, you’re well on your way to culinary success.