
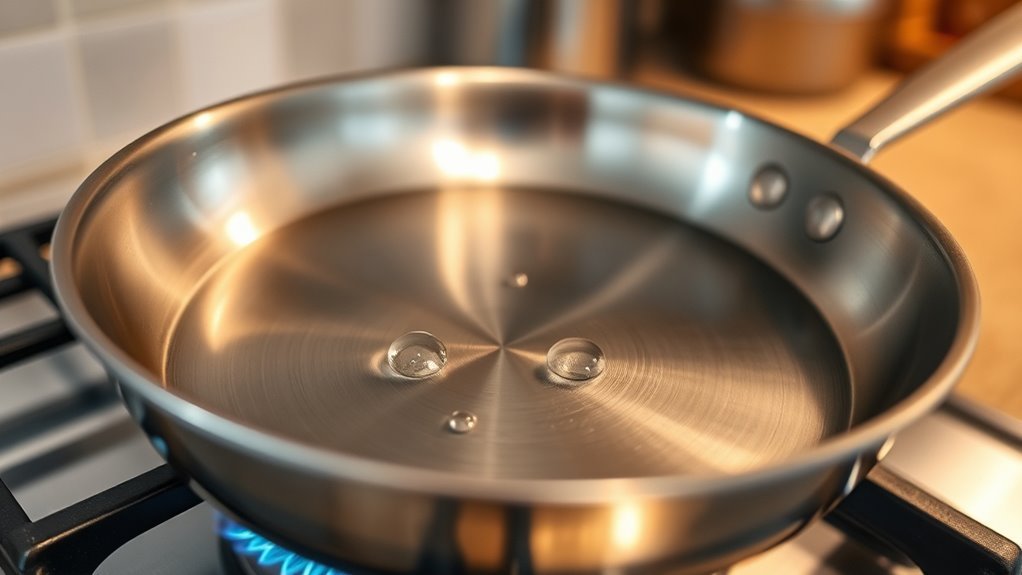
Using stainless steel can be a game changer for your cooking, yet it can also lead to frustrations if not handled correctly. Understanding when your pan is ready is vital for achieving ideal results. This guide will walk you through the essential steps, from preheating and performing the water test to recognizing when your food is ready to flip. Mastering these techniques will elevate your culinary skills and guarantee a smoother cooking experience.
How to Preheat Your Stainless Steel Pan for Best Results
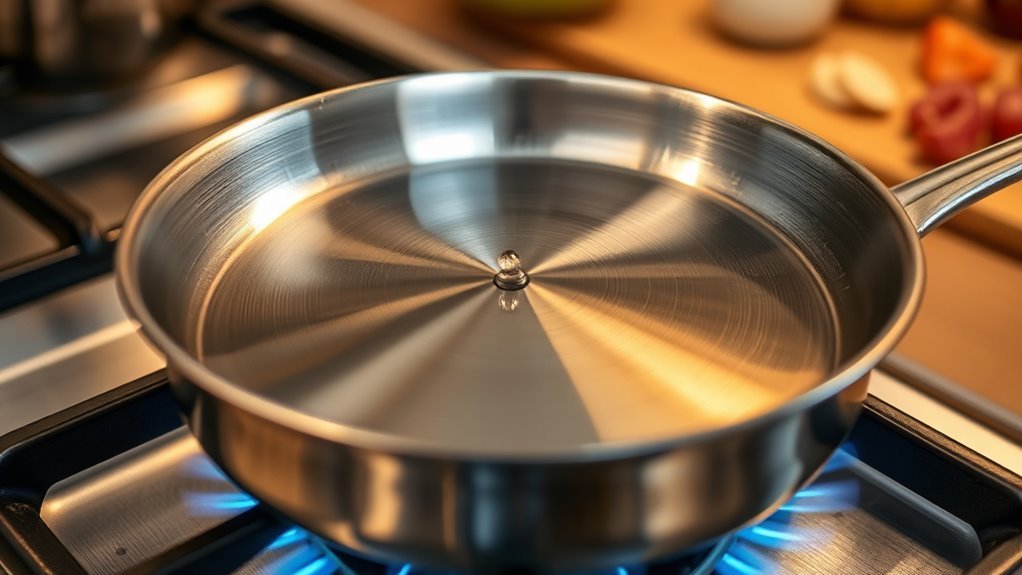
To achieve ideal cooking results, preheating your stainless steel pan correctly is essential. Start by placing your empty pan on the burner over medium heat for about 2-4 minutes. This gradual warming prevents warping while ensuring even heat distribution.
Once warmed, conduct the water test: flick a few drops of water onto the surface. If the droplets dance and sizzle, your pan is properly preheated and ready for oil.
Avoid adding oil to a cold pan, as this leads to sticking due to the oil seeping into the pan’s pores. After the water test confirms readiness, add your cooking fat and wait for it to shimmer. This shimmer indicates that your preheated pan has reached the ideal cooking temperature.
Keep the heat at medium to medium-high to prevent damage and guarantee consistent results. With proper preheating, you’re set for successful cooking.
What Is the Water Test and How Do You Perform It?
Knowing how to perform the water test is essential for determining if your stainless steel pan is ready for cooking.
Begin by preheating your stainless steel pan on medium heat. Once it’s adequately heated, drop a few droplets of water onto the cooking surface. Observe the reaction: if the droplets sizzle and form beads that dance across the surface, your pan is at the ideal cooking temperature, approximately 350-375°F.
Preheat your stainless steel pan on medium heat, then test with water droplets to find the perfect cooking temperature.
If the water evaporates immediately, the pan is too hot; reduce the heat. Conversely, if the droplets spread out and sit without sizzling, the pan requires more heat.
This water test not only confirms that your pan is ready but also enhances your cooking experience by ensuring oil can create a barrier between food and metal, reducing the risk of sticking and improving overall control over cooking outcomes.
Finding the Right Cooking Temperature for Stainless Steel
Achieving the right cooking temperature for stainless steel is essential for perfect results. Preheat your stainless steel pan over medium heat for about 2-4 minutes, aiming for a temperature of 350-375°F. Conduct the water droplet test by flicking a few drops of water onto the pan. If they dance and evaporate quickly, the pan is ready for cooking.
Here’s a quick reference table:
| Temperature Range | Cooking Action |
|---|---|
| 350-375°F | Perfect for sautéing |
| 375-400°F | Good for searing |
| Over 400°F | Risk of warping |
| Below 350°F | Food may stick |
Monitor for shimmering oil after adding it to the preheated pan. This indicates favorable cooking conditions, ensuring efficiency and superior results. Avoid high heat; medium heat provides better control and prevents sticking.
When to Add Oil for Cooking With Stainless Steel
Once your stainless steel pan reaches the desired temperature, it’s essential to add oil at the right moment for ideal cooking. To begin, always preheat your stainless steel pan over medium heat for 2-4 minutes.
Conduct the water droplet test: if droplets dance and bead on the surface, you’re ready to add oil. Pour in enough oil to coat the pan evenly, allowing it to heat until it shimmers. This step is vital, as the heated oil creates a barrier that helps reduce sticking.
Avoid adding cold food to a hot pan, as this can drop the temperature and increase the likelihood of sticking. Instead, let your food reach room temperature before cooking.
Preparing Food for Cooking: Importance of Temperature
To achieve ideal results when cooking with stainless steel, it’s important to make certain your food is at room temperature before it hits the pan. Using cold food straight from the refrigerator can greatly lower the pan’s temperature, leading to sticking and uneven cooking. Allow proteins to sit at room temperature for about 30-60 minutes; this practice enhances flavor and texture, ensuring even cooking.
Additionally, patting food dry removes excess moisture, which is necessary for achieving a better sear. When moisture is present, steam forms in the pan, compromising the non-stick effect.
Preheating your pan properly while your food acclimates is crucial, as it prepares the cooking surface for ideal conditions. By understanding the importance of temperature, you liberate yourself from common cooking pitfalls, allowing for a more controlled and satisfying culinary experience.
How to Recognize When Food Is Ready to Flip
To determine when food is ready to flip, focus on visual cues and timing.
Look for golden brown edges and listen for a slight sizzling sound, both indicating proper searing.
Additionally, check the cooking time; proteins typically require 3-5 minutes per side based on thickness and heat.
Visual Cues for Readiness
How can you tell when your food is ready to flip in stainless steel cookware? Start by observing the visual cues.
Look for golden brown edges on your cooking proteins, indicating a crust has formed, signaling it’s time to turn. Pay attention to steam release; a decrease suggests readiness.
You should also check for a slight color change on the food’s surface, which indicates it’s cooking through properly. Use a spatula to gently lift one edge; if it releases easily without tearing, it’s primed for flipping.
Timing and Texture Checks
While visual cues are essential, timing and texture checks are equally crucial in determining when your food is ready to flip in stainless steel cookware.
Start by controlling the heat; if your food resists movement, it’s not ready yet. When it naturally releases from the pan, it indicates a proper sear has formed.
The water droplet test is another reliable method—when water beads and dances on the surface, your pan’s at the right temperature.
Listen closely: a sizzling sound means moisture is evaporating, signaling readiness.
For proteins, aim to flip around 140°F for ideal doneness.
Tips for Maintaining Even Heat While Cooking
To maintain even heat while cooking, match the burner size to your pan’s bottom for ideal heat distribution.
Preheating your pan gradually prevents hot spots that can lead to uneven cooking.
Additionally, avoid overcrowding to guarantee consistent temperature and results.
Heat Distribution Techniques
Achieving even heat distribution in stainless steel cookware is crucial for ideal cooking results. Start by using a flat burner that matches the pan’s size, which prevents hot spots and promotes consistent heat distribution.
Preheat your pan gradually on low to medium heat to guarantee it warms evenly, avoiding warping and maintaining a steady temperature throughout. To confirm readiness, monitor temperature with the water droplet test; if water beads and dances, your pan is prepared for cooking.
Avoid overcrowding by leaving space between food items, which allows excellent heat circulation and prevents steaming.
Finally, invest in high-quality stainless steel cookware with bonded materials like aluminum or copper for superior heat conduction and further enhancement of even heat distribution.
Avoid Temperature Fluctuations
Maintaining even heat during cooking is essential for achieving consistent results with stainless steel cookware. To optimize your cooking, follow these key strategies:
| Action | Purpose | Tips |
|---|---|---|
| Preheat Properly | Guarantees stable cooking temperature | Use medium heat for a few minutes before adding oil. |
| Avoid Rapid Temperature Changes | Prevents thermal shock | Gradually increase heat to maintain pan integrity. |
| Limit Overcrowding | Maintains temperature stability | Cook in batches to avoid dropping the pan’s temperature. |
Fixing Common Sticking Issues When Cooking
While many factors contribute to sticking issues in stainless steel cookware, proper preheating is vital for achieving a non-stick effect.
First, make certain your pan is preheated to an ideal temperature of 350-375°F. You can conduct the water droplet test; when droplets dance on the surface, your pan is ready.
Next, use a sufficient amount of cooking fat, allowing it to shimmer before adding food. This step is essential to prevent sticking.
Additionally, avoid overcrowding the pan, as it can lower the temperature and introduce excess moisture, which promotes sticking.
Finally, let your food develop a crust and release naturally before attempting to flip or move it. This technique enhances the non-stick performance of your stainless steel cookware, guaranteeing a more enjoyable cooking experience.
Cleaning and Caring for Stainless Steel Cookware
To guarantee your stainless steel cookware remains in peak condition, it’s essential to adopt proper cleaning and care practices. Always allow your pans to cool completely before washing to prevent warping and preserve the material’s integrity.
For daily cleaning, use warm water and mild soap with a soft sponge; steer clear of abrasive cleaners that can scratch the surface.
For stubborn residue, simmer a mixture of equal parts white vinegar and water in the pan before gently scrubbing.
To maintain a shiny appearance and tackle tough stains, create a paste of baking soda and water, applying it with a non-abrasive cloth.
Finally, store your clean stainless steel pans in a dry place, avoiding stacking to prevent scratches.
Following these care instructions will help you enjoy your cookware’s longevity and functionality while maintaining its aesthetic appeal.
Frequently Asked Questions
How to Tell if Stainless Steel Is Ready?
To gauge stainless steel readiness, preheat your pan on medium heat for 2-4 minutes until it reaches a cooking temperature of 350-375°F.
Conduct the water test; if droplets sizzle and bead, the surface is prepared for oil.
Once the oil shimmers and thins, it’s time to add your food.
Avoid high heat to prevent warping or sticking, ensuring ideal cooking conditions for a successful meal.
Should I Heat My Stainless Steel Pan Before Adding Oil?
Yes, you should heat your stainless steel pan before adding oil. This step is essential for effective cooking surface preparation.
Preheating allows the pan’s pores to close, creating a smoother surface for the oil. Aim for an oil temperature around 350-375°F.
Use pan seasoning techniques to enhance non-stick properties. When you add oil to a hot pan, it quickly reaches its smoking point, promoting ideal cooking and reducing sticking.
How to Use Stainless Steel for the First Time?
When you first use stainless steel, don’t throw caution to the wind. Start by preheating your pan, then perform the water droplet test to gauge readiness.
Focus on stainless steel care by ensuring your food is dry and at room temperature. Use proper cooking techniques, adding oil only after the pan reaches the right temperature.
For maintenance tips, clean your pan promptly to keep it in top shape, ensuring it lasts for years.
How Is Stainless Steel Prepared?
To prepare stainless steel, focus on surface preparation techniques like washing it with warm, soapy water before its first use.
Understanding alloy composition effects is essential, as different grades influence heat retention and cooking performance.
Cleaning methods are important; avoid harsh abrasives to maintain the surface integrity.
Preheating the cookware gradually enhances cooking efficiency and minimizes warping.
Always bring cold food to room temperature to optimize browning and reduce sticking during cooking.
Conclusion
In summary, mastering your stainless steel pan requires attention to detail and practice. Remember, “a stitch in time saves nine”—preheating properly and using the water test can prevent sticking and guarantee even cooking. Always monitor temperatures, add oil at the right moment, and avoid overcrowding. With these techniques, you’ll achieve peak results every time. Consistent care and maintenance will keep your stainless steel cookware performing at its best for years to come.