
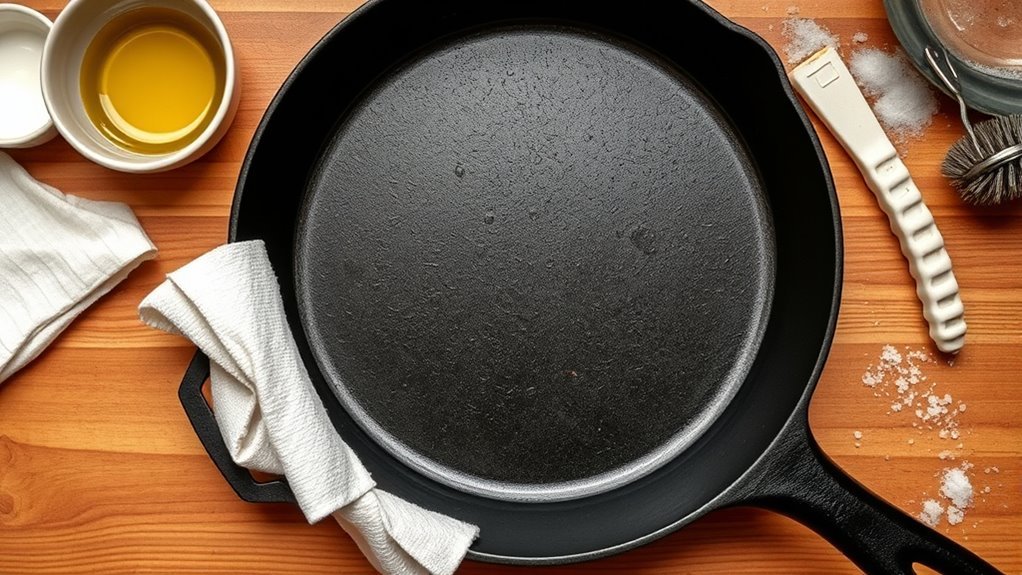
Did you know that a well-seasoned skillet can become your kitchen’s most trusted tool? It not only enhances flavor but also makes cooking and cleanup a breeze. Learning how to properly season your skillet is vital if you want to release its full potential. Follow these straightforward steps to achieve a durable, non-stick surface that lasts. Let’s explore the process, starting with the key first step of cleaning your skillet thoroughly.
Step 1: Clean Your Skillet Thoroughly
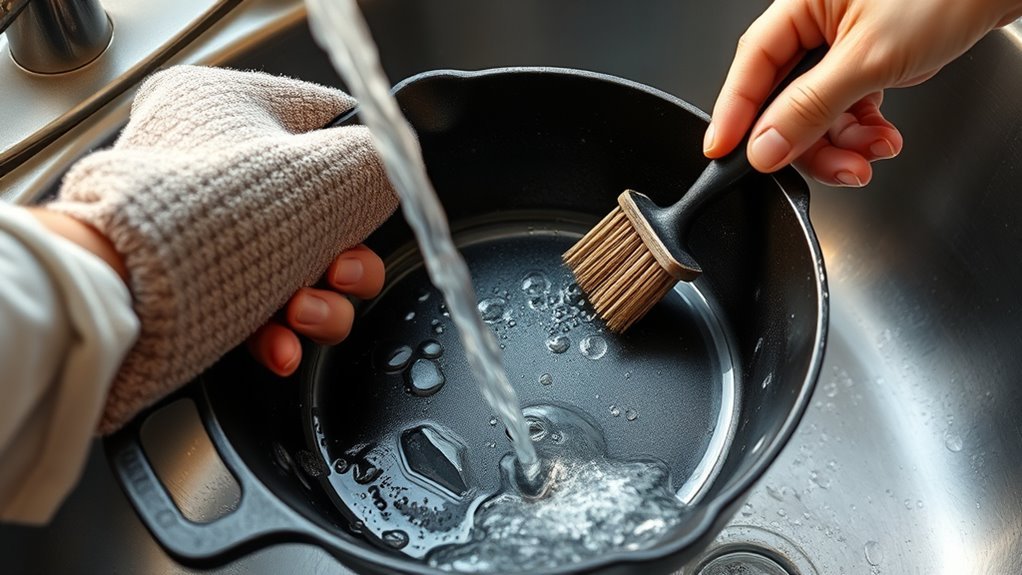
To kick off the seasoning process, you’ll want to clean your skillet thoroughly. Start by washing it with warm, soapy water to eliminate any factory residue or dirt.
Grab a non-abrasive scrubber or even some steel wool, especially if you’re working with a vintage skillet—this guarantees every surface is pristine.
For a pristine surface, use a non-abrasive scrubber or steel wool, especially with vintage skillets.
Rinse it well under warm water, making sure there’s no soap residue left behind; you don’t want a soapy flavor sneaking into your future meals.
Once rinsed, it’s essential to dry the skillet completely with a lint-free cloth or paper towel to prevent rust.
For extra certainty, you can place the skillet on the stovetop over low heat for a few minutes. This final step evaporates any lingering moisture, setting you up for successful seasoning.
A clean skillet is your canvas for culinary creativity, so make it shine!
Step 2: Select Your Ideal Seasoning Oil
Choosing the right oil for seasoning your skillet is essential for achieving that perfect nonstick finish.
You’ll want to focus on oils with high smoke points, like vegetable or canola oil, to prevent any burning during the process.
Plus, applying a thin, even layer inside and out will help create a smooth, durable surface.
Types of Suitable Oils
Selecting the right oil for seasoning your skillet can make all the difference in achieving a perfectly non-stick surface.
Ideal suitable oils include vegetable, canola, and corn oil, which boast high smoke points, allowing them to withstand the intense heat needed for the seasoning process. Flaxseed oil is also a popular choice; it forms a hard, durable layer but requires careful handling due to its lower smoke point.
Avoid oils like olive oil or butter, as their low smoke points can lead to a sticky, uneven finish.
Remember to apply a thin layer of your chosen oil to prevent pooling, ensuring a smooth, effective seasoning that liberates your cooking experience.
Smoke Point Considerations
When you’re ready to season your skillet, understanding smoke point considerations is crucial for achieving that perfect non-stick surface.
Choosing the right oil can make all the difference. Here are three key points to keep in mind:
- Select Oils with High Smoke Points: Oils like vegetable, canola, or grapeseed oil, which range from 400°F to 450°F, are ideal for seasoning.
- Avoid Low Smoke Point Oils: Oils such as olive oil can break down and become sticky, ruining your seasoning efforts.
- Consider Specialty Oils: Look for seasoning sprays that are designed for peak performance, often Kosher-certified for added convenience.
Using oils with high smoke points guarantees proper polymerization, creating a durable, non-stick layer that liberates your cooking experience.
Oil Application Techniques
To achieve that perfect seasoning for your skillet, start by applying the right oil. Opt for oils with high smoke points, like vegetable, canola, or flaxseed oil, as they polymerize effectively during the seasoning method.
Stay away from low smoke point oils, such as olive oil, which can burn and leave a sticky mess.
Apply a thin, even coat of oil on both the interior and exterior surfaces of your skillet. This guarantees a well-rounded layer of seasoning.
Be sure to buff the oil until it looks non-greasy, preventing any excess oil from pooling. For the best results, consider specialty oils, like those from Lodge, designed specifically for maximum seasoning and certified Kosher.
Step 3: Apply Oil and Buff the Surface
Now that you’ve chosen the right oil, it’s time to apply it properly for the best results.
You’ll want to spread a thin, even layer across the skillet’s surface, including the handle, to avoid any sticky spots.
Buff it in with a lint-free cloth or paper towel until the pan shines, ensuring a flawless non-stick finish.
Choosing The Right Oil
Selecting the right oil is essential for achieving a perfectly seasoned skillet. When you’re seasoning your cast iron, focus on oils with a high smoke point to prevent any unwanted smoking.
Here are three great options:
- Vegetable Oil – A versatile choice that works well for most applications.
- Canola Oil – Known for its high smoke point and neutral flavor, it’s an excellent pick.
- Corn Oil – Another high smoke point option that enhances seasoning without stickiness.
Apply a thin layer of oil, about a tablespoon for a standard skillet, ensuring it coats evenly.
Buff it until it looks non-greasy to avoid pooling.
Avoid oils with low smoke points, like olive oil or butter, to keep your skillet in top shape!
Buffing Techniques Explained
After choosing the right oil, it’s time to apply it and buff the surface of your skillet. Start by pouring a thin layer of oil, like vegetable or canola, over the interior and exterior of your cast iron skillet.
Using a paper towel or cloth, buff the oil evenly, ensuring a non-greasy appearance while eliminating excess pooling. Don’t forget to cover all areas, including the handle; this consistency is essential for effective seasoning and rust prevention.
As you buff, keep an eye out for a uniform sheen—it’s a sign that you’ve achieved ideal oil distribution. Proper buffing minimizes sticky residue during heating, paving the way for a beautifully smooth, nonstick surface.
Importance Of Even Coating
When you apply oil to your skillet, achieving an even coating isn’t just a detail—it’s essential for ideal seasoning. An even oil coating prevents sticky spots, enhances the skillet’s nonstick properties, and guarantees a smooth cooking experience.
Here’s how to master it:
- Apply a thin layer of oil: Use high smoke point oils like vegetable or canola to create a durable seasoning.
- Buff the skillet: Wipe away excess oil until the surface feels non-greasy, covering every inch, including the handles.
- Check for pooling: Avoid excess oil that can lead to a tacky finish.
Regularly re-seasoning with this careful technique maintains and builds upon your skillet’s nonstick qualities, ensuring longevity and usability.
Step 4: Bake Your Skillet for Optimal Seasoning
To achieve the best seasoning for your skillet, baking it’s vital. Preheat your oven to 450°F (230°C). This high oven temperature is essential for the oil to undergo polymerization, creating a strong, nonstick surface.
Baking your skillet at 450°F is crucial for creating a durable, nonstick surface through oil polymerization.
Place your oiled skillet upside down on the middle rack, allowing excess oil to drip off. To catch any drips and prevent smoke buildup, use a baking sheet or aluminum foil on the bottom rack.
Bake the skillet for 30 minutes to guarantee the oil bonds effectively. After baking, turn off the oven and let your skillet cool completely inside; this step further enhances the seasoning process.
For best results, repeat this baking process three to four times, reapplying a thin layer of oil each time. Each cycle builds a durable seasoning layer, liberating your skillet from the mundane and empowering you in the kitchen.
Signs Your Skillet Needs Reseasoning
Even with the best seasoning techniques, your skillet can show signs that it’s time for a refresh. Recognizing these indicators helps you maintain its cooking prowess and prolong its life.
Here are three key signs your skillet needs reseasoning:
- Sticky Surface: If food starts sticking during cooking, it’s a clear indication that the seasoning has worn thin and needs revitalization.
- Rust Appearance: Any rust spots signal that the protective layer has failed, requiring immediate attention to prevent further damage.
- Uneven Color: A patchy surface, where some areas look dull or gray rather than the desired black sheen, suggests it’s time to restore that even finish.
Stay proactive about these signs to guarantee your skillet remains your trusty kitchen companion, liberating you to create delicious meals without worry!
Tips for Maintaining Your Skillet’s Seasoning
Maintaining your skillet’s seasoning is essential for ensuring it remains a reliable kitchen tool. To keep that nonstick surface in top shape, regularly cook with oils or fats. This not only enhances the flavor of your dishes but also builds up those important seasoning layers.
When it’s time for cleaning, skip the soap; just use hot water and a stiff brush. Dry your skillet immediately to prevent rust.
After each use, reapply a thin layer of oil to maintain the seasoning and protect against moisture. Storing your skillet in a dry place is imperative, and a simple paper towel can help absorb any lingering moisture.
If you notice the surface becoming sticky or uneven, don’t hesitate to reseason. Just clean it thoroughly and repeat the seasoning process.
With these steps, your skillet will stay in pristine condition, ready for all your culinary adventures!
Common Mistakes to Avoid When Seasoning
Seasoning a skillet is an art, and avoiding common pitfalls can make all the difference. Here are three mistakes to steer clear of:
- Using Too Much Oil: A thick layer of cooking oil can create a sticky surface. Always buff your pan until it feels non-greasy.
- Skipping Pre-Heating: If you don’t preheat the oven well, the polymerization process can falter, compromising your seasoning layer’s durability.
- Neglecting to Clean Properly: Failing to wash your skillet with soap and water before seasoning leaves residues that disrupt the oil’s bonding.
Additionally, keep an eye on consistent heating during the process to avoid uneven seasoning.
Finally, don’t ignore regular maintenance—periodic re-seasoning is essential to preserve your skillet’s nonstick properties and prevent rust.
Embrace these tips, and your skillet will serve you well for years!
Frequently Asked Questions
Should I Season Cast Iron at 350 or 450?
You should season your cast iron at 450°F for the best results. This higher seasoning temperature allows the oil types to polymerize effectively, creating a strong, nonstick surface.
Seasoning at 350°F won’t bond the oil properly, leading to a weaker layer. Aim for 3-4 seasoning sessions at 450°F to maximize the benefits of seasoning, which include rust prevention and enhanced cooking performance.
Your skillet will thank you with every use!
Do You Oil Cast Iron After Seasoning?
Yes, you should oil your cast iron skillet after seasoning. Use high smoke point oils like vegetable, canola, or flaxseed.
This maintenance tip keeps your skillet nonstick and prevents rust. Remember to apply a thin, even layer to avoid sticky residue—a common mistake many make.
Regularly oiling your skillet not only preserves its seasoning but enhances its performance over time. Enjoy the liberation of cooking with a well-maintained cast iron!
What Ruins Cast Iron Seasoning?
Imagine a beautiful garden, vibrant with life, suddenly choked by weeds. That’s what happens to your cast iron when you make seasoning mistakes.
Common misconceptions, like using too much soap or cooking acidic foods too soon, can ruin your hard work. To maintain your skillet, dry it thoroughly and store it wisely.
If the seasoning falters, don’t despair! Use restoration techniques to revive its glory, letting your culinary freedom flourish once more.
How to Tell if Your Cast Iron Is Properly Seasoned?
To tell if your cast iron’s properly seasoned, look for a smooth, glossy black patina that feels dry.
When water beads instead of spreading, you’re in good shape!
Enjoy the cast iron benefits, like easy food release and no metallic taste.
Remember to season regularly and apply a thin oil layer after cleaning.
Avoid common mistakes, like using too much oil, and follow these maintenance tips to keep that skillet shining!
Conclusion
As you season your skillet, you’re not just preparing a cooking tool; you’re cultivating a bond with it. With each layer of oil and heat, you’re weaving a tapestry of flavors, memories, and meals yet to come. Just like the skillet, your journey in the kitchen shapes who you are. Embrace the process, and let those moments of cooking become a rhythm in your life, transforming each dish into a celebration of your passion and resilience.