
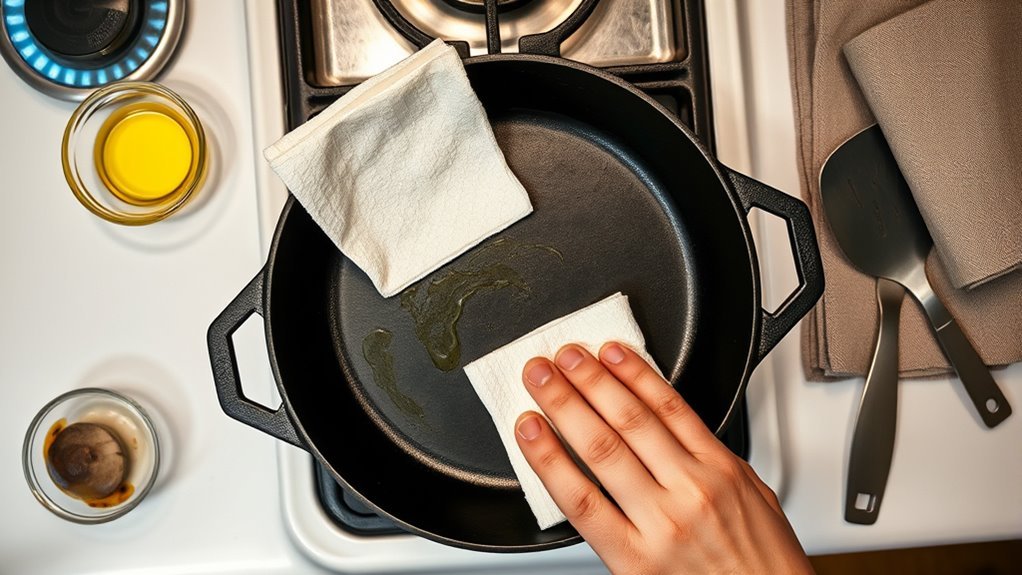
You’ll get a reliable, nonstick surface faster than you think by seasoning your cast iron on the stove. Start with a clean, dry pan, pick a high-smoke-point oil, and apply a very thin coat so it won’t pool. Heat until the oil shimmers and just begins to smoke, then cool and wipe—repeat a few times for durability. Follow the step-by-step method here and you’ll troubleshoot sticky spots and smoke with confidence.
Quick Stove-Top Method (15–20 Minutes)
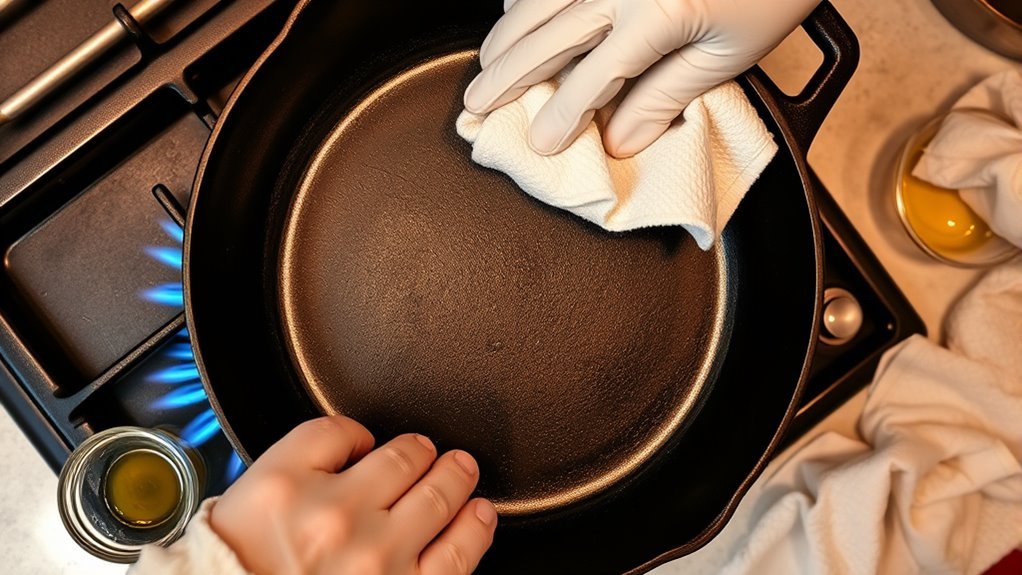
Start by giving the skillet a quick scrub with warm, soapy water and dry it completely—any moisture will promote rust.
You’ll heat the cast iron skillet over medium until it’s evenly hot, then pour in a small amount of high-smoke-point oil and, using a paper towel, spread a thin coat across the cooking surface.
Feel the metal warm as the oil thins and starts to smoke; that’s polymerization kicking in, chemically bonding oil to metal to form a non-stick surface.
Pull the pan off heat, let it cool a little, then wipe away any excess oil so the finish won’t stay sticky.
Repeat this heat-apply-smoke-cool-wipe cycle 2–3 times to build durable layers of seasoning.
The process is quick, sensory, and liberating: you reclaim cookware with your touch, transforming a bare skillet into a reliable tool.
Keep each coat thin and intentional for the best results.
Prep: Clean, Dry, Inspect Your Skillet
After the quick stove-top routine, take a deliberate moment to prepare the skillet for proper seasoning: wash it with warm, soapy water to remove factory residue or rust, then dry it thoroughly with a lint-free cloth or set it on low heat until all moisture evaporates.
You’ll feel the cool, gritty texture give way as grime rinses away; that clean surface is your canvas. Once dry, inspect every inch of the cast iron skillet—look for rust spots, pitting, or hairline cracks.
Feel the grit wash away—your skillet’s clean, inspected surface becomes the canvas for lasting, resilient seasoning.
If you find rust or rough areas, scrub with a stiff brush or steel wool until the metal is bare and smooth, then clean and dry again. Confirm the pan is completely cool before you move on; applying oil while it’s hot invites excessive smoking and uneven seasoning.
This prep step is purposeful: a dry, inspected, clean skillet accepts oil and builds durable seasoning faster, freeing you to cook without fear of flaking or corrosion.
Pick the Best Oil : How Much and Why
Pick an oil with a high smoke point—vegetable, canola, or grapeseed—to guarantee the oil polymerizes cleanly rather than burning. You want to pick the best oil that supports polymerization and long-term durability of the seasoning.
Use a cooking oil with high smoke points so heat transforms molecules into a hard, bonded layer.
- Measure: about one tablespoon spread into a thin layer across the pan—enough to coat, not pool.
- Feel/see: rub until surface looks satin, not wet; excess oil creates sticky, uneven spots.
- Choose: avoid low smoke oils (olive, flax) that break down and flake; prefer neutral-flavored oils that match your cooking style.
This is practical, sensory work: you’ll see gloss turn matte as the polymerization completes.
Keep it spare, intentional, and freeing—your skillet becomes a durable tool that serves your liberated kitchen life.
Stove-Top Step-by-Step to Season a Cast Iron Skillet
Heat your cleaned, dry skillet over medium heat and apply a thin, even coat of high-smoke-point oil (vegetable or canola), rubbing it so the surface looks satin rather than wet; you’ll see the oil begin to shimmer and lightly smoke within 10–15 minutes, which signals molecules are polymerizing into the seasoning layer.
Feel the metal warm under your hand and watch the sheen change — that’s the process called polymerization starting to bond oil to iron.
After 10–15 minutes, turn off heat and let the pan cool until safe to touch, then wipe away any excess oil with a paper towel so the cooking surface isn’t sticky.
Repeat this oil-and-heat cycle 2–3 times to build a resilient layer of seasoning. If you’re working with a new cast iron skillet, this routine helps establish a durable nonstick finish.
Clean and care gently between uses, and you’ll confidently season cast iron and freely use cast iron in daily cooking.
Troubleshooting Seasoning: Sticky Spots, Flaking, Smoke
When sticky spots, flaking, or excess smoke show up while you’re seasoning, treat each as a clear signal about what went wrong and what to change next. You want control, not chaos—so act deliberately.
- Sticky spots: you likely used too much oil. Buff until the surface looks non-greasy, verify the skillet is completely dry before oiling, then heat gently so residue evaporates.
- Flaking seasoning: layers didn’t bond. Scrub flaking seasoning with a stiff brush or coarse salt, remove debris, dry, reapply a thin film and reseason until layers knit.
- Excess smoke: you’ve hit the oil’s smoke point. Switch to a higher smoke point oil like grapeseed or avocado and lower the heat; smoke signals wasted oil, not heroism.
Inspect regularly as part of maintenance to catch rust early—scrub rust away and re-season.
This seasoning guide trains you to read the pan, respond precisely, and reclaim freedom in the kitchen.
Maintain and Build Your Stove-Top Seasoning
Although stove-top seasoning develops slowly, you can actively build and maintain it every time you cook: treat your skillet like a tool for freedom.
Cook regularly with neutral oils (vegetable or canola) so heating creates thin polymerized layers that improve non-stick performance and flavor.
After each use rinse with hot water and scrub with a stiff brush, then dry over low stovetop heat to vaporize moisture and prevent rust.
While still warm, apply a whisper-thin film of oil and warm on medium-low so the oil bonds; avoid blasting with high heat that smokes off seasoning prematurely.
Hold off on cooking acidic foods until your cast iron cookware has a robust, even layer, since acids can strip seasoning.
When sticky spots appear, scrub with coarse salt and a little oil, then reheat to restore and build the surface.
Repeat these concise rituals: cook, clean, dry, oil, warm — and your skillet will become reliably liberated, durable, and increasingly non-stick.
Frequently Asked Questions
What Are the Steps to Seasoning a Cast Iron Skillet?
You season a cast iron skillet by prepping skillet, cleaning methods, choosing oil, applying heat, cooling process, then repeating.
You wash and dry thoroughly, rub a thin high‑smoke oil layer, heat on medium until it smokes and bonds, then cool and wipe off excess.
For maintenance tips, reapply oil after use, avoid soaking, and use storage solutions that keep it dry.
Do this to prevent and avoid rust and reclaim cooking freedom.
Should I Season Cast Iron at 350 or 450?
Season at 450°F. You’ll get better cast iron benefits because higher temperature effects create stronger bonds and smoother seasoning layers.
Choose high smoke point oil choices, avoid common mistakes like underheating at 350, and use precise seasoning methods on the stove. You’ll feel the skillet change under your hand; follow cleaning techniques, maintenance tips, and cooking styles that respect the layer so it builds freedom and lasting performance.
What Ruins a Cast Iron Skillet?
You won’t murder it gently—rust, harsh cleaning methods, and thermal shock will. If you let moisture linger, skip rust prevention, use strong soaps, or pour cold water on a red-hot pan, you’ll invite damage.
Cooking acidic foods, abrasive scrubbing causing surface scratches, wrong heat sources, and poor storage solutions also ruin seasoning. Use proper cleaning methods, cooking oils, maintenance tips, and confident care to stop food sticking and reclaim freedom.
Can I Season a Cast Iron Skillet on the Stovetop?
Yes — you can season a cast iron skillet on the stovetop.
Use stovetop methods with high smoke point oil choices like grapeseed or canola, coat thinly, heat until smoking so polymerization happens.
Focus on seasoning techniques, varied heat sources, and sensory cues: sight, smell, warmth.
Follow cleaning practices, maintenance tips, avoid excess oil to prevent stickiness, and always dry fully to prevent rust, preserving skillet longevity and freeing your cooking.
Conclusion
Your skillet’s new sheen should sing like a well-tuned pan—smooth, dark, and ready. Keep it simple: clean with hot water and a brush, dry it until it whispers warmth, then rub a paper-thin veil of high-smoke-point oil. Heat until the oil shimmers and sighs, cool, and repeat two or three times. If it feels sticky, heat longer; if it flakes, strip and restart. With small, sensory steps, your cast iron will reward you.