
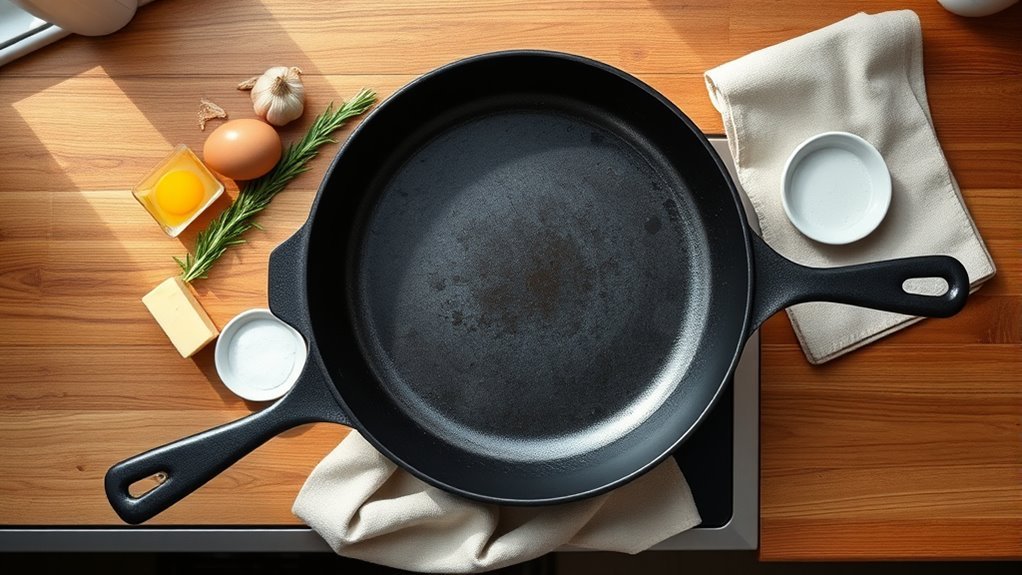
You’ll learn how to pick the right skillet, preheat it correctly, manage oil without smoking, and master searing, sautéing, frying, and baking for reliable results. I’ll show simple fixes when food sticks or burns, plus cleaning, re-seasoning, and storage tips to keep your pan heirloom-ready. Start with the right size and material, and you’ll get even heat and better flavor—here’s what to do next.
Choose the Right Skillet (Size, Weight, Material)
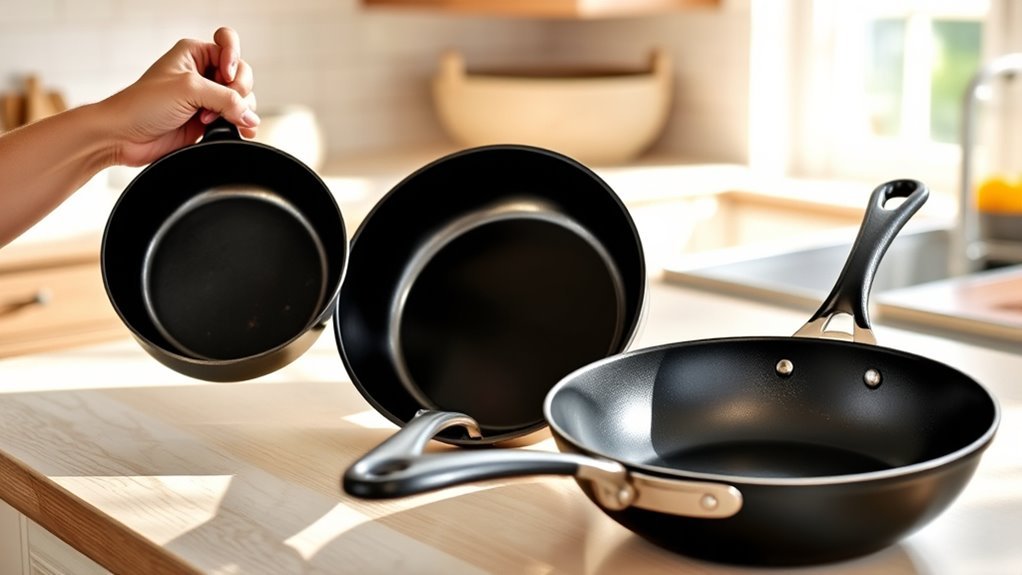
Choosing the right skillet starts with matching size, weight, and material to how you cook: a 10–12 inch pan covers most family meals while larger ones suit gatherings; pick a heavy cast-iron skillet (about 4 pounds or more) with a thick base to retain and distribute heat evenly for good sears.
Make sure the handle is sturdy and heat-resistant so you can move the pan safely between stovetop and oven. You’ll choose size based on portions and storage, avoiding oversized pans that waste fuel.
Prioritize weight: a heavier pan holds temperature and reduces hot spots, so you’ll get even browning and fewer ruined dishes. Select cast iron for durability and natural non-stick when seasoned.
Inspect base thickness and handle attachment; a warped base or loose handle compromises performance and safety. Pick a skillet that empowers you to cook confidently, withstands high heat, and serves your kitchen freedom for years.
Preheat Your Skillet So Food Cooks Evenly
Start heating the skillet gradually over medium-high heat so it comes up evenly without hot spots.
Flick a few drops of water onto the surface—if they skitter and evaporate, the pan’s ready—then add a thin film of oil and let it preheat until it shimmers.
Don’t overcrowd the skillet so the temperature stays steady for even cooking.
Heat Pan Gradually
Set your skillet on medium heat and let it warm for 5–8 minutes so the iron reaches an even cooking temperature. You’ll heat the pan gradually to protect the cast iron skillet and guarantee predictable results.
Start medium, then raise heat slowly if a recipe calls for higher temperatures—sudden spikes can warp the metal. Use an instant-read thermometer to confirm the surface is about 375°F for most tasks.
Once preheated, add a little oil and wait for it to shimmer or faintly smoke before you add food; that develops non-stick performance and flavor.
Keep space between pieces; don’t overcrowd, since crowding cools the pan and defeats even cooking. This method gives you control and culinary freedom.
Test With Water
Want to know if your skillet is truly ready? Place your cast iron on medium-high heat for 5–8 minutes so it’s thoroughly preheated.
Test with a few drops of water: if they sizzle, bead, and evaporate quickly, the pan’s hot enough to cook evenly and build a proper sear. This simple check confirms consistent heat without guessing, preserving seasoning and preventing warping from rapid temperature changes.
A well-preheated skillet also helps maintain a reliable non-stick surface, so food releases cleanly once it meets the metal.
Rely on this routine before adding ingredients; it’s a small act of control that frees you from uneven cooking and empowers bolder, more consistent results on the stovetop.
Preheat Oil Lightly
Heat your skillet on medium-high for 5–8 minutes until it’s thoroughly hot, then add a high-smoke-point oil (avocado or grapeseed) and let it warm for about a minute so it just begins to shimmer.
You’re preheating cast iron cookware to lock in even cooking and build a crisp crust. Use enough oil to coat the bottom to prevent sticking and promote release.
- Coat: pour a thin, even layer of oil to protect the surface and aid searing.
- Watch: when oil shimmers, you’re ready; if it smokes heavily, lower heat to avoid burning.
- Release: properly preheated pan gives you control, turning cooking into empowered, liberated practice.
Preheat with intention; it’s the small ritual that frees flavor and technique.
Use Oil Without Sticking or Smoking (Best Fats & Amounts)
Choose a high smoke-point oil like avocado or refined canola so the pan won’t smoke at medium-high heat.
Preheat the skillet for 5–8 minutes, then spread a thin layer of oil—about 1–2 tablespoons—for even coverage and to prevent sticking.
If you want extra flavor, add a small knob of butter near the end of cooking, and wipe or reapply oil after use to preserve seasoning.
Choose High Smoke-Point Oils
Because high-heat searing can push oils past their limits, pick fats with high smoke points—like avocado (520°F), grapeseed (420°F), or refined canola (400°F)—so they won’t smoke or leave a burnt taste; use about 1–2 tablespoons to coat the skillet evenly, or opt for ghee/clarified butter (~450°F) when you want butter flavor without low smoke-point issues.
Always preheat the oiled skillet for at least two minutes before adding food. You want control and freedom at the stove, especially with cast iron skillets. Choose oils that let you push heat without fear.
Consider these priorities:
- Smoke resistance: prevents off-flavors and toxins.
- Flavor neutrality: lets ingredients shine.
- Heat tolerance: supports searing without sticking.
Use Just Enough Oil
A thin, even film of a high smoke-point oil is all you need to prevent sticking and smoking in a 10–12 inch cast iron skillet—about 1 to 2 tablespoons, adjusted for food quantity—so preheat the pan on medium-high until hot, add the oil and let it shimmer (not smoke) before adding food.
Use avocado, grapeseed, or refined canola for reliable performance. Pour sparingly and tilt the skillet so a thin layer coats the surface; avoid pooling. Shimmering means the skillet’s ready and reduces sticking.
After cooking, while the pan’s warm, wipe or rub a thin layer of oil on the surface to reinforce seasoning. That small ritual preserves freedom from frustration and keeps your skillet reliable for meals that empower you.
Add Butter For Flavor
1 tablespoon of butter plus a splash of high-smoke-point oil lets you get the buttery flavor you want without burning the fat or sticking the food.
When you cook in a cast skillet, use unsalted butter for rich taste and control. Combine 1–2 tablespoons butter per 1–2 servings with avocado or refined canola oil to raise the smoke point.
Add butter in the last few minutes so it melts and flavors without burning. Watch heat; if smoke appears, lower it.
- Use oil first to create a protective layer.
- Finish with butter for flavor and sheen.
- Adjust amounts for servings and doneness.
This method frees you to cook boldly while preserving flavor and pan integrity.
Sear, Sauté, Fry, and Bake: Step-by-Step Skillet Methods
Master these four skillet techniques and you’ll handle most recipes with confidence: searing for a brown crust, sautéing for quick-tender vegetables, frying for crisp coatings, and baking for even, caramelized finishes. For searing, preheat your cast iron on high 5–8 minutes until smoking, add protein and don’t move it ~3 minutes to form a crust; finish in oven if needed. For sautéing, use moderate heat, a bit of oil, and keep vegetables moving for even doneness. For frying, fill oil to half-submerge food and keep it near 350°F for crisp texture. For baking, preheat oven and transfer the skillet for reliable, even browning. After cooking, prioritize cleaning while warm: scrape scraps, use chain mail if necessary, then rub a thin oil layer to preserve seasoning. These methods free you to cook boldly and precisely.
| Technique | Key Tip |
|---|---|
| Sear | High heat, no movement |
| Sauté | Stir often |
| Fry | 350°F oil |
| Bake | Preheat oven |
Cook These Skillet Staples: Steak, Eggs, Veggies, One-Pan Meals
Tackle four skillet staples—steak, eggs, veggies, and one-pan meals—with confident, simple steps that deliver consistent results:
Choose a ribeye or filet mignon, dry-brine 1–24 hours, heat your cast iron until smoking, sear both sides, then rest 5–10 minutes.
For eggs, use a well-seasoned skillet and plenty of butter so they won’t stick and will slide onto the plate.
For veggies, preheat, add a splash of oil, and sauté until caramelized and tender.
Build one-pan meals by searing protein (chicken or sausage), then adding veggies and seasoning to finish together.
- Prioritize heat and seasoning to free you from guesswork.
- Use fat (butter or oil) to protect surface and flavor.
- Rest, clean warm, and oil lightly to maintain the pan.
These steps free you to cook boldly, reduce cleanup, and rely on simple techniques that let steak and veggies shine.
If Food Starts to Stick or Burn: Fast Fixes and Prevention
Even with the right heat, fat, and seasoning, food can still cling or scorch — here’s how to stop it fast and prevent it next time.
If food starts to stick, pour off excess grease and add warm water while the skillet’s still warm; the water loosens stuck-on food so you can lift bits without scraping raw metal.
Use a chain mail scrubber gently to restore the surface without stripping seasoning.
If food burns, let the pan cool slightly, then use warm water and a scraper to remove residue; avoid harsh soaps that’ll degrade your seasoning.
Prevent recurrence by avoiding excessively high heat—keep to medium for consistent results—and apply a thin layer of oil after each use to maintain a robust seasoning.
Regular upkeep helps you take care of the skillet and removes the fear that stuck food signals failure.
With these steps you reclaim control and cook freely, knowing quick fixes and prevention protect both food and pan.
Clean, Dry, and Re-Season Your Cast Iron Skillet After Use
1 When you finish cooking, clean your cast iron while it’s still warm**: scrape off bits, wipe away grease with a paper towel, and use a chain mail scrubber to lift stubborn residue** without stripping the seasoning.
Act quickly to reclaim control of your pan and prevent buildup.
After you scrub, rinse and return the skillet to heat. Evaporate all moisture on medium-high so rust can’t take hold.
Once dry, apply a thin coat of Crisco or solid shortening, rubbing it to a satin finish.
Use this simple ritual to keep your skillet ready and resilient:
- Scrape, wipe, scrub — remove food and grease while warm.
- Heat until bone-dry — don’t let water linger.
- Oil lightly — protect seasoning, boost nonstick power.
You’ll clean, dry, and re-season with purpose, not chores.
This disciplined practice frees you from fragile cookware and builds a reliable tool that serves generations.
Store and Maintain Your Skillet to Keep It Heirloom-Ready
Now that you’ve cleaned, dried, and lightly oiled your skillet, store and maintain it so it can outlast you. Put the skillet in a dry spot with good airflow—no sealed lids or damp cabinets—and keep a thin oil film after each use to preserve seasoning and nonstick performance. Clean warm with a scraper or chain mail scrubber; avoid soap so you don’t strip seasoning. Inspect regularly for rust; if you find any, scrub with coarse salt and a baking potato, then re-season promptly. These steps help your skillet become a liberated heirloom you pass on.
| Action | Frequency | Purpose |
|---|---|---|
| Wipe thin oil | After each use | Maintain seasoning |
| Air-dry storage | Always | Prevent rust |
| Warm cleaning | After each cook | Preserve surface |
| Rust check | Monthly | Early restoration |
| Re-season | As needed | Restore nonstick |
Follow this routine and your cast iron can serve generations, a tool of freedom and continuity.
Frequently Asked Questions
How to Use a Skillet Pan?
You heat the skillet, choose the right skillet types (cast iron or nonstick), and pick cooking techniques like searing, sautéing, or pan-roasting.
You preheat on medium-high until smoking hot, add high smoke point oil, and don’t overcrowd the pan — cook in batches.
You’ll rest food briefly to redistribute juices, then clean the warm skillet by scraping and using a scrubber to protect seasoning.
Embrace culinary freedom.
Do I Put Oil on a Skillet?
Yes — you put oil on a skillet. Think of it like an ally in a revolution, protecting surfaces and freeing flavors.
Use high smoke point oil types (avocado, grapeseed) sparingly: thin layer before heating for nonstick performance, or after cleaning to season cast iron for skillet maintenance.
Don’t overdo it; too much oil makes food greasy and undermines the skillet’s seasoned coating.
Maintain routinely for lasting freedom.
Is There a Difference Between a Skillet and a Frying Pan?
Yes — they differ. You’ll notice skillet types often have higher, straighter sides and lids, while frying pans have sloped edges for easy flipping.
Choose pan materials like cast iron or stainless steel for heat retention and durability; nonstick suits delicate foods.
You’ll pick a skillet when you want braising or retaining moisture, and a frying pan for quick searing or tossing.
Use what frees your cooking style.
How to Use a Pan for the First Time?
You wash and dry the pan, then rub a thin oil layer to protect non stick surfaces and build seasoning.
Preheat gradually on low to medium heat settings for a few minutes before cooking.
You’ll use wooden or silicone utensils to protect the coating.
After cooking, clean while warm with a scraper or chain mail scrubber, avoiding soap to preserve seasoning.
This lets you cook freely and confidently.
Conclusion
You’ll feel the skillet’s warmth rise like sun on a pan as you preheat, oil, and sear—each step building scent and crust. Trust the heft and handle, listen for the sizzle, and flip with confident, steady motions. When sticking creeps in, act fast: adjust heat, add fat, or deglaze. Clean while warm, dry thoroughly, and oil lightly. Store it ready for the next meal, and your skillet will reward you for years.