
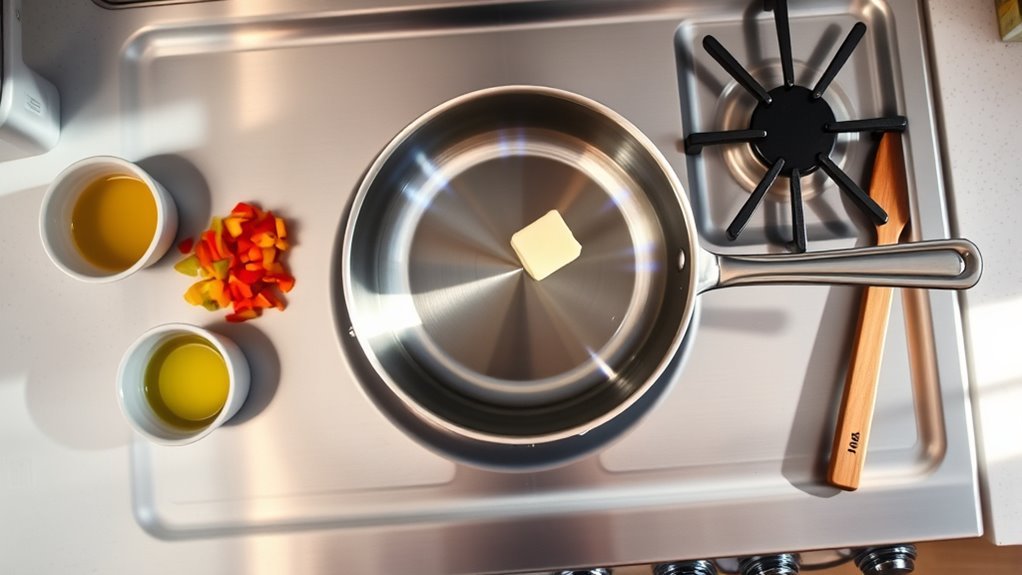
You’ll get reliable results if you preheat All‑Clad properly, add the right fat, match the method to the heat range, and clean it correctly afterward. Start low–medium for 2–3 minutes, look for the bead-and-shimmer test with a high‑smoke‑point oil, then sear, sauté, or pan‑fry at the appropriate temps without crowding. Follow precise cooling and cleaning steps to preserve the finish — and there’s one common pitfall you’ll want to avoid next.
Quick Start: Preheat, Add Fat, Cook, Clean
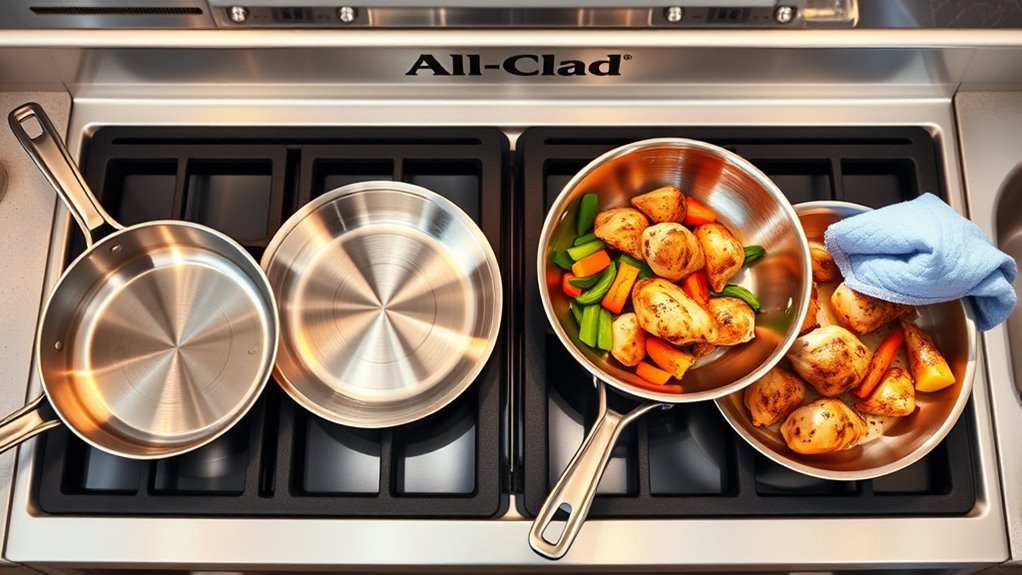
Preheat your All‑Clad on low–medium for about 2 minutes until water beads glide across the surface, then add a measured amount of oil or fat and wait for it to shimmer before adding food.
You’ll rely on even heating to create a reliable cooking surface; the shimmering oil forms a temporary nonstick barrier that’ll prevent sticking and promote caramelization.
Don’t overcrowd the pan—give each piece room so heat distributes uniformly and you avoid steaming.
Work efficiently: add, sear, flip, and remove to a resting tray to maintain pan temperature control.
When cooking’s done, let the pan cool completely to avoid warping and to protect the finish.
For cleaning, use warm soapy water and a soft sponge; avoid abrasives or harsh pads that damage the surface.
This routine preserves performance and grants you freedom from fuss—consistent results, less maintenance, and cookware that serves your liberation to cook boldly and precisely.
How to Preheat and Prep Your All‑Clad Pan
Now that you’ve got the basics—heat, fat, sear, clean—let’s focus on preparing the pan itself. You’ll choose a burner that matches your All-Clad cookware for ideal heat distribution. Preheat on low to moderate heat for 2–3 minutes to achieve even cooking and to prevent sticking. Use the water test: droplets should bead and glide. Avoid abrupt temperature changes; don’t add cold ingredients to a hot pan to prevent warping and uneven results.
| Step | Check | Purpose |
|---|---|---|
| Burner size | Match pan base | Ideal heat distribution |
| Preheat | 2–3 min on low to moderate heat | Even cooking |
| Water test | Drops bead/glide | Confirm readiness |
| Temperature control | Avoid sudden changes | Prevent warping, uneven cook |
After the water test, add oil and proceed. This sequence liberates control: predictable thermal response, consistent browning, efficient, technical execution.
Add Fat and Test Heat (Oils, Temps, Shimmer Test)
Place a thin film of a high–smoke-point oil (canola, avocado) in the pan once it’s warmed for 2–3 minutes over low–moderate heat; the oil should spread easily and develop a subtle shimmer, signaling the surface has reached ideal cooking temperature.
With your All-Clad on low to moderate heat, that shimmer confirms effective preheating and activation of the pan’s engineered nonstick properties. Use just enough oil to coat the surface; excess fat defeats control.
To test readiness, flick small drops of water onto the surface: if they dance and evaporate quickly, the cooking temperature is correct. If the drops sit or sputter violently, adjust heat and let the oil equilibrate.
Always add fat before food to prevent sticking and avoid heating an empty pan on high to protect finish integrity. These precise steps free you to cook confidently, preserving equipment and achieving consistent, liberated results.
How to Sear, Sauté, and Pan‑Fry : Step‑by‑Step
Heat your All‑Clad to the targeted range for the technique—roughly 400–450°F for searing, medium for sautéing, and 350–375°F for pan‑frying—then add a thin film of high–smoke‑point oil and wait for the shimmer before introducing food. You’ll use stainless steel to control heat; match burner size to pan for precise temperature control. For searing, place dry protein, don’t move it, and develop a rich crust; flip once. For sautéing, use medium heat, keep ingredients moving for even cooking and prevent sticking. For pan‑frying, maintain 350–375°F, don’t overcrowd, and crisp in a single layer.
| Technique | Temp | Key Action |
|---|---|---|
| Searing | 400–450°F | One‑side contact → flip |
| Sautéing | Medium heat | Continuous motion |
| Pan‑frying | 350–375°F | Single layer, crisp |
Finish searing with deglazing—add wine or broth to lift fond and build sauce.
How to Clean and Maintain All‑Clad + Troubleshooting
Although All‑Clad tolerates heavy use, treat it gently: let pans cool completely before cleaning to prevent warping, then wash with warm, soapy water and a soft sponge—avoid steel wool and harsh abrasives that can damage the finish.
You’ll clean and maintain efficiently by using a non-abrasive sponge and controlled motion; agitation, not force, removes food without scratching. For stubborn residue, simmer equal parts vinegar and water in the pan briefly, then let cool and scrub gently with a non-abrasive cleaner.
Rinse thoroughly to remove acids and soap, then dry immediately with a clean cloth to prevent water spots and oxidation. Store pans with separators or soft liners to avoid scratches and guarantee airflow between lids and bodies.
If discoloration appears, use a stainless polish per instructions; if warping occurs, discontinue heavy thermal shocks and contact All‑Clad support.
These steps free you from maintenance anxiety and keep cookware performance intact while you cook boldly.
Frequently Asked Questions
How Do You Use All-Clad Pans for the First Time?
You wash and dry the pan, then preheat on low to moderate heat using tested preheating techniques; drops of water should dance.
Use recommended oils with high smoke points, follow proper heat settings, and try beginner recipes to learn cooking times and food compatibility.
Avoid overcrowding, follow safety precautions, and use cleaning methods with warm soapy water.
Establish maintenance routines to preserve performance and freedom in your cooking.
How to Get All-Clad Pans Not to Stick?
Use non stick tips: preheat like a medieval alchemist, set heat settings to low–medium, add oil types with high smoke points, and perform surface preparation by coating evenly.
Choose food choices at room temperature, avoid overcrowding, and let crust form.
Practice cooking techniques, proper cleaning and pan maintenance to prevent residue.
Store using storage solutions that protect surfaces.
Learn common mistakes and reclaim freedom in the kitchen through disciplined technique.
Are You Supposed to Season All-Clad Pans?
No — you don’t need to season All-Clad pans. You’ll focus on surface care, cleaning methods and maintenance tips instead.
Use a light coat of oil types like canola or grapeseed before high heat cooking styles to reduce sticking; control heat levels to protect finish.
Understand usage myths about seasoning longevity factors. Match food compatibility to stainless, and prioritize regular cleaning methods and proper maintenance to preserve performance and liberate your technique.
Do I Need to Do Anything to My Stainless Steel Pan Before First Use?
About 95% of stainless users report improved performance after simple prep: you should wash, rinse, dry, and preheat before first use.
Follow preparation tips: initial cleaning removes residues; apply a light oil application when warm; practice heat management—start low to moderate.
Adopt cooking techniques using room-temp ingredients.
For maintenance practices and safe storage, avoid usage errors like overheating.
These care instructions boost product longevity and free your cooking routine.
Conclusion
You’ll get the hang of All‑Clad fast if you follow the rhythm: preheat, add fat, cook, clean. Think of it like tuning a race car—one chef I worked with shaved two minutes off service by mastering shimmer tests and heat zones. You’ll feel when the pan’s ready and won’t overcrowd. Treat it with cool-down and gentle washing, and your performance stays consistent. Precise technique equals predictable results every time.