
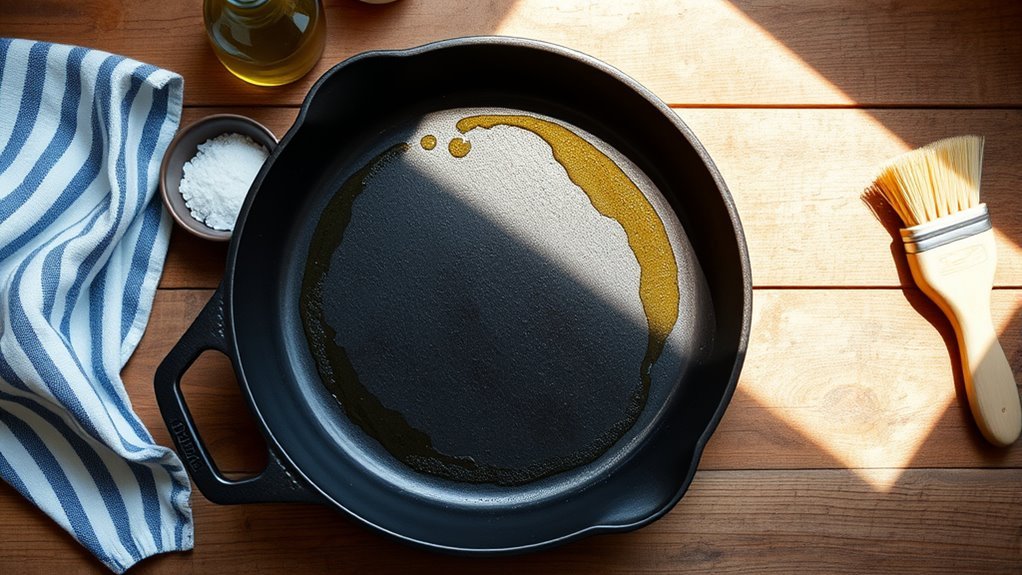
You could practically sear a steak just by looking at that black iron—so long as it’s prepped right. You’ll wash and dry it, heat to drive off moisture, and rub a whisper-thin coat of oil until the surface gleams without feeling sticky. I’ll walk you through quick fixes for rust, the best oils to use, and a no-fuss oven method that takes about an hour—stick around to get your skillet performing like new.
Quick Prep Checklist: What to Do Now (Wash, Dry, Oil)
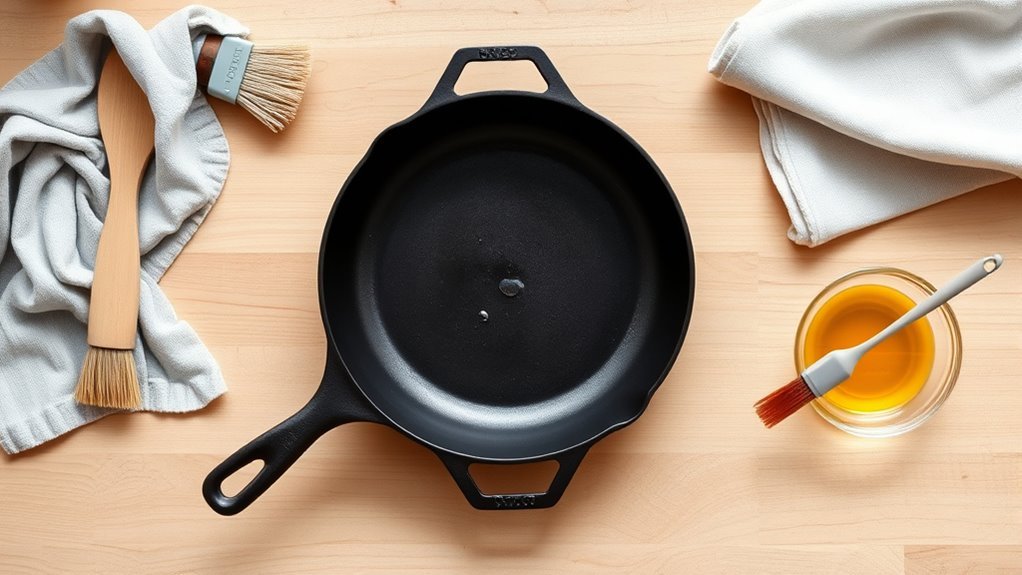
Start by washing your cast iron with warm water and a bit of mild dish soap to lift any residue—this won’t hurt the seasoning if it’s just a gentle clean.
Rinse thoroughly until the water runs clear, feeling the cool metal smooth under your fingers.
Dry immediately with a towel, then heat the skillet on low until all moisture evaporates; you’ll see a faint shimmer as the pan warms.
With a clean cloth or paper towel, apply a thin layer of oil—vegetable or flaxseed—across the entire surface, even the handle, rubbing until it looks satin, not greasy.
Wipe a thin coat of vegetable or flaxseed oil over every inch, rubbing until the surface reads satin, not slick.
That light sheen seals in protection and keeps your pan ready for freedom in the kitchen.
Store the cast iron skillet somewhere dry, slipping a paper towel inside to absorb humidity and prevent rust.
These simple, sensory steps let you maintain control and keep your tools dependable for every meal you choose to make.
When to Strip or Repair Seasoning (Rust, Sticky Buildup, Flaking)
If you spot rust, sticky residue, or flakes of seasoning, don’t wait—those are clear signs your cast iron needs stripping and re-seasoning to regain its nonstick surface and protect the metal.
Run your hands over the surface: gritty rust, tacky buildup, or visible flaking tells you the seasoning bond has failed. Don’t rationalize; act. Strip when rust dots spread, sticky patches repel oil, or seasoning peels away under a scrub.
Check a few times yearly, more if you cook often or use metal utensils and acidic foods that erode the coating. Stripping restores a smooth, receptive surface; repairing small trouble spots can buy time, but persistent rust or widespread flaking demands full re-seasoning.
You’ll smell iron, see bare metal, and feel the skillet’s readiness return as you reclaim control. Regular inspection and timely action keep the pan reliable and free—so you can cook boldly, not cautiously.
Season Cast Iron: Step‑by‑Step One‑Hour Oven Method
One hour in a hot oven can turn a bare, gritty pan into a smooth, black workhorse: after scrubbing away rust and residue, wipe the skillet dry, rub a paper-thin coat of high‑smoke oil over every surface (don’t forget the handle), place the pan upside down on the top rack with a catcher beneath, and bake at your oven’s highest setting so the oil polymerizes into a hard, nonstick layer—then let it cool inside the oven and inspect the finish, repeating the cycle if it’s not glossy and even.
You’ve already scoured the metal until it’s clean and bare; now you’ll feel the warm metal hum as the oil transforms.
Apply a whisper-thin film, wiping away drips so nothing pools. The upside-down placement keeps the interior pristine while excess runs off into the catcher.
One hour at max heat fuses the oil into polymerized seasoning; cooling inside the oven avoids thermal shock and reveals the true sheen.
If the finish isn’t smooth, repeat once or twice until your skillet looks black, feels glassy, and promises food that won’t stick.
Best Oils for Seasoning Cast Iron : Pros, Cons, and What to Avoid
When you’re choosing an oil for seasoning, think about smoke point, polymerization behavior, and how the finished layer will feel under your fingers. The best oils for seasoning cast iron are those that reach a high enough temperature to polymerize into a hard, slick film—so reach for high smoke point oils like vegetable oil or flaxseed oil. They bond well, creating a durable, satin surface that repels food and frees you from sticky frustration.
Avoid animal fats such as bacon fat or lard; they can go rancid and degrade your seasoning over time. Apply only a thin, even coat—too much oil leaves a tacky residue instead of a glassy finish.
Smoke during oven seasoning is normal and shows polymerization is happening. With mindful choice and light layers, you’ll build resilient seasoning that feels smooth, performs reliably, and gives you the freedom to cook without fear.
Aftercare & Troubleshooting: Cleaning, Re‑Seasoning Triggers, Quick Fixes
Treat your cast iron like a loyal tool: rinse it with warm water (and a drop of soap if needed), scrub off stuck-on bits with a brush or chainmail, then dry it thoroughly so moisture can’t start rust.
After cleaning, rub a whisper-thin film of oil over the surface while it’s warm to seal pores and keep the pan ready. Watch for re-seasoning triggers: food that suddenly sticks, visible rust, or meals with high acidity that strip the seasoning.
For quick fixes, heat the skillet, add a teaspoon of oil, and move it around to mend thin spots—this sensory, immediate repair brings the surface back to life. If you find rust, scour with steel wool until bare metal shows, then re-season with thin coats in the oven.
Never soak overnight. Check your pan often; do these small rituals and you free yourself from fear of damage, turning maintenance into a brief, empowering ceremony that preserves flavor and longevity.
Frequently Asked Questions
What Ruins a Cast Iron Skillet?
Hard misuse ruins a cast iron skillet: harsh scrubbing or dish soap that strips seasoning, soaking overnight, cooking acidic foods often, rapid temperature changes, and storing it damp.
You’ll prevent rust with attentive rust prevention and smart cleaning techniques—dry and oil it after use, scrub gently, avoid long soaks, and cool it gradually.
You’ll free yourself from ruined pans by treating the skillet with tactile care and intentional routines.
Do You Oil Your Cast Iron After Every Use?
Yes — you should oil your cast iron after every use because consistent maintenance tips prove it preserves seasoning and prevents rust.
You’ll use simple cleaning techniques, dry the skillet hot, then rub a thin layer of high-smoke-point oil until it feels smooth.
You’ll smell warm metal and faint oil as the pan protects itself.
This small, sensory ritual frees you from constant repairs and keeps cooking effortless, reliable, and empowering.
What Is the First Thing I Should Do With a Cast Iron Skillet?
You should wash it now: use warm, soapy water and scrub away factory residues with a sponge or brush, feeling the grit and rinse until the surface looks clean.
Dry it thoroughly so it won’t rust, then apply a thin layer of high-smoke-point oil for initial seasoning.
You’ll sense the metal smooth under your hand as the oil seals pores, freeing you to cook confidently and build lasting nonstick performance.
What Are Some Common Mistakes When Seasoning Cast Iron?
Common mistakes when seasoning cast iron include applying too thick a layer of oil, not preheating so polymerization fails, and choosing wrong Oil Types with low smoke points.
You’ll also forget ventilation, suffer smoky odors, and skip regular upkeep.
Use clear Seasoning Techniques: thin coats, high-smoke-point oils, proper heating, and air flow.
You’ll feel freedom as the pan darkens, smell clean heat, and gain a durable, liberated nonstick surface.
Conclusion
You’ve prepped your skillet, and now it’s ready to sing: wash, dry, oil, heat, and store with care. Keep an eye out for rust, sticky buildup, or flaking—those are your cues to strip and re-season. Use a high-smoke-point oil, heat evenly, and let the metal cool before storing with a paper towel to catch moisture. Treat your cast iron like an old friend, and it’ll reward you with golden, savory meals for years.