
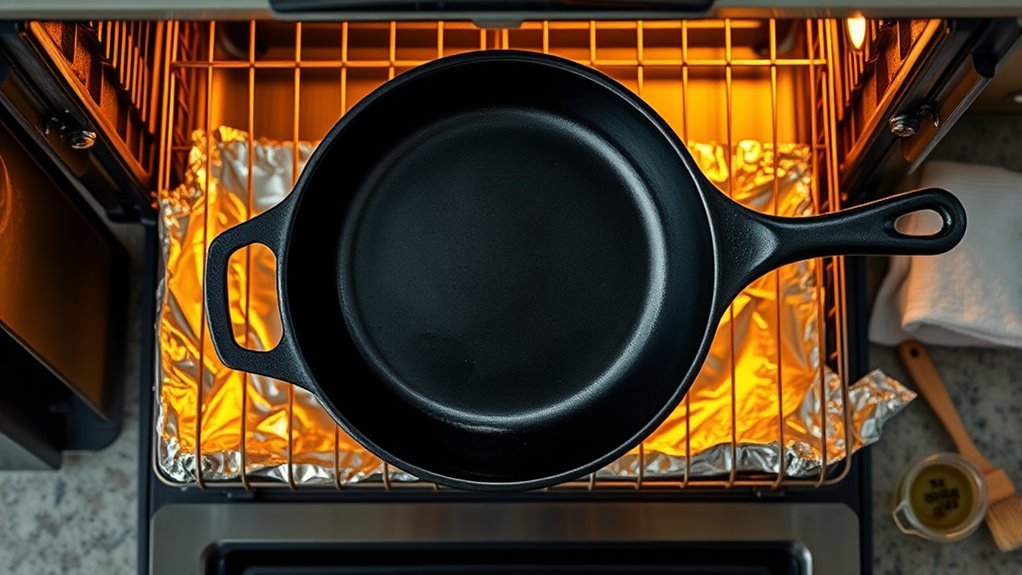
Reseasoning your cast iron skillet is essential for maintaining its nonstick surface and preventing rust. It’s a straightforward process that can enhance your cooking experience. By following a few simple steps, you can restore that beloved skillet to its former glory. Curious about the tools you’ll need and the best techniques to guarantee a durable finish? Let’s explore the essentials and get your skillet back in shape.
Essential Tools for Reseasoning Your Cast Iron Skillet

When you’re ready to reseason your cast iron skillet, having the right tools makes all the difference. Start with a high smoke point oil, like vegetable or canola, which will create that durable nonstick surface during the seasoning process.
You’ll want non-shedding paper towels—those blue shop towels are perfect—for applying the oil evenly without leaving any lint behind. A conventional oven is essential; the heat it provides is vital for polymerization, forming that protective layer on your skillet.
Don’t forget aluminum foil! Placing it on the bottom rack will catch any drips, helping you keep a clean oven. Finally, have a stiff brush or sponge handy to remove stubborn debris from your skillet.
With these tools, you’re all set to rejuvenate your cast iron and enjoy its timeless cooking capabilities!
Step-by-Step Reseasoning Instructions for Your Skillet
Reseasoning your cast iron skillet is a straightforward process that can breathe new life into your cookware. Follow these steps to enhance its nonstick properties and durability:
Reseasoning your cast iron skillet revitalizes its nonstick qualities and extends its lifespan, making it a kitchen essential.
1. Wash and Dry: Start by washing your skillet with warm, soapy water to eliminate any residue.
Thoroughly dry it to prevent rusting.
2. Apply Oil: Use a high smoke point oil, like canola or vegetable oil.
Apply a thin layer over the entire skillet, ensuring no excess oil remains.
3. Bake: Preheat your oven to 450°F (230°C).
Place the oiled skillet upside down on the top rack, with a baking sheet below to catch drips.
Bake for one hour to allow the oil to polymerize and form a protective layer.
After baking, turn off the oven and let your skillet cool inside.
Repeat this process three to four times for ideal seasoning and a beautifully revitalized cast iron skillet!
Avoid These Rookie Mistakes When Reseasoning
Five common mistakes can sabotage your efforts to reseason a cast iron skillet. First, avoid using excess oil; a sticky surface won’t create that smooth, nonstick finish you crave. Always buff your skillet until it looks dry and matte before using the oven.
Next, don’t skip the cleaning step—old food particles and moisture can ruin your new seasoning layers. Make sure your skillet is spotless!
Watch out for incorrect oven temperature; anything below 450°F will hinder oil polymerization, leaving you with ineffective seasoning.
Also, it’s essential to repeat the process; reseasoning just once won’t give you a durable, well-seasoned cast iron skillet. Aim for three to four oil applications for best results.
Finally, always allow cooling time. Pulling your skillet from the oven too soon can result in uneven seasoning, compromising all your hard work.
Follow these tips to achieve a flawless finish!
Maintaining Your Cast Iron Seasoning
To keep your cast iron skillet in top shape, regular maintenance is key. By following a few simple steps, you’ll guarantee your skillet’s seasoning remains intact, enhancing its nonstick properties for years to come.
Regular maintenance is essential for your cast iron skillet, ensuring its seasoning stays intact and nonstick properties last for years.
- Cook with Fatty Ingredients: Regularly use cooking oil, bacon, or eggs to build up your skillet’s seasoning naturally.
- Clean Properly: After each use, clean your skillet with hot water and a stiff brush. Avoid soap to preserve those precious seasoning layers and prevent rust.
- Dry Immediately: Wipe your skillet dry with a towel or heat it on the stovetop to eliminate moisture—this prevents rust formation.
Don’t forget to reapply a thin layer of cooking oil after cleaning to protect the surface.
Keep an eye out for signs of dullness or food sticking; these indicate it might be time for some reseasoning to restore its smooth, nonstick magic.
When Should You Reseason Your Cast Iron Skillet?
When should you start paying attention to your cast iron skillet’s seasoning? If your skillet’s surface looks glossy or sticky, it’s time to reseason. This indicates that the seasoning layer is breaking down, compromising its nonstick properties.
You should also monitor your skillet’s condition after each use; if food begins to stick, that’s a clear signal that it needs attention.
Visible rust spots reveal that moisture has compromised the seasoning, necessitating a reseasoning process. Additionally, if you frequently cook with acidic foods, consider reseasoning to maintain your skillet’s best performance.
Prolonging the lifespan of your cast iron skillet means addressing these signs promptly. By keeping an eye on its condition and acting when needed, you’ll guarantee your skillet remains a reliable kitchen ally for years to come.
Frequently Asked Questions
Should I Season Cast Iron at 350 or 450?
You should season cast iron at 450°F for the best results. This higher temperature allows your seasoning oils to reach their smoke point, bonding effectively and enhancing skillet longevity.
While 350°F might seem easier, it won’t create that durable, nonstick surface you want. Proper maintenance tips, like avoiding rust and using the right cleaning methods, will keep your skillet in top shape and elevate your food flavors.
Don’t fall for seasoning myths; go for the heat!
How to Season and Reseason a Cast Iron Skillet?
To season and reseason your cast iron skillet, start by cleaning it thoroughly with warm soapy water—this is essential for surface preparation.
Once dry, choose a high smoke point oil for seasoning. Apply a thin layer, then heat your skillet upside down in a hot oven. This heat application enhances food release and builds a robust surface.
Regular cast iron maintenance with fatty foods will keep it in top condition, enriching your cooking experience.
What Ruins Cast Iron Seasoning?
Excessive soap use and abrasive cleaners can ruin your cast iron seasoning, along with cooking acidic foods that erode the layer.
Prolonged soaking leads to rust, while not drying the skillet properly introduces moisture.
Be mindful of your oil choices; low smoke point oils can leave a sticky residue.
For rust prevention, avoid improper cleaning methods, and guarantee you store your skillet dry.
Regular maintenance and seasoning frequency keep it thriving and ready for your culinary adventures.
How Long to Put Cast Iron in the Oven After Seasoning?
Once you’ve seasoned your skillet, pop it in the oven at 450°F for 30 minutes. This magical transformation enhances the cast iron benefits, ensuring food release and rust prevention.
Afterward, you can re-oil and return it for another 30 minutes to strengthen that protective layer.
Repeat this seasoning frequency for ideal skillet longevity.
Pair these maintenance tips with proper cleaning methods, and you’ll elevate your cooking techniques to new heights!
Conclusion
Reseasoning your cast iron skillet not only revives its nonstick surface but also extends its lifespan. Did you know that a well-maintained cast iron skillet can last for generations, often exceeding 100 years? By following the steps outlined, you’re not just enhancing your cooking experience; you’re preserving a piece of culinary history. Embrace the ritual of seasoning, and let your skillet become a cherished companion in your kitchen adventures. Happy cooking!