
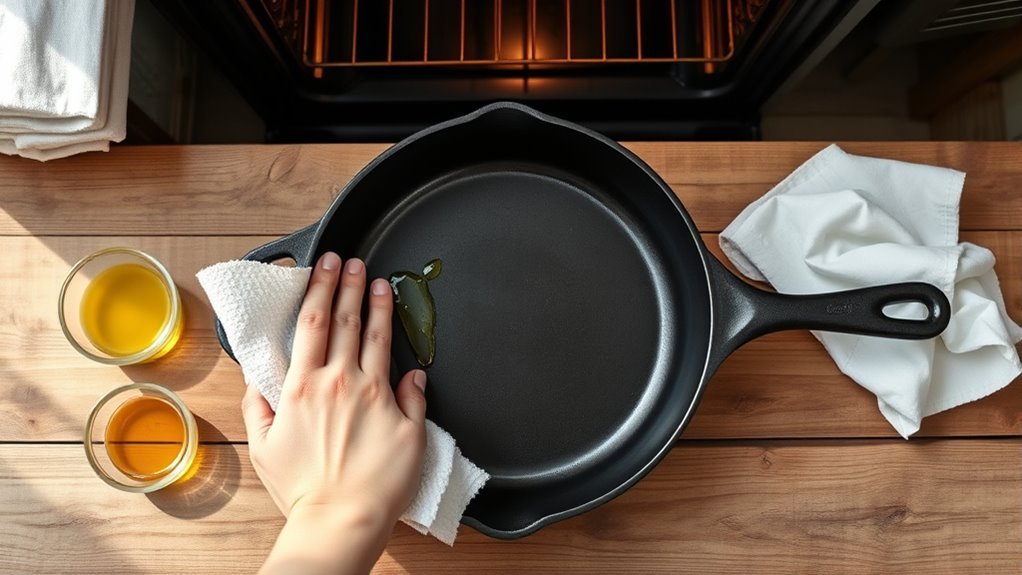
Seasoning a brand new cast iron skillet is vital for achieving that coveted nonstick surface and protecting it from rust. You’ll want to start with the right steps to guarantee long-lasting results. From washing away factory residues to applying the perfect oil, each stage is important. But it doesn’t end there—common mistakes can derail your efforts. Let’s explore a simple, effective guide that will set you up for success with your skillet.
Why You Should Season Your Cast Iron Skillet
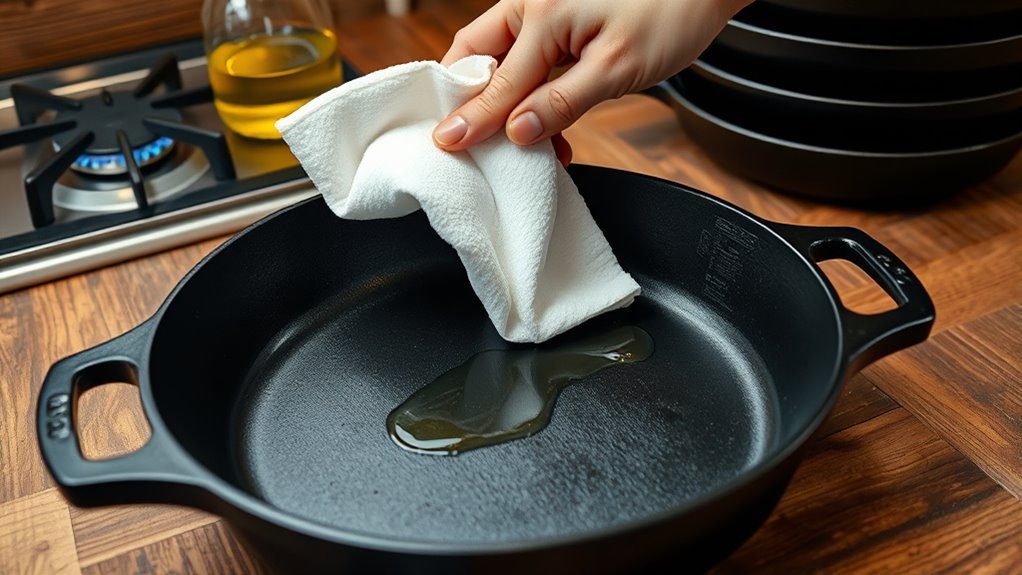
Seasoning your cast iron skillet isn’t just a good idea; it’s essential for longevity and performance. This process creates a protective layer that prevents rust and boosts durability, allowing your skillet to last for generations.
When you season, heated oil undergoes polymerization, bonding to the metal and forming a natural nonstick surface ideal for cooking. Regularly seasoning your skillet enhances its performance, as cooking with fats builds additional layers over time.
Seasoning your skillet with heated oil creates a natural nonstick surface, enhancing performance and building layers with every use.
A well-seasoned skillet doesn’t just make cooking easier; it also allows you to safely prepare acidic foods without damaging the seasoning. This versatility opens up a world of culinary possibilities.
Plus, proper seasoning leaches trace amounts of iron into your meals, which can be beneficial for your health. Embracing seasoning elevates your cooking experience and empowers you to master your cast iron skillet.
Step-By-Step Guide to Seasoning Your Cast Iron Skillet
Now that you understand the importance of seasoning your cast iron skillet, it’s time to put that knowledge into action. Follow these steps for an effective seasoning process:
| Step | Action |
|---|---|
| 1. Wash | Clean the skillet with warm, soapy water. |
| 2. Dry | Thoroughly dry to prevent rust. |
| 3. Oil | Apply a thin layer of high smoke point oil. |
| 4. Bake | Preheat oven to 450°F (230°C) and bake. |
Place your oiled skillet upside down in the oven with a baking sheet below to catch drips. Bake for 30 minutes, then cool for 30 minutes. Repeat the oiling and baking process three to four times to build those essential thin layers. Remember, maintaining your skillet’s seasoning is vital; cook with oil regularly and reapply after cleaning. Enjoy your liberating culinary adventures!
Common Seasoning Mistakes to Avoid
While seasoning your cast iron skillet can seem straightforward, several common seasoning mistakes can undermine your efforts. One of the biggest pitfalls is using too much oil; a sticky surface results from overapplication. Always buff the pan until it appears dry and non-greasy.
Using too much oil when seasoning your cast iron skillet can lead to a sticky surface; always buff until dry and non-greasy.
Don’t skip the initial cleaning process, either—residues can interfere with proper seasoning. Wash and dry your skillet thoroughly before applying any seasoning oil.
Another mistake isn’t preheating the oven adequately. Oils need to reach a high temperature to polymerize correctly, so make sure your oven is hot enough.
Additionally, failing to repeat the seasoning process can lead to a weak initial layer; aim for three to four cycles for durability.
Finally, avoid low smoke point oils like olive oil; instead, choose high smoke point options such as vegetable or canola oil for the best results.
Effective Strategies for Maintaining Your Cast Iron Seasoning
To keep your cast iron skillet in top shape, it’s important to implement effective maintenance strategies that enhance its seasoning over time. Regular cooking with oil or fat is key; it adds layers of seasoning, making your skillet more nonstick and efficient.
After each use, clean the skillet with hot water and a stiff brush, steering clear of soap to preserve that crucial layer of seasoning.
Once clean, reapply a thin layer of oil while the pan is still warm. This helps maintain its protective coating and prevents rust.
Store your skillet in a dry place, using a paper towel to absorb moisture, which protects the seasoning from deterioration.
Finally, remember to reseason your skillet every few months or when the surface appears dull or sticky to guarantee peak performance.
With these Cast Iron Care tips, you’ll keep your skillet thriving for years to come.
How to Reseason Your Skillet for Long-Lasting Use
Reseasoning your cast iron skillet is essential for maintaining its nonstick properties and preventing rust. Start by washing it with warm, soapy water to eliminate any residue.
Dry it completely to avoid moisture buildup. Next, apply a thin layer of high smoke point cooking oil, like vegetable or canola, both inside and out. Make sure to buff it to a dry, non-greasy finish.
Dry thoroughly to prevent moisture, then apply a thin layer of high smoke point oil, ensuring a dry, non-greasy finish.
Preheat your oven to between 450°F and 500°F, placing aluminum foil on the bottom rack to catch any drips. Bake the skillet upside down for one hour.
After baking, let it cool in the oven, allowing the layers of seasoning to cure and bond effectively. For ideal results, repeat the oiling and baking process 2-3 times.
This creates a durable, non-stick seasoning layer that enhances your skillet’s performance and longevity, freeing you to cook with confidence.
Frequently Asked Questions
Should I Season Cast Iron at 350 or 450?
You should season cast iron at 450°F. This temperature guarantees the oil reaches its smoke point, promoting effective bonding and creating a durable nonstick surface.
While 350°F mightn’t adequately bond the oil, leading to a sticky finish, 450°F allows for better polymerization.
Use oils with high smoke points, like flaxseed or grapeseed, and consider seasoning for an hour to build a robust layer.
Repeating this process enhances your skillet’s resilience.
What Should I Do if I’m Using a Cast Iron Skillet for the First Time?
When you’re using a cast iron skillet for the first time, start with some essential first cooking tips.
Always clean it with warm, soapy water before your initial use, then dry it thoroughly to prevent rust.
For maintenance, avoid soaking it and instead wipe it down after cooking.
Use oil for seasoning and keep it well-maintained to enhance its nonstick properties.
Embrace these cleaning techniques, and you’ll enjoy a liberating cooking experience!
What Are Some Common Mistakes When Seasoning Cast Iron?
Are you sabotaging your cast iron skillet’s seasoning? Common mistakes include overheating oil, which can ruin the finish, and improper cleaning that leaves moisture, leading to rust.
Avoid using wax or oils with low smoke points, as they won’t bond properly. Remember, a well-seasoned pan needs multiple layers; skipping this step results in weak nonstick properties.
Focus on getting it right, and you’ll enjoy a durable, nonstick surface for years to come!
How to Tell if Your Cast Iron Is Properly Seasoned?
You can tell if your cast iron is properly seasoned by checking its surface. It should feel smooth, slightly tacky, and dark in color.
When cooking, food should release easily—try frying an egg as a quick test. Look for rust or flaking, which indicates poor skillet care.
Also, make sure there’s no rancid smell when heated. Regular cast iron maintenance with quality seasoning oils will keep your skillet in top shape!
Conclusion
By following these steps, you’re not just seasoning a skillet; you’re unleashing a culinary powerhouse that’ll last a lifetime! With each layer of oil, you’re building a nonstick surface that’ll make cooking feel like magic. Remember to avoid common mistakes and maintain that seasoning for the best results. Your cast iron skillet will become your kitchen’s MVP, ready to serve up delicious meals for years to come. Happy cooking!