
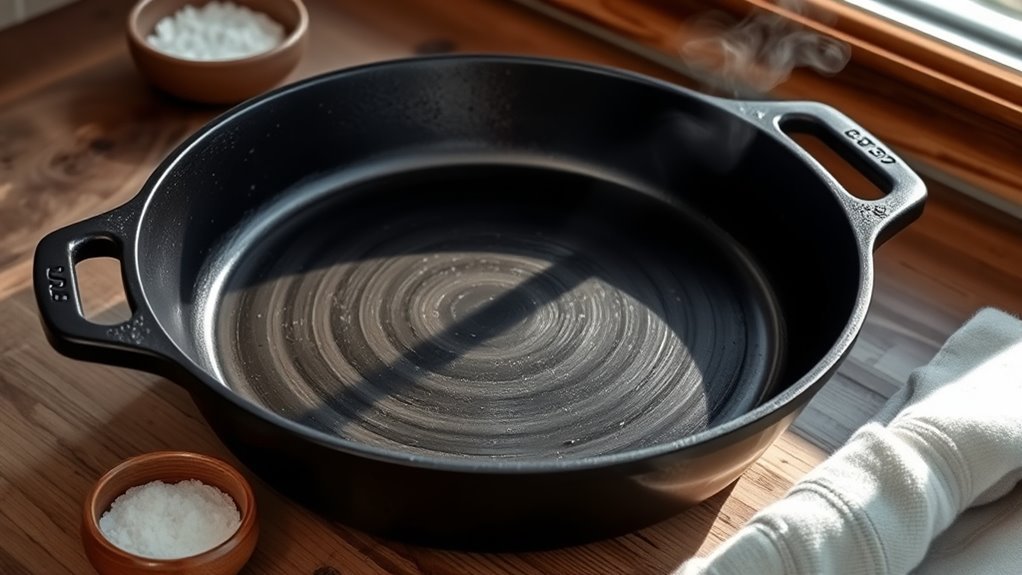
Most factory “pre‑seasoned” cast iron pans arrive with thin, baked-on layers of vegetable oil—not a finished non‑stick surface—so you’re expected to build seasoning through use. You’ll get basic rust protection and some release at first, but true performance comes from repeated oiling and high‑heat cooking that polymerize fats into a durable coating. Learn a few quick tests and simple steps to finish and maintain the pan properly.
What “Pre‑Seasoned” Actually Means for Cast Iron
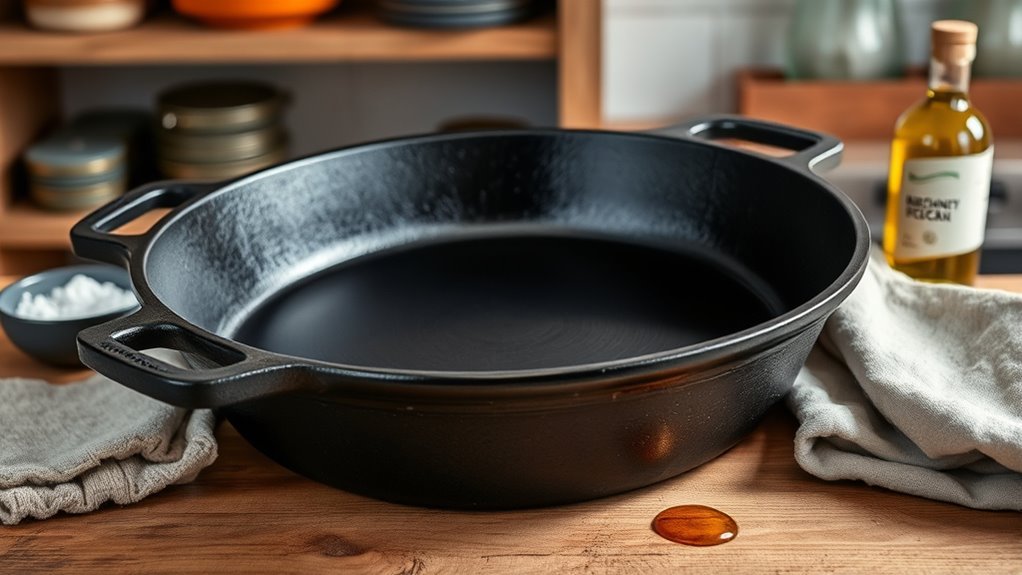
Although “pre‑seasoned” sounds ready to cook, it usually just means the factory applied two thin baked-on coats of oil (often vegetable or canola) at high heat to prevent rust in transit.
You should treat pre-seasoned cast iron as a starting point, not a finished non-stick solution. Factories bake thin oil layers onto the metal to protect it, but those layers are minimal and wear during first uses. Expect food to stick until you build up polymerized oil through home seasoning and regular cooking.
When you intentionally season your Seasoned Cast Iron Skillet — using modest oil, heat, and repetition — you produce a durable, hydrophobic surface that improves flavor release and longevity.
If you collect pans, add each to your cast iron collection only after you commit time to develop its seasoning. That practical, evidence-based approach frees you from false expectations and gives you control over performance, letting your skillets evolve into reliable tools rather than disposable purchases.
How Factory Pre‑Seasoning Is Applied and What It Does
If you look closely, factory pre‑seasoning is a simple, deliberate process: manufacturers wipe two thin coats of vegetable or canola oil onto the iron, then bake the pans at about 500°F for two cycles to bond those oils to the metal.
You get a pan that resists rust during shipping and offers a basic non-stick surface so you can cook right away. That coating is molecularly bonded polymerized oil, not a finished masterpiece.
A pan that resists rust and gives immediate, modest nonstick—polymerized oil, a useful start, not the final finish.
You should know what it does and what it doesn’t:
- It prevents rust and gives immediate, modest release for cooking.
- It creates a uniform baseline layer so your pan behaves predictably.
- It isn’t optimized for long-term browning, searing, or caring for high-use demands.
- It expects you to follow up with care and additional seasoning to reach full performance.
Accepting factory pre-seasoning as a starting point frees you to build a resilient, liberated cooking tool tailored to your needs.
Why Pre‑Seasoning Is Just a Start (Not Finished Seasoning)
When you unpack a pre‑seasoned skillet, know that the factory coating is a thin, functional primer—not the finished seasoning you’ll rely on for great cooking; those two baked oil layers prevent rust and give basic release, but they don’t build the durable, polymerized layers that come from repeated cooking and intentional care.
You’ll find pre-seasoned cast iron is safe to use straight away, yet it often lacks the deep non-stick people expect—eggs can stick, and high‑fat frying feels different. That’s normal.
True seasoning forms as oils polymerize and stack into a resilient surface through regular use and proper maintenance. As a liberated home cook, treat factory seasoning as permission to start experimenting, not an endpoint.
Cook, clean gently, and oil lightly; each meal contributes to the pan’s performance and longevity. Be patient: consistent cooking practices, not shortcuts, turn a thin factory coat into a long-lasting, dependable finish you can trust.
What Will : and Won’t : Be Non‑Stick at First
Expect some sticking at first: factory seasoning usually gives you only two thin oil layers, so delicate foods like eggs and crepes will often cling until you’ve built up more polymerized seasoning through regular cooking and light maintenance.
You’ll notice sturdy, fatty items—seared potatoes, steaks, pan‑fried sausages—release more easily right away. Lighter, wet batters and eggs typically won’t.
- High‑fat, high‑heat sears: tend to be non‑stick sooner because oils polymerize under heat.
- Dry browning (veggies/meats): becomes easier with each use as layers accumulate.
- Eggs/crepes/batters: made without adequate early seasoning, they’ll stick until you build more layers.
- Acidic foods: can strip thin factory layers, so avoid heavy tomato or vinegar cooking early on.
If you bought a Lodge Cast Iron pan, treat the initial period as apprenticeship.
Use it, keep it dry, and perform light maintenance; your autonomy in the kitchen grows as the pan’s surface evolves.
Prep and Re‑Season a Pre‑Seasoned Pan (Step‑by‑Step)
Think of this as resetting the pan: burn off the thin factory seasoning with high heat until the surface loses its shine, cool it, wash with soap and water to remove residue, then apply a very thin coat of a high‑smoke‑point oil and bake the pan upside down at 500°F for an hour to polymerize a tougher, longer‑lasting layer.
Now follow step‑by‑step: heat the pan on the stovetop or in a hot oven until the glossy factory film dulls, then let it cool enough to handle.
Use deliberate cleaning techniques — soap and warm water — to remove dust and manufacturing oils; dry immediately.
Choose oil types with high smoke points (grapeseed, refined avocado, or refined canola) and rub a paper‑thin layer over all surfaces.
Use baking methods that place the pan upside down on a foil‑lined rack to catch drips; run at 500°F for at least 60 minutes, then cool in the oven.
Repeat if desired. Regular use and proper maintenance will strengthen the seasoning over time.
Quick Test to Check a New Pan Before First Use
After you’ve burnt off and re-seasoned a factory finish, give a quick functional check before cooking: heat the pan over high flame for a few minutes and watch for smoke — visible smoking often means the thin factory film is present and will come off with proper cleaning.
Then let it cool, wash with soap and water, and inspect the surface. Use this initial seasoning test to confirm the pan’s readiness.
Watch the smoke point behavior: a little transient smoke is normal, persistent heavy smoking shows residual coating. Check surface appearance closely; a dull, matte finish indicates stronger bond than a glossy, shiny film that may cause sticking. If food sticks during first cooks, plan further seasoning.
- Heat 2–3 minutes and note smoke point behavior.
- Cool fully, wash with soap and water to remove residue.
- Inspect surface appearance for dull vs. shiny finish.
- If it sticks, apply thin oil and bake to build durable seasoning.
Recipes and Everyday Use That Build Seasoning Fast
When you cook fatty, high-heat dishes regularly—like bacon, seared steaks, roasted chicken thighs, or fried potatoes—you’ll lay down polymerized oil layers fast and build a durable nonstick patina; favor natural fats and avoid prolonged contact with strong acids (tomatoes or vinegar) until the seasoning is well established.
Use your skillet for seared meats and fried potatoes often; the combination of high heat and rendered fat accelerates polymerization and creates that slick surface you want.
Frequently sear meats and fry potatoes—high heat plus rendered fat speeds polymerization and builds that slick, nonstick surface.
For everyday seasoning work, sautée vegetables in a generous film of oil or butter—sautéed vegetables pick up flavor while contributing to the layer buildup.
Roast chicken thighs or pan-fry bacon, then wipe and lightly oil the pan when it cools. Avoid long stews with citrus or tomatoes until multiple seasoning cycles have occurred.
Clean with hot water and a brush, dry thoroughly, and apply a thin coat of oil after each use. Frequent use, heat, and simple maintenance will free you from sticky pans and build resilient seasoning fast.
Fix Sticking, Rust, and Uneven Patina
If your pre-seasoned skillet sticks, shows rust, or has blotchy patches, you can restore it without drama: You’ll reclaim freedom from fragile coatings by applying simple, evidence-based steps.
Pre-seasoned pans often have thin oil layers, so sticking solutions start with regular use, cooking fatty foods, and heating evenly to encourage oil bonding. For rust prevention, scrub rust spots to bare metal, dry thoroughly, then re-season with a high-smoke-point oil.
Patina improvement follows continued cooking and uniform heat; the surface darkens and smooths as polymerized oil builds up.
- Clean: remove stuck food and any rust with a scrub pad; don’t fear the bare pan.
- Dry & heat: evaporate moisture on the stovetop to stop corrosion.
- Oil & bake: apply a thin layer of oil and bake at high temp to polymerize the seasoning.
- Maintain: cook regularly, use even heat, and avoid acidic long-cooking pots.
Follow these steps and you’ll get durable non-stick performance, rust prevention, and steady patina improvement.
Buyers’ Guide: When to Choose Pre‑Seasoned vs. Unseasoned
Now that you know how to restore and build seasoning, decide whether to buy pre‑seasoned or unseasoned cast iron based on how much time and control you want.
If you want to cook right away and avoid an initial build cycle, lean into pre seasoned benefits: a thin factory oil layer prevents rust in shipment and gets you frying sooner. Don’t expect a finished nonstick surface—most factory seasoning is just two thin coats and will improve with regular use and maintenance.
If you crave agency and plan to tailor oils and heat cycles, choose unseasoned for unseasoned customization; you’ll control polymerization, flavor transfer, and the patina timeline.
Know the seasoning myths: pre‑seasoned isn’t flawless and unseasoned isn’t hopeless. Both paths liberate you from single-use cookware when you commit to proper care.
Pick pre‑seasoned for convenience, unseasoned for control, and be prepared to build a reliable surface through consistent cooking and oiling.
Frequently Asked Questions
Do I Need to Do Anything With a Pre-Seasoned Cast Iron Skillet?
Yes — you should do a bit more. Clean the factory oil off, burn it off with high heat, then apply thin oil coats and heat to build seasoning.
Use maintenance tips like regular cooking with fats and dry storage to improve non-stick performance.
Follow simple cleaning methods: wipe, rinse with hot water, avoid soap or soak, then re-oil.
These cooking techniques and habits free you from early sticking and rust.
What Is the Difference Between Seasoned and Pre-Seasoned Cast Iron?
Slow and steady wins the race: seasoned pans build real nonstick layers, while pre-seasoned ones just have thin factory oil coats.
You’ll use cast iron care and the seasoning process through repeated cooking techniques to polymerize oils, creating durable protection and release.
Pre-seasoned is a starting point; true seasoning demands regular use, cleaning, and oiling.
You’ll gain freedom and reliability as you practice these steps.
Should I Trust a Pre-Seasoned Cast Iron Skillet?
Yes — you can trust a pre-seasoned cast iron skillet as a starting tool, but don’t expect perfection.
Embrace pre-seasoned benefits while committing to cast iron maintenance and seasoning techniques: cook fatty foods, wipe and oil after use, and oven-bake occasional layers.
With consistent practice you’ll build reliable non-stick performance and freedom from disposable pans.
Stay patient, persistent, and empowered—your skillet will improve as you use and care for it.
What Should You Not Cook in Cast Iron?
You should avoid cooking long, highly acidic dishes (tomatoes, citrus), dairy-heavy sauces, delicate fish, and overly sticky foods (eggs, pancakes) in cast iron when seasoning’s weak.
Those items can strip seasoning, cause sticking, or create off-flavors.
For cast iron maintenance and effective cooking techniques, use shorter high-heat sears, re-season after aggressive use, and employ flavor enhancement via fats and proper heating to protect the pan and your food.
Conclusion
A pre-seasoned cast iron pan gives you a head start with factory-baked oil layers, but it’s just the opening act. Treat it like a blank slate: clean gently, add a thin coat of oil, and build seasoning through regular cooking—especially with fats and high-heat sears. With basic care you’ll avoid rust, fix sticky spots, and develop a reliable non-stick patina. Stick with it, and soon your pan will be worth its weight in gold.