
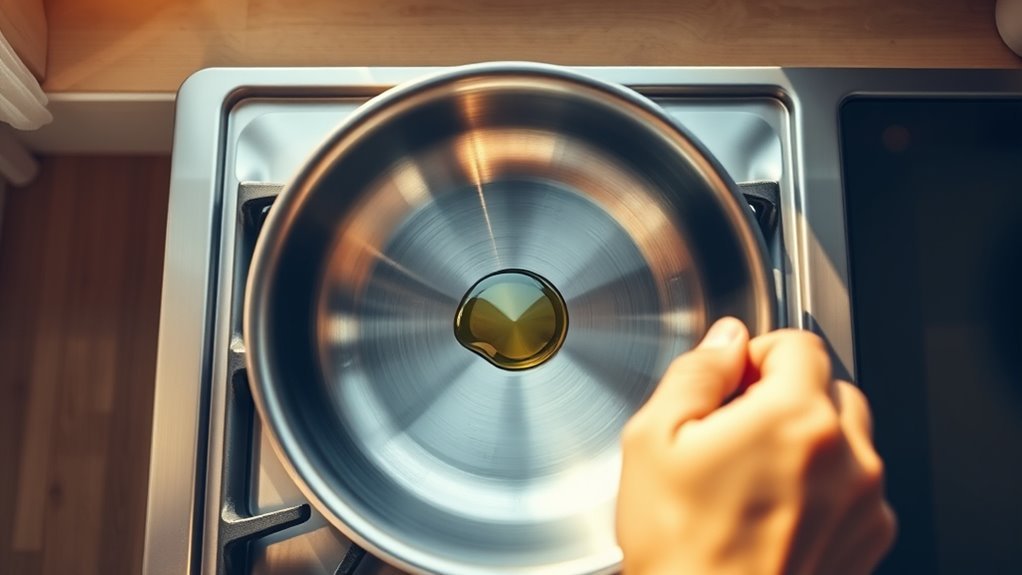
Heating a stainless steel pan properly guarantees even cooking, prevents sticking, and enhances flavors. You’ll want to focus on the right heat level, timing, and oil selection. Start with medium heat to create a solid foundation. But how do you know when it’s just right? Understanding the nuances of preheating can transform your cooking experience and elevate your dishes. Let’s explore the best methods to achieve that perfect sizzle.
Why Cooking With Stainless Steel Is Beneficial
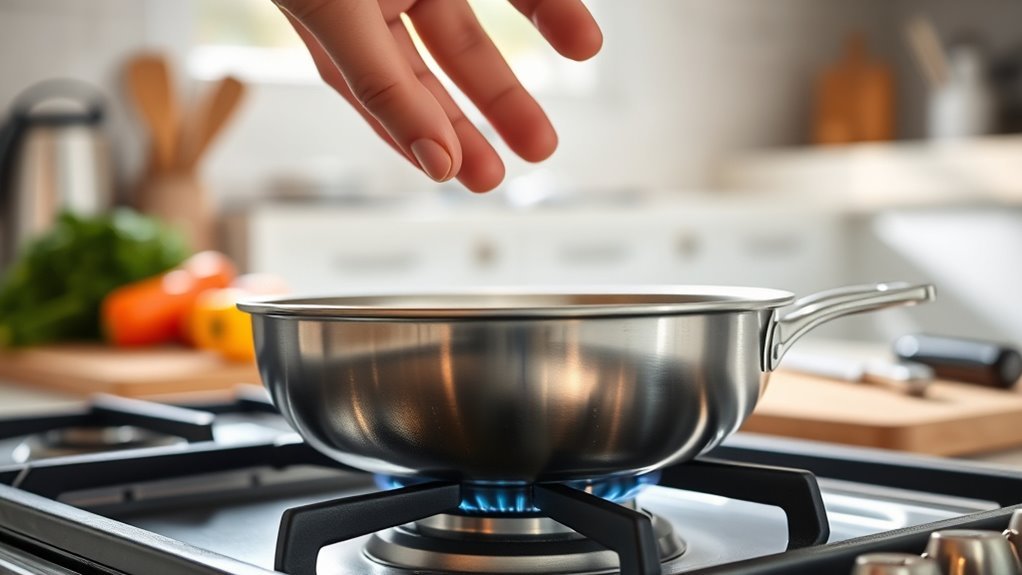
When you choose to cook with stainless steel, you’re investing in a durable kitchen essential that stands the test of time.
These pans excel in high heat, allowing you to sear and brown food to perfection without worrying about damaging a nonstick coating. Their robust construction resists scratching, ensuring that they maintain their performance through countless meals.
Stainless steel pans thrive in high heat, delivering perfect sears while resisting scratches for lasting performance.
Stainless steel pans distribute heat evenly, preventing those frustrating hot spots that can ruin your dishes.
Plus, they’re non-reactive, so acidic ingredients like tomatoes won’t alter the flavor of your food. Cleaning is a breeze, as most stainless steel pans are dishwasher-safe and resistant to staining or discoloration.
In essence, cooking with stainless steel not only enhances your culinary skills but also liberates you from the limitations of other cookware.
Embrace the versatility and reliability of stainless steel, and elevate your kitchen experience.
Step-by-Step: Preheating Your Stainless Steel Pan
Cooking with stainless steel opens up a world of culinary possibilities, but to maximize its benefits, you need to know how to preheat your pan effectively. Start by placing your 10-inch stainless steel pan on the stove over medium heat for about 2-3 minutes. This gradual warming guarantees even heating, which is essential.
To test if it’s ready, add a few drops of water; if they sizzle and form beads that dance across the surface, you’re good to go. Remember, avoid high heat initially, as it can cause food to stick and damage the pan’s surface.
Preheating creates a natural non-stick surface, enhancing your searing and browning.
Lastly, verify your pan is clean and dry before preheating to prevent any unwanted reactions with your food. With this simple process, you’ll set up a new account in stainless steel cooking mastery!
How to Know When Your Pan Is Ready to Cook?
To know when your stainless steel pan is ready to cook, look for key visual indicators and perform a simple water test.
A slight shimmer on the surface means the pan’s hot enough, while a few drops of water should sizzle and evaporate instantly.
Master these techniques, and you’ll guarantee your cooking starts off on the right foot.
Visual Indicators of Readiness
How can you tell if your stainless steel pan is ready for cooking? Start by looking for a pan surface shimmer; this gleam indicates that the oil is ready and your pan has reached the ideal temperature.
For precise measurements, use a temperature gauge—aim for around 400°F to 450°F (204°C to 232°C) for searing.
You can also test readiness with the water droplet test: sprinkle a few drops onto the surface. If they sizzle and dance, your pan’s hot enough.
Remember, preheat on medium to medium-high heat for about 2-3 minutes to guarantee even heat distribution, which is vital for ideal cooking times.
Enjoy the liberation of mastering your stainless steel pan!
Water Test Method
Ever wondered if your stainless steel pan is truly ready for cooking? The water test method is your go-to solution.
Start by heating your pan over medium heat for about 2-3 minutes. Then, drop a few drops of water onto the surface. If the water forms a single bead and dances around, congratulations—your pan is primed for cooking! This bead formation signals that the temperature is just right, typically between 350°F to 400°F.
If the water evaporates instantly, your pan’s too hot; simply lower the heat and retry.
Embracing the water test benefits not only enhances cooking consistency but also helps create a non-stick surface, making your culinary endeavors smoother and more enjoyable.
Common Mistakes When Cooking With Stainless Steel Pans
While cooking with stainless steel pans can yield delicious results, many home cooks make common mistakes that hinder their success. One major error isn’t preheating the pan adequately; it should reach the right temperature before adding oil or food to prevent sticking.
Speaking of oil, adding it too early can lead to smoking or burning; wait until the pan shimmers.
Temperature control is essential—cooking at too high a heat can create an unevenly cooked dish with a burnt exterior. Stick to medium to medium-high heat for best results.
Additionally, introducing wet or cold food can cause sticking, so confirm your ingredients are dry and at room temperature.
Finally, when cleaning, avoid abrasive materials; instead, use gentle sponges to preserve the pan’s integrity.
Adjusting Heat Levels for Different Cooking Techniques
Adjusting heat levels is essential for mastering various cooking techniques with a stainless steel pan. Start by preheating on low heat to prevent warping and guarantee even distribution.
As you get ready for sautéing techniques, gradually increase the temperature to medium or high. Remember, stainless steel retains heat efficiently, so be mindful of your oil choices; a well-prepped surface with oil or butter can make all the difference.
For delicate tasks like frying eggs, keep the heat lower to avoid sticking. You can test the heat by dropping a few water beads onto the pan; when they dance, you’re set to cook.
Always monitor closely, as stainless steel can shift quickly from the perfect temperature to overheating. Mastering temperature control not only elevates your dishes but also liberates you in the kitchen, allowing you to explore flavors and techniques with confidence.
Best Cooking Techniques for Stainless Steel Pans
When you want to master cooking with stainless steel pans, knowing the best techniques can make all the difference. Start by preheating your pan over medium heat for 2-3 minutes, ensuring it reaches the right temperature. Use high-smoke point oils like avocado or grapeseed to prevent burning. To check if it’s ready, sprinkle water; if it dances and evaporates, you’re set.
Avoid overcrowding the pan, as this can lead to steaming instead of the desired sear, essential for flavor enhancement. Allow food to sear undisturbed for a few minutes to develop that natural nonstick surface through the Maillard reaction. Use these techniques for ideal sauce reduction and ingredient preparation.
| Technique | Purpose | Tip |
|---|---|---|
| Preheat | Ideal cooking temperature | 2-3 minutes before adding oil |
| Oil choice | Prevent burning | Use high-smoke point oils |
| Avoid overcrowding | Enhance searing | Cook in batches if needed |
| Let it sear | Create flavor | Don’t stir for a few minutes |
| Water test | Check readiness | Water should dance and evaporate |
Essential Maintenance Tips for Your Stainless Steel Pan
Mastering cooking techniques is only part of the equation; keeping your stainless steel pan in top shape is just as important.
Mastering cooking techniques is essential, but maintaining your stainless steel pan is equally crucial for optimal performance.
To guarantee pan longevity, follow these essential maintenance tips:
- Handwash Wisely: Use mild dish soap and a soft sponge to preserve the shine and avoid scratches.
- Choose the Right Utensils: Always opt for wooden or silicone tools instead of metal to protect the surface from damage.
- Proper Storage: Store your pan in a dry place, and consider using a pan protector or cloth between stacked cookware to prevent scratches.
For stubborn stains, choose non-abrasive cleaning products or a baking soda and water mix.
By employing these strategies, you’ll keep your stainless steel pan looking and performing its best for years to come.
Embrace these simple practices, and enjoy the freedom of effortless cooking!
Troubleshooting Sticking Issues With Stainless Steel
If you’re facing sticking issues with your stainless steel pan, understanding the common causes can help you troubleshoot effectively.
Proper preheating techniques are essential; make sure your pan is heated adequately before adding oil or food.
Common Causes Of Sticking
Sticking can be frustrating, especially when you’re trying to achieve that perfect sear. Understanding common causes of sticking can help you enjoy cooking with stainless steel. Here are some sticking prevention tips to keep in mind:
- Preheat Properly: Heat your pan until droplets of water sizzle and dance before adding oil or food.
- Use Enough Oil: Follow an oil selection guide to choose the right oil and guarantee an even coating to create a non-stick barrier.
- Avoid Overcrowding: Cooking in batches keeps the temperature steady and reduces the risk of sticking.
Additionally, consider pan seasoning techniques and verify food is dry before cooking.
These strategies will enhance your cooking experience and liberate you from sticking frustrations!
Effective Preheating Techniques
Effective preheating techniques can be a game changer when it comes to cooking with stainless steel. Start by placing your pan on medium heat for 2-3 minutes, ensuring temperature consistency across the surface.
Don’t fall for preheating myths; check readiness with the water droplet test. Sprinkle a few drops of water—if they dance and evaporate quickly, you’re good to go.
For oil selection, opt for high-smoke point oils like avocado or canola to minimize sticking. Remember, overcrowding the pan can drop the temperature and lead to trouble. Cook in batches if necessary.
If food starts to stick, let it sit a bit longer until it naturally releases, signaling it’s ready to flip.
Cooking With Stainless Steel: Tips for Success
When you’re cooking with stainless steel, mastering the basics can elevate your culinary skills considerably. Here are three essential tips to enhance your cooking experience:
1. Preheat Properly: Always preheat your pan on medium heat for 2-3 minutes. This guarantees even heating and prevents food from sticking.
Add oil only when it shimmers, signaling readiness.
2. Choose the Right Oil**: Use high-smoke point oils** like avocado or canola.
These oils not only enhance non-stick properties but also withstand higher temperatures, allowing for flavor enhancement techniques that bring your dishes to life.
3. Mind Your Portions: Avoid overcrowding the pan.
This can lead to cooking temperature adjustments that result in uneven cooking or sticking. Instead, give each ingredient room to breathe, ensuring ideal food pairing suggestions for a vibrant dish.
Final Thoughts: Mastering Your Stainless Steel Cooking Skills
Mastering your stainless steel cooking skills starts with understanding essential heating techniques and ideal temperature management.
Avoid common mistakes by preheating your pan properly and adjusting the heat as needed.
With practice and attention to detail, you’ll elevate your cooking game and achieve delicious results every time.
Essential Heating Techniques
Heating your stainless steel pan properly is the key to releasing its full potential in the kitchen. By mastering essential techniques, you’ll enhance your cooking experience and achieve delicious results.
Here are three crucial steps to take into account:
- Preheat your pan on medium heat for 2-3 minutes to guarantee even heat distribution and prevent sticking.
- Use the water droplet test: When water droplets dance and evaporate quickly, your pan’s at the perfect temperature for cooking.
- Add oil after preheating; it should shimmer but not smoke, assuring a safe, non-stick surface.
Keep in mind safety precautions and cookware compatibility to avoid overheating.
Adjust the heat as needed to maintain a consistent temperature and enjoy liberated cooking!
Optimal Temperature Management
Effective temperature management is essential for getting the most out of your stainless steel pan. Start by preheating on medium to medium-high heat, ensuring even heat distribution and minimizing temperature fluctuations.
A simple water droplet test can confirm readiness; when a droplet sizzles and dances, you’re set. Avoid high heat for long periods, as it can damage your pan and lead to sticking. Instead, aim for steady heat retention to enhance cooking efficiency and prevent burning.
Once preheated, add a small amount of oil to create a non-stick effect and elevate your cooking experience. Mastering these techniques empowers you to cook confidently, liberating your culinary creativity in the kitchen.
Common Cooking Mistakes
Even with a solid understanding of temperature management, it’s easy to fall into common cooking pitfalls when using a stainless steel pan.
Here are three mistakes to watch out for:
- Skipping Preheating: Always preheat your pan on medium heat for 2-3 minutes before adding oil or food. This guarantees even cooking and prevents sticking.
- Ignoring the Water Droplet Test: Check the cooking temperature by dropping water on the pan. If it beads and rolls, you’re ready to go!
- Flipping Too Soon: Allow food to sear and develop a crust before flipping. Premature handling can lead to sticking and messy food preparation.
Frequently Asked Questions
Can a Stainless Steel Pan Go in a 400 Degree Oven?
Yes, your stainless steel pan can safely go in a 400-degree oven, but check the manufacturer’s guidelines first.
Pay attention to oven safety tips, especially regarding the handles, as they may not withstand high heat.
Stainless steel cookware materials are great for even heat distribution, making it excellent for roasting or baking.
Just remember to preheat the pan for best results, and always handle it with care when it’s hot!
Does Stainless Steel Release Toxins When Heated?
No, stainless steel doesn’t release toxins when heated. Its safety stems from high-quality cookware materials that are non-reactive, ensuring your food stays safe.
With excellent heat conductivity, stainless steel pans heat evenly, allowing for precise cooking without harmful leaching.
When you choose stainless steel, you’re opting for a durable, safe option that meets rigorous safety standards, so you can cook with confidence and enjoy the liberation of healthy meal preparation.
What Happens if You Don’t Preheat a Stainless Steel Pan?
If you don’t preheat a stainless steel pan, it’s like trying to run a marathon in flip-flops. Your food can stick stubbornly, making you wish you’d used better pan seasoning techniques.
The cooking temperature impact is significant; without proper heat, food releases moisture too soon, leading to steaming instead of searing. You’ll also face longer cooking times and uneven results.
To avoid this, always preheat and explore effective food sticking solutions for better meals.
Why Is My Stainless Steel Pan Taking Forever to Heat Up?
Your stainless steel pan’s taking forever to heat up likely comes down to heat distribution and metal conductivity.
If you’re using low heat, it won’t reach ideal cooking efficiency. Preheat on medium to medium-high heat for several minutes to allow even heating.
Make sure your stovetop’s clean, as debris can block heat transfer.
Consider using a lid to retain heat, speeding up the process and helping you achieve better cooking results.
Conclusion
In mastering your stainless steel cooking skills, remember that practice makes perfect. By preheating properly and using the right techniques, you’ll turn out delicious meals without a hitch. Don’t let a few sticking issues get you down; with patience and the right approach, you’ll be cooking up a storm in no time. So, roll up your sleeves and immerse yourself in the world of stainless steel cooking—you’ll be glad you did!