
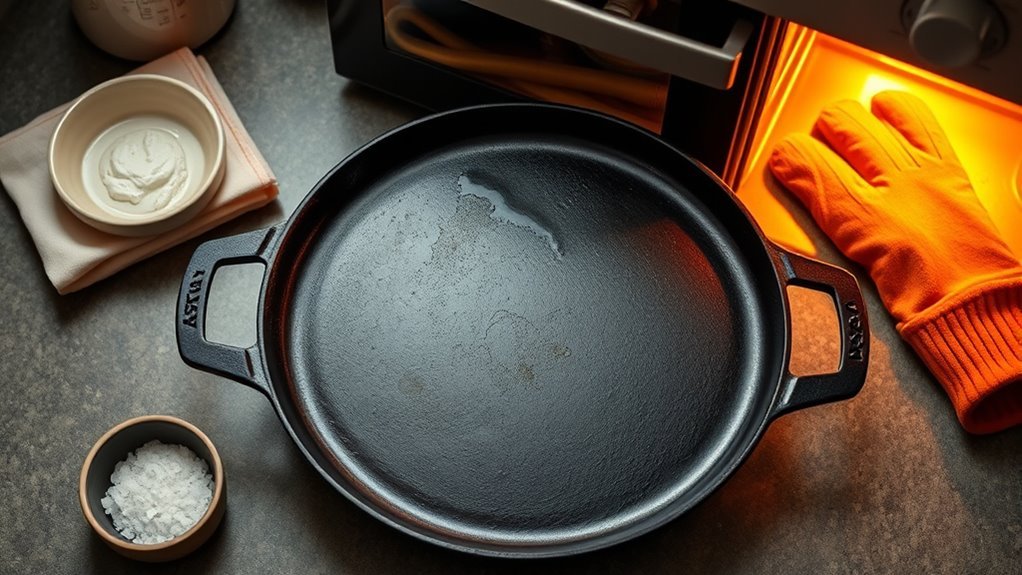
About 70% of home cooks say a well‑seasoned cast iron pan is their go‑to for flavor and durability. You’ll learn how to inspect, clean, and build a reliable seasoning layer so your new pan performs like a heirloom. I’ll walk you through oven and stovetop methods, how many coats to apply, what fats to use, and how to handle rust or sticky spots—so you can get straight to confident cooking with minimal fuss.
Quick Answer: How to Season a New Cast Iron Pan
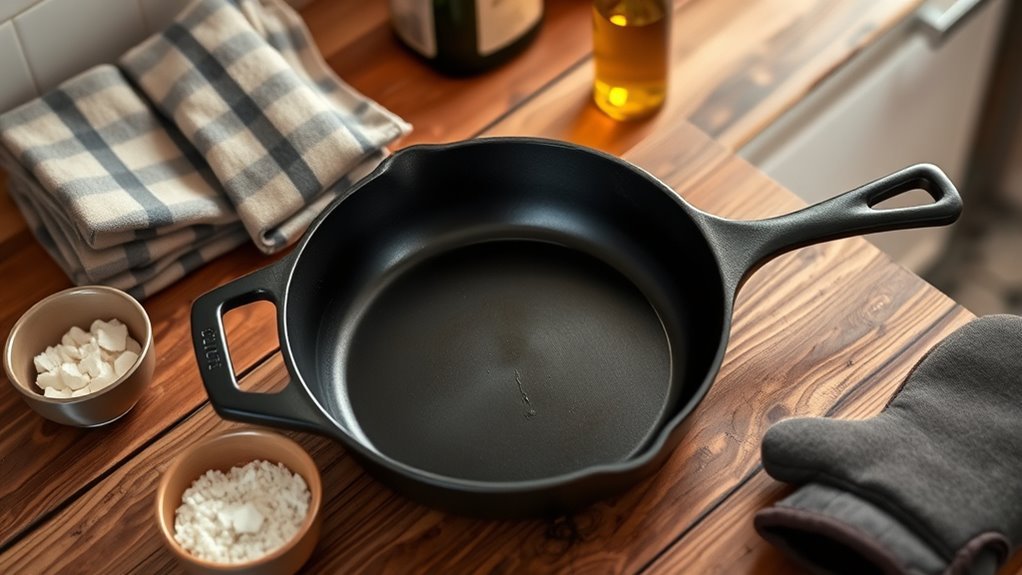
Start by washing your new cast iron with warm, soapy water and a sponge to remove any factory residue, then rinse and dry it thoroughly.
Next, apply a thin layer of vegetable oil, bacon grease, or another recommended oil to every surface, buffing until it’s barely shiny so you don’t leave excess that gums up.
Preheat your oven to 425°F (or its highest safe temp), place the oiled pan upside down on the middle rack, and bake for 30–60 minutes so the oil bonds to the iron.
Let it cool slightly, then repeat this oil-and-bake cycle three to five times; each pass builds a stronger, more consistent seasoned cast iron surface.
After the final cycle, cool the pan on the stove, then wipe a light coat of oil over it before storing to lock in protection and prevent rust.
These steps give you control and freedom in the kitchen, turning raw iron into a dependable, liberated tool.
Inspect Your New Cast Iron Pan (What to Look For)
Before you season a new pan, give it a careful inspection: look for cracks, deep pitting, or heavy rust that could compromise performance.
Run your hand over the cooking surface to judge the finish and check for any manufacturing residue or casting sand that needs cleaning.
Tap the bottom— a clear ring and a substantial weight are signs it’s solid and well-made.
Check For Cracks And Pitting
Give the pan a careful once-over for cracks, pits, or rough spots that can ruin seasoning and cooking performance. You want a tool that frees you, not one that limits you—so inspect closely.
- Tap the bottom lightly; a clear ping means good integrity, a dull thud can signal hidden cracks.
- Scan the cooking surface for visible cracks and pitting that trap food and oil.
- Run your fingers to detect unevenness or rough patches that’ll prevent even seasoning.
- Check handle attachment for secure fit and any stress cracks; a loose handle is a safety risk.
Also look for rust or corrosion as signs of poor storage.
If you find major defects, return or reject the pan—don’t settle.
Inspect Surface Finish
A smooth, even surface finish makes seasoning easier and keeps food from sticking, so check the pan closely for texture and blemishes. Inspect the entire cooking surface under good light; slight casting marks are okay, but deep pits or significant rust demand refurbishing.
Look along edges and the handle junction for chips or hairline cracks that could worsen with heat. Feel the surface—too rough will hold food, too uneven will season inconsistently.
Lift and judge weight: a heavier pan usually means better heat retention and durability. Tap the bottom lightly; a clear ring suggests sound construction, while a dull thud can flag internal flaws.
You’ll want a pan whose surface and build free you to cook without limits.
Verify Manufacturing Residue
When you unbox a new cast iron pan, inspect the cooking surface closely for any manufacturing residue, rough spots, or protective waxes that need removal before seasoning. You want to free your pan from anything that blocks seasoning or safety.
Check for manufacturing imperfections and act decisively:
- Visible residue or wax—wipe and scrub with hot soapy water until clean.
- Rough spots or burrs—feel along the edge; sand or buff small flaws to prevent tearing.
- Rust or discoloration—remove with a scrubber and vinegar if needed before drying.
- Handle attachment—confirm it’s tight and defect-free; a loose handle is a hazard.
Remove issues now so the pan becomes a reliable tool for your culinary freedom.
Initial Cleaning: How to Wash and Dry a New Cast Iron Pan
Start by washing your new cast iron with warm water and mild soap, using a sponge or nylon pad to remove factory residue.
Rinse thoroughly so no soap remains, then dry the pan completely—preferably by heating it on the stove for a few minutes to evaporate all moisture.
Once dry, apply a thin coat of neutral oil and buff it until barely shiny to prepare the surface for seasoning.
Wash With Mild Soap
Because new cast iron often carries factory oils and dust, wash it right away with warm water and a mild dish soap using a sponge or nylon scrub pad to remove residue.
You’ll rinse thoroughly so no soapy film lingers—leftover soap can interfere with future seasoning. Handle the pan confidently: remove grit, then inspect for stuck spots and repeat gently if needed. You’re reclaiming control of your cookware.
- Wet pan with warm water.
- Apply a small amount of mild dish soap.
- Scrub with a sponge or nylon pad until clean.
- Rinse thoroughly and towel-dry.
This clears factory coatings and prepares the surface for oiling and seasoning. You’re setting the stage for a durable, liberated skillet.
Thoroughly Dry And Heat
After rinsing off the soap, dry the pan completely with a clean towel and then heat it on low until any remaining moisture has evaporated.
You’ll want to thoroughly dry the surface because even tiny droplets will interfere with seasoning and invite rust. Keep the heat low and watch closely — a minute or two is usually enough for a new pan.
Once all moisture’s gone, remove from heat and immediately apply a thin, even film of oil to every interior and exterior surface, buffing until it’s barely shiny.
This step locks in your control: you’re eliminating moisture, protecting metal, and setting the stage for oven curing.
Proceed to preheat the oven and bake the oiled pan upside down to finish.
First Seasoning (Oven Method): Step‑By‑Step
You’ll begin by thoroughly washing the new cast iron with warm, soapy water to remove any manufacturing residue, then rinsing and drying it completely.
For your first seasoning, you’ll coat the skillet evenly with olive oil, wiping away excess so only a thin sheen remains. Preheat your oven to its highest setting (about 500°F), place the oiled skillet upside down on the middle rack to prevent pooling, and protect the lower oven with foil.
- Thinly oil the pan, inside and out, with a paper towel.
- Heat oven to ~500°F and position skillet upside down.
- Bake for one hour so the oil polymerizes into a durable layer.
- Cool, then repeat oiling and baking 4–5 times for best results.
You’re creating freedom from sticky pans and disposable cookware — the first seasoning builds a resilient, non‑stick foundation you’ll rely on for years.
Stovetop Seasoning (Quick Touch‑Ups)
Anyone who cooks with cast iron should keep a stovetop seasoning routine for quick touch‑ups between deeper oven sessions.
When you notice food sticking or dull spots, preheat the skillet on medium for a few minutes until it’s hot but not smoking. Dab a paper towel with a high‑smoke‑point oil—grapeseed or canola works well—and apply a very thin, even layer across the cooking surface; this is essential to avoid sticky buildup.
Return the oiled pan to the burner and heat for about 10–15 minutes so the oil can polymerize and bond to the metal. Watch the heat; you want transformation, not smoke.
Turn off the heat and let the skillet cool enough to handle, then wipe away any excess oil to prevent tackiness.
Do this regularly as a stovetop seasoning habit and you’ll preserve the nonstick surface, resist rust, and extend the pan’s life. This quick ritual keeps you free from frequent major recoats.
Building Layers: How Many Coats, Which Fats, and Timing
When you start building layers, think of each coat as a thin, deliberate investment: apply a very light smear of oil, bake it at the oven’s highest setting for an hour with the pan upside down, let it cool about five minutes, then buff it until it’s barely shiny so you don’t leave any sticky residue.
After that first olive oil layer, you’ll switch to bacon grease for subsequent coats to deepen seasoning and freedom from sticking. For building layers, how many coats matters: aim for 4–5 total layers, repeating application, oven bake, brief cool, and buff each time.
Pay attention to timing between cycles and last-minute light oil before storage to prevent rust. Visualize progress:
- Thin olive oil first coat—flip and bake.
- Bacon grease coats 2–5—each thin, baked.
- Cool ~5 minutes, then buff to a satin sheen.
- Final light oil before storing.
Follow this process and you’ll claim a resilient, liberated cooking surface.
First Cooks & Routine Maintenance for Seasoned Cast Iron
Although the first meals you cook on a newly seasoned pan matter, start with fatty foods like bacon or eggs rather than acidic ingredients such as tomatoes, because they reinforce the seasoning and reduce the risk of stripping it.
For your first cooks, use moderate heat, let the fat coat the surface, and celebrate how oil bonds to the iron—this is freedom from sticky pans.
After cooking, clean the skillet with hot water and a stiff brush; skip harsh soaps that attack the seasoning.
Rinse your skillet with hot water and a stiff brush—avoid harsh soaps that strip the seasoning.
Dry it immediately over low heat so no moisture lingers to cause rust.
When cool, apply a thin layer of oil—wipe off excess—to protect the surface during storage.
Routinely inspect the seasoning: if food begins to cling, don’t panic; it signals a light re-seasoning—oil plus heat—to restore non-stick performance.
Follow these steps and your cast iron will remain dependable, resilient, and ready for countless liberated meals.
Troubleshooting: Rust, Sticky Seasoning, and Uneven Spots
You’ll eventually run into problems like rust, sticky seasoning, or blotchy patches even with careful first cooks and routine care, so it helps to know how to fix them quickly.
If you spot rust, scrub with warm soapy water and a stiff brush until bare metal shows, rinse, dry thoroughly, then re-season immediately to reclaim control.
- Scrub rust away, dry, and re-season to stop spread.
- Remove sticky build-up by stripping excess oil, apply a thin coat, and bake hot.
- Target uneven spots: oil affected areas and bake at 425°F for 30 minutes.
- If food still sticks, strip the pan and re-season fully.
Inspect for bare spots regularly and touch them up to prevent rust and keep non-stick performance.
You’re reclaiming freedom from ruined cookware—act decisively, follow the steps, and your skillet will reward you with reliable, liberated cooking.
Frequently Asked Questions
What to Do With a New Cast Iron Pan Before First Use?
You wash it with warm, soapy water, rinse and dry completely, then heat it briefly to evaporate moisture.
You’ll apply a thin coat of vegetable or canola oil, buffing until barely shiny, then place the pan upside down in a 425°F oven for 30 minutes.
Repeat seasoning three to four times for best results.
This process builds a nonstick surface and provides Rust Prevention so your pan stays reliable and liberated.
How Do You Season a Cast Iron Pan for the First Time?
You season a cast iron pan by washing it, drying thoroughly, then oiling it thinly and evenly—this is the core Seasoning Techniques you’ll use.
Preheat your oven to 425°F, place the pan upside down, and bake 30 minutes.
Repeat oiling and baking 3–4 times to build a resilient nonstick layer.
Let it cool fully, store dry, and rub a light oil coat before storing so your pan stays ready and liberated for cooking.
What Should I Do With My Cast Iron Cookware for the First Time?
Think of your new pan as a blank canvas you’re freeing.
You’ll start with Cleaning Techniques: wash with warm, soapy water to remove factory residue, rinse and dry thoroughly, then warm on the stove.
Apply a thin coat of oil and buff until barely shiny.
Bake upside down at 425°F for 30 minutes, repeat three times to build seasoning.
You’ll end up with a durable, nonstick partner ready for liberation.
Do I Need to Season a Brand New Cast Iron Pan?
Yes — Seasoning Necessity is real: you should season a brand new cast iron pan.
You’ll wash off factory residue, dry thoroughly, apply a thin oil layer, and bake to polymerize it. Repeat 4–5 times to build a durable, non-stick barrier that resists rust.
You’ll gain freedom in the kitchen as the pan performs evenly and releases food better, so don’t skip this empowering, practical step.
Conclusion
You’ve done the hard work—inspect, clean, dry, oil, and bake repeatedly—and your new cast iron will reward you with lifetime performance. Start with fatty first cooks and keep up simple maintenance to protect the seasoning; don’t let rust or stickiness win. If you hit a snag, troubleshoot promptly and re-season as needed. With care, your skillet becomes more reliable than a Swiss army knife—use it, enjoy it, and it’ll only get better.