
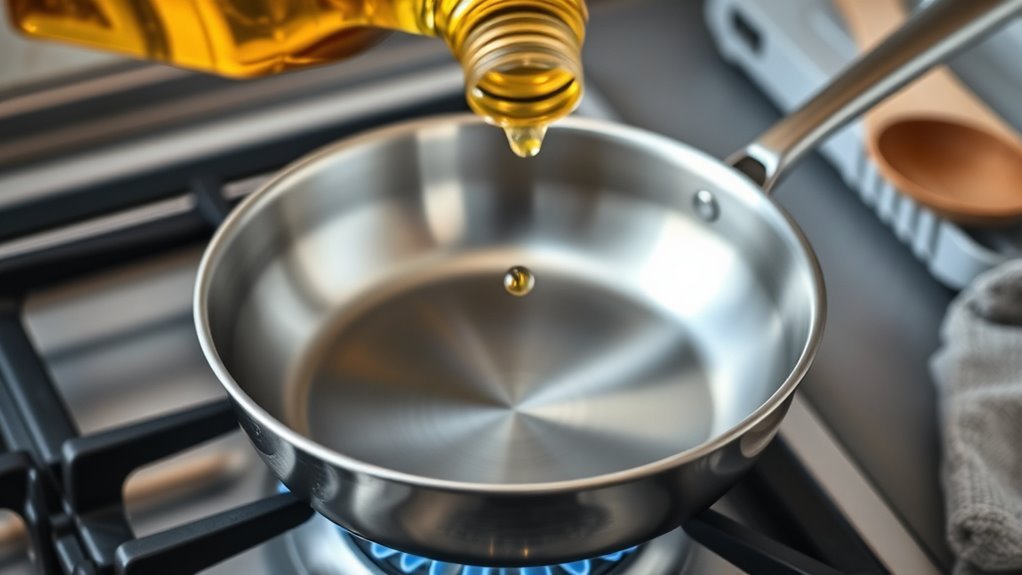
You should heat the stainless steel pan first, wait until water droplets sizzle and dance, then add just enough oil to coat the bottom and let it stabilize for about 30 seconds; this simple timing prevents sticking and gives you even browning. You’ll also want to know how to test temperature, choose the right oil, handle exceptions like cold-start eggs, and rescue food if it sticks—so keep going to get the practical steps.
When to Add Oil: The Quick Answer for Best Results
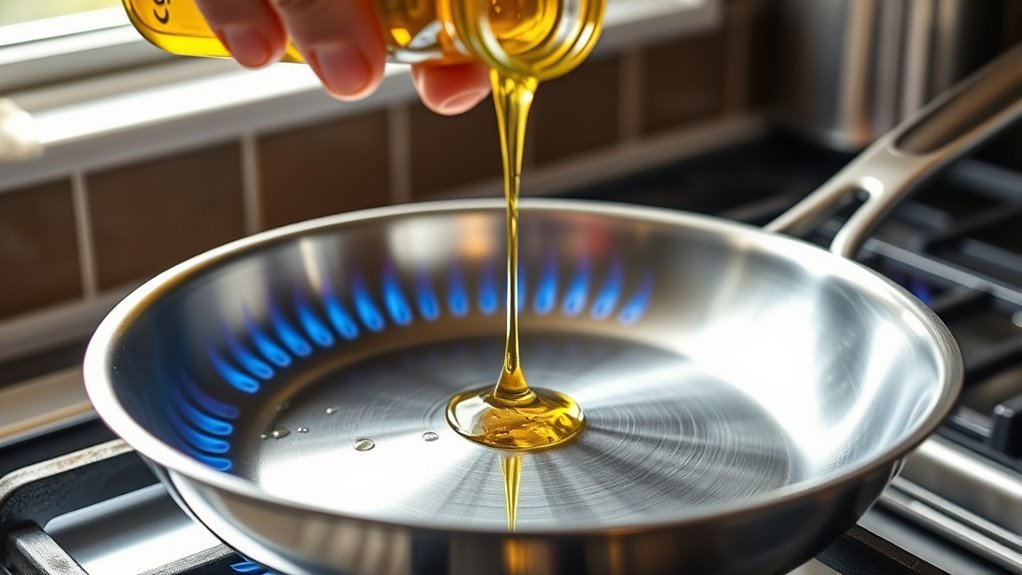
Wonder when to add oil to a stainless steel pan? You heat the pan first—use the water test until droplets sizzle and dance—then add oil.
That sequence is decisive: adding oil to a preheated pan prevents the oil from seeping into surface pores and reduces sticking. Pour enough oil to coat the bottom evenly; thin coverage invites adhesion and ruined food.
Once the oil heats and you see it shimmer, wait about 30 seconds before adding ingredients so the surface and oil reach stable cooking temperature.
Don’t add cold oil to a cold pan; that mistake undermines control and freedom at the stovetop.
This method gives you predictable release and clean-up, so you cook with confidence rather than caution. You’ll reclaim time and flavor by mastering when to add oil, treating stainless steel pans as precise tools that respond to timing, temperature, and a measured, even film of oil.
Why a Hot Pan Prevents Sticking
Heat makes the stainless steel expand, closing microscopic pores so oil forms a smoother, more continuous film instead of seeping into cracks.
When you add oil at the right temperature the fat skates on the surface and proteins hit heat that lets them release cleanly rather than bonding.
That timing—oil added once water sizzles off—gives you even browning and minimal sticking.
Metal Expansion Seals Pores
Because metal expands as it warms, the tiny pores and microcracks in a stainless steel pan close up, creating a smoother surface that’s less likely to grip food.
You rely on metal expansion to seal pores so the surface behaves more like a non-stick surface when properly preheated.
When you preheat pans to the point where water dances, you reduce the tiny valleys that trap oil or food particles.
That means you should add oil only after the pan reaches that temperature threshold; otherwise oil can seep into open pores and increase food sticking.
Mastering this simple physics gives you freedom at the stove: better release, easier cleaning, and confident control over your results.
Oil Behavior On Hot Surface
When you add oil to a properly preheated stainless steel pan, the metal’s closed pores and smooth surface let the oil spread into a thin, even film that keeps food from bonding to the metal.
You’ll see water dance and hear a sizzle—that tells you the temperature of the pan is right to add oil to a hot surface. The oil fills microscopic cracks, sealing potential grab points so food won’t stick.
Let the oil shimmer about 30 seconds; that indicates properly heated fat ready for contact. Cook at medium heat with sufficient oil to promote even browning and caramelization, and you’ll free yourself from sticking struggles.
Control the temperature, trust the shimmer, and reclaim reliable release.
Protein Release Timing
If you preheat your stainless pan until it shimmers before adding oil, proteins are far less likely to bond to the metal. You seize control: adequate heat and a preheated surface mean oil fills microscopic pores, creating a barrier so food won’t stick.
Add oil when it shimmers, then wait for the oil to thin—this maximizes protein release and eases cleanup. Use room-temperature ingredients so the pan’s heat isn’t lost.
- Preheat pan to shimmer.
- Add oil; wait for oil to shimmer.
- Introduce room-temperature food to preserve heat.
- Let proteins sear and release before flipping.
This method liberates you from ruined dishes; precise timing of heat and oil prevents sticking and promotes predictable protein release.
How to Test Pan Temperature for Stainless Steel
Wondering whether your stainless steel pan is hot enough for oil? Use the water test: sprinkle a few drops onto a preheated pan. If droplets sizzle and dance, you can add oil. That simple check helps you test pan temperature reliably and avoids adding oil to a cold pan, which can seep into surface pores and cause sticking.
Heat on medium to medium-high heat to control temperature and prevent overheating. Once you see water dancing, add oil; after it shimmers and moves fluidly across the surface, you’ve reached ideal conditions. That shimmer is a visual cue that the pan’s metal has expanded and will enhance food release, making searing and flipping cleaner and easier.
Practice this routine until it’s instinctive. Preheat, perform the water test, then add oil at the right heat. You’ll free yourself from guesswork, get consistent results, and simplify cleanup.
Oils for Stainless Steel: Smoke Points & Uses
Choose your oil based on heat and flavor: refined oils like canola, grapeseed, and avocado tolerate high heat (400–520°F) and work best for searing or frying in stainless steel pans, while olive oil suits lower-heat sautéing and nutty oils add flavor but need gentler temperatures.
You’ll rely on smoke points to match technique and taste. Always heat the pan first, then add fat so the oil spreads and helps prevent food from sticking.
Rely on smoke points: heat the pan first, then add oil so it spreads and prevents sticking.
- Avocado (≈520°F): for aggressive searing and release on hot stainless steel.
- Canola/Grapeseed (≈400–450°F): versatile, neutral, ideal for most high-heat work.
- Olive (≈375°F): use for moderate sautéing; don’t push to smoking.
- Sesame/Peanut: flavor-forward; monitor closely due to lower smoke points.
Don’t pour oil to a cold pan if you want even heating. Choose boldly, use smoke points as your guide, and free your cooking from fear of burning or sticking.
Exceptions : When to Start Foods in a Cold Pan
Although you usually preheat a stainless steel pan, some fatty proteins do better started cold: placing room-temperature bacon, skin-on chicken, or duck breast into a cold pan lets the fat render slowly, builds up a protective oil layer that helps prevent sticking, and promotes crisp, even browning—just watch the heat and timing so the meat cooks through without burning.
You’ll intentionally exploit the cold pan to coax fat out gradually; that accumulated fat creates a natural non-stick surface as moisture releases. Keep the proteins at room temperature so the pan’s temperature isn’t shocked, which can cause adhesion.
Use moderate heat and patience: raise heat only as fat renders and browning begins. This isn’t a universal rule—most foods still need a preheated pan and added oil—but for bacon, skin-on chicken, and duck breast, starting cold liberates flavor and texture while minimizing sticking when done with attention.
Monitor doneness; don’t rush the process.
Fixing Stuck Food: Immediate Steps & Prevention
If food starts sticking, act immediately: while the pan’s still hot add a splash of liquid (water or broth) to deglaze and loosen browned bits, then use a wooden spatula to gently scrape the surface as the liquid simmers.
If the pan cooled, reheat slightly, add a splash, and let simmer to lift the residue. You can reclaim control quickly and avoid ruined meals.
- Preheat the pan properly so metal temperature matches your intent.
- When it’s ready, add the oil and let it shimmer to coat the surface of the pan evenly.
- If sticking happens, deglaze the pan with liquid and scrape gently while simmering.
- To prevent sticking long-term, avoid adding cold food into insufficiently oiled or underheated pans.
These measures free you from common setbacks: learn to read heat, respect oil’s role, and act decisively.
You’ll prevent sticking, protect the surface of the pan, and cook with confidence.
Cleaning & Care After High-Heat Cooking
After high-heat cooking, let the pan cool completely before you wash it to avoid warping and damage.
While the pan is still hot and safe to handle, deglaze with a splash of liquid to lift stuck bits—then finish cleaning once it’s cooled.
Use warm water and mild soap, rinse thoroughly, and dry immediately to preserve the finish.
Cool Before Washing
When you finish a high-heat sear or roast, let the stainless steel pan cool completely before you wash it to prevent warping and avoid thermal shock. You’re protecting the metal and your hands, and you’re making cleanup easier once the pan is safe to handle.
Use warm water and mild soap with appropriate cleaning utensils; harsh chemicals weaken the finish over time. If the pan is hot and you rush, you risk damage and injury.
- Wait until completely cool — don’t immerse a hot pan.
- Rinse with warm water to loosen debris.
- For stubborn bits, simmer equal parts vinegar and water, then wash.
- Rinse thoroughly and dry with a clean cloth to avoid spots.
This regimen keeps your pan easy to clean and long-lasting.
Deglaze While Hot
You’ve let the pan cool enough to handle, but while it’s still hot is the best moment to deglaze and lift stuck-on bits with minimal scrubbing.
When the oil is hot and you remove the food, pour wine, broth, or a splash of water into the hot pan immediately; the steam and heat loosen browned residue and concentrate flavor.
Use a wooden spoon or silicone tool to scrape gently, turning those stuck bits into sauce instead of waste. This method makes cleanup easier and preserves the pan’s surface.
After deglazing and transferring sauces, let the pan cool slightly to avoid warping, then wash with warm soapy water.
Deglazing while hot is efficient, liberating, and protects your stainless steel.
Frequently Asked Questions
Do You Add Oil Before or After the Pan Heats Up?
You add oil after the pan heats up. You’ll use pan heating techniques to reach the right cooking temperature effects: test with water so droplets sizzle, then add oil.
Choose via oil types comparison for smoke point and follow oil quantity guidelines—just enough to coat.
Pan preheating benefits reduce food sticking solutions by letting oil fill surface pores. This gives you more control and frees you from sticky, overcooked results.
How to Properly Oil a Stainless Steel Pan?
Heat the pan first, then add oil and tilt to spread it evenly—use oil distribution techniques to coat the surface.
Choose oils by oil types comparison and smoke points; high-smoke oils like avocado or refined canola work best.
Let oil shimmer (~30s) to follow cooking temperature tips.
Use pan seasoning methods occasionally to reduce sticking and apply food sticking solutions like adequate oil and room-temperature ingredients to liberate your cooking.
Do You Need Oil to Cook in a Stainless Steel Pan?
Yes — you’ll want oil. Think of it as a gentle handshake between food and pan: oil benefits include reducing food sticking, aiding heat distribution, and offering flavor enhancement while supporting pan maintenance.
Use it as a deliberate cooking techniques tool: preheat, add oil, let it shimmer, then add food. That rhythm frees you from frustration, gives better sears, and preserves your stainless steel for confident, liberated cooking.
What Should You Not Cook in Stainless Steel?
Avoid cooking delicate eggs, fish, long-simmered acidic dishes, sugary caramels, or frozen items in stainless steel.
You’ll prefer non-stick alternatives or cast iron for those tasks. Use proper cooking techniques, correct heat distribution, and enough oil to prevent sticking.
Be aware of food reactions and flavor enhancement limits with prolonged acid contact.
For liberation in the kitchen, choose tools that match the dish and prioritize pan maintenance to preserve performance.
Conclusion
Get your stainless pan hot, then add oil—wait about 30 seconds for it to shimmer—so food releases instead of sticking. This isn’t kitchen folklore; it’s science that saves your meals from tragedy-level sticking. Test with a water droplet: it should sizzle and dance. Choose oils by smoke point and heat accordingly, but start delicate items in a cold pan when needed. If things stick, deglaze and clean promptly to keep your pan performing like new.