
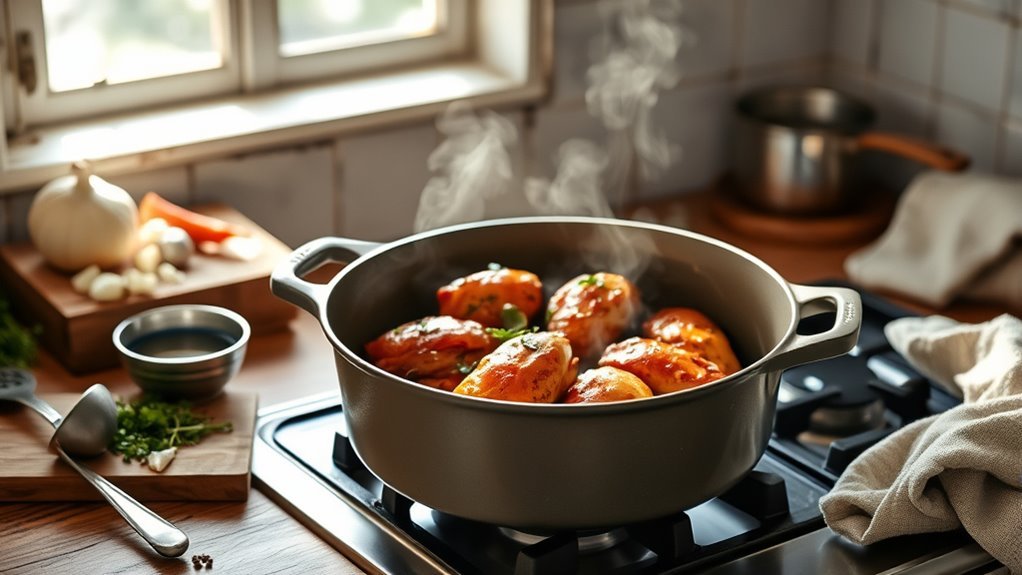
Imagine preparing a hearty beef stew in your braiser pan, savoring the aroma as it simmers. This versatile kitchen tool isn’t just for braising; it excels at searing, baking, and even shallow frying. With its unique design, you can create rich, flavorful dishes that are tender and satisfying. But to truly reveal its potential, you’ll want to master a few essential techniques and avoid common pitfalls. What secrets does this pan hold for your culinary adventures?
What Makes a Braiser Different From Other Cookware?
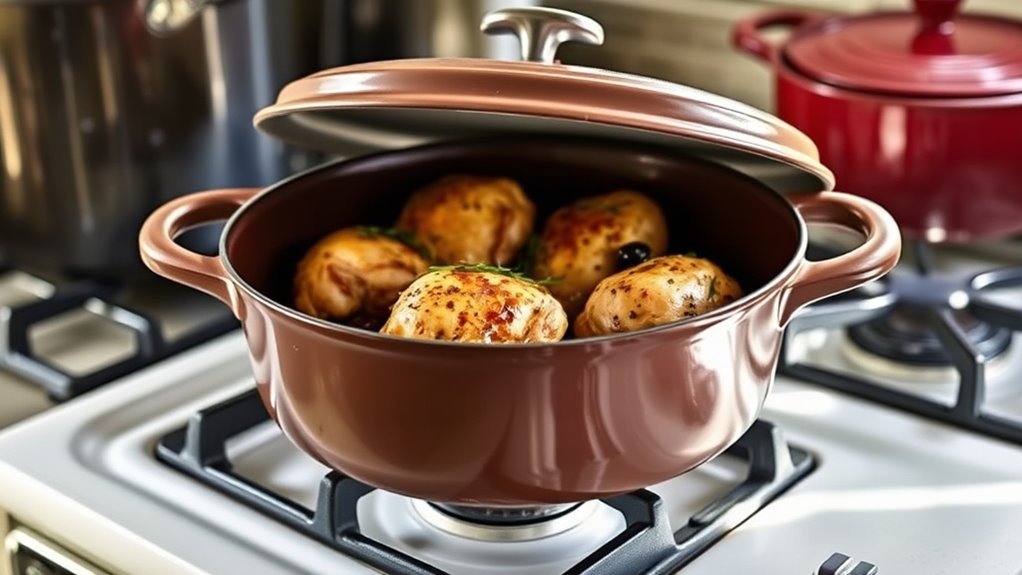
When you compare a braiser to other cookware, you’ll quickly notice its unique design and functionality. A braiser features a wide, shallow base with sloped sides, perfect for searing and browning ingredients, unlike the deeper Dutch Oven. Its domed lid traps moisture, allowing for effective braising and steaming, setting it apart from traditional skillets.
A braiser’s unique design and functionality make it ideal for searing, browning, and effective braising, setting it apart in your kitchen.
Made typically from enameled cast iron, a braiser excels in heat distribution and retention, ensuring your food cooks evenly—something non-stick or stainless-steel pans often struggle with.
With two sturdy handles, it’s user-friendly, making transfers from stovetop to oven a breeze. While stockpots are meant for boiling, the braiser shines in recipes that require both searing and slow cooking in one vessel.
This versatility opens up a world of cooking methods, inviting you to explore and create with confidence in the kitchen. Embrace the liberation of culinary creativity with your braiser!
Essential Features of a Braiser Pan
A braiser pan is a culinary workhorse, designed to elevate your cooking experience with its unique features. With its wide base and shallow, sloped sides, you’ll find it perfect for searing and braising, maximizing the cooking surface area for all your delicious creations.
Made from enameled cast iron, this pan offers excellent heat retention, ensuring every bite is cooked to perfection.
Here are three essential features that make a braiser a must-have:
- Heavy, domed lid: Traps moisture and steam, delivering tender and flavorful dishes.
- Sturdy handles: Designed for easy lifting, seamlessly shifting from stovetop to oven.
- Versatility: Ideal for casseroles, one-pot meals, and even appetizers, freeing your culinary creativity.
With a braiser, you’re not just cooking; you’re liberating your kitchen adventures!
Essential Cooking Techniques for Using a Braiser
Releasing the full potential of your braiser pan requires mastering a few essential cooking techniques. Start by searing your meats or vegetables on the stovetop. This step develops rich flavors and achieves even browning that makes your dishes irresistible.
Once seared, layer your main ingredients over a bed of vegetables or starches, allowing for even cooking and flavor infusion.
The braiser’s domed lid is your ally in moisture retention. It traps steam, creating a tender cooking environment for both meats and vegetables.
Embrace the versatile cooking methods this pan offers; you can braise, shallow fry, or even bake! Take advantage of its oven-safe design to shift seamlessly from stovetop to oven, perfect for finishing off dishes.
Casseroles and One-Pot Meals
Whether you’re craving a warm, comforting meal or entertaining guests, casseroles and one-pot meals made in a braiser pan deliver both convenience and flavor.
Imagine the ease of crafting a delightful dish all in one vessel, minimizing mess while maximizing taste. Here are three reasons to embrace braiser cooking:
Embrace the simplicity of one-pot cooking, where minimal mess meets maximum flavor in every delightful dish.
- Searing & Flavor: Start by searing your meat or veggies on the stovetop; this enhances flavors beautifully.
- Layering Goodness: Layer main ingredients over grains, pasta, or veggies, creating a complete meal that’s both hearty and satisfying.
- Effortless Shift: After initial cooking, transfer your braiser to the oven for even heat distribution, letting flavors meld perfectly.
Versatile recipes abound, from rich casseroles to baked pasta dishes and hearty stews.
With a braiser, you not only save time but elevate your cooking experience, turning everyday meals into memorable feasts.
Embrace the liberation of one-pot cooking!
Baking Bread and Desserts in Your Braiser
If you’re looking to elevate your baking game, using a braiser can transform your approach to bread and desserts. The shallow depth and generous surface area of a braiser make it perfect for baking bread, like focaccia and biscuits, allowing for even heat distribution that assures consistent browning.
You’ll appreciate how the wide base provides ample space for rising, giving your loaves that bakery-fresh look.
When it comes to desserts, a braiser shines with cobblers, crisps, and brownies. Its ability to retain moisture while creating a crispy top makes every bite a delightful experience.
Plus, the smooth interior surfaces mean cleanup is a breeze, letting you bask in your baking triumph without the hassle.
Appetizers and Snacks to Make in Your Braiser
Your braiser is an unsung hero in the kitchen, ready to elevate your appetizers and snacks with ease. With its wide base and exceptional heat retention, you can whip up delightful bites that impress.
Here are three must-try appetizers:
- Cheesy Nachos: Layer your favorite tortilla chips with cheese and toppings. The braiser’s design allows for even melting, creating a gooey, satisfying snack.
- Pull-Apart Bread: Bake fluffy, cheesy bread in your braiser. Its spacious interior guarantees even baking, making it perfect for sharing.
- Moist Meatballs: Cook meatballs in your braiser, where the lid traps steam, keeping them juicy while cooking evenly.
Whether you’re hosting a gathering or enjoying a cozy night in, your braiser transforms simple ingredients into mouthwatering appetizers that liberate your culinary creativity.
Get ready to savor every bite!
Shallow Frying and Steaming Like a Pro
After whipping up delicious appetizers, it’s time to explore the braiser’s versatility in shallow frying and steaming. This pan’s wide base makes shallow frying a breeze, letting you achieve that perfect crispy exterior on crab cakes, fish, or chicken with minimal oil.
Its contoured shape guarantees even cooking and simplifies flipping, so you can master that golden sear every time.
When it comes to steaming vegetables, the braiser shines. The lid traps steam, continually basting your veggies as they cook, resulting in crisp-tender textures that burst with flavor.
Plus, the shallow depth promotes rapid heat distribution, speeding up cooking times and enhancing flavor development.
Using a braiser for shallow frying also cuts down on splatter and mess, making cleanup a snap.
With this versatile tool, you’ll elevate your cooking game and fully enjoy the liberation of culinary creativity!
How to Clean and Maintain Your Braiser
Cleaning and maintaining your braiser is key to keeping it in top shape for years to come.
You’ll want to use warm, soapy water and a soft sponge to avoid damaging the enamel.
Plus, proper storage and regular checks for any chips or cracks will guarantee it continues to perform beautifully in your kitchen.
Essential Cleaning Techniques
Maintaining the pristine condition of your braiser is essential for its longevity and performance, especially since it often becomes a centerpiece in your kitchen.
Here are some essential cleaning techniques to keep it looking and cooking its best:
- Cool Down First: Always let your braiser cool before washing it with warm, soapy water to prevent thermal shock and protect the enamel.
- Gentle Touch: Avoid metal utensils and abrasive scrubbers; they can scratch the enamel surface, leading to wear over time.
- Soak for Success: For stubborn food residue, soak it in warm, soapy water instead of scrubbing aggressively, which lifts debris without damage.
Lastly, always store your braiser with a protective cloth to preserve its beautiful finish.
Proper Storage Practices
Proper storage practices can greatly extend the life of your braiser, ensuring it remains a reliable kitchen companion for years to come.
After cleaning with warm, soapy water and a soft sponge, make sure it’s completely dry to prevent moisture buildup. Your enameled cast braiser would benefit from a protective cloth or trivet between it and other cookware, staving off scratches and chips.
Avoid using metal utensils while cooking; opt for silicone or wooden options instead to keep the enamel pristine.
Regularly inspect the lid and handles for any signs of wear or damage, ensuring peak performance and safety.
Regular Maintenance Tips
To keep your braiser performing at its best, a few simple maintenance routines can make all the difference. Caring for your cooking companion not only enhances its longevity but also elevates your culinary experience.
Here are three essential tips to maintain your braiser:
- Clean gently: Use warm, soapy water and a soft sponge to protect the enamel. Avoid harsh abrasives that can damage the finish.
- Choose wisely: Opt for wooden or silicone utensils to prevent chipping the enamel surface. Your braiser deserves the best treatment.
- Store with care: Place a protective cloth or trivet between stacked cookware to avoid scratches.
Common Mistakes to Avoid When Using a Braiser?
When using your braiser, it’s easy to make a few common mistakes that can affect your dish.
Overcrowding the pan or skipping the preheating step can prevent that beautiful browning you want.
Plus, neglecting temperature control can lead to uneven cooking, so it’s essential to pay attention to these details for the best results.
Overcrowding the Braiser Pan
Overcrowding the braiser pan can sabotage your cooking efforts, leading to disappointing results. When you pack in too many ingredients, they steam instead of brown, stifling flavor development.
To achieve that perfect dish, remember these key points:
- Leave Space: Allow room between ingredients for proper heat circulation.
- Fill to Two-Thirds: This prevents moisture buildup and guarantees even cooking.
- Monitor Closely: Adjust cooking times as needed; a crowded braiser may require extra attention for doneness.
Embrace the freedom of culinary mastery by avoiding overcrowding.
When you respect the braiser’s design, you’ll reveal rich flavors and vibrant textures that will elevate your dishes to new heights. Enjoy the journey to deliciousness!
Neglecting Temperature Control
Neglecting temperature control can easily lead to a kitchen disaster, even if you’ve avoided overcrowding your braiser pan. A braiser is one of the best tools for gentle cooking, but its low walls allow heat to escape quickly if not monitored.
Start with medium heat for even cooking; too high, and you risk burning your ingredients. Always aim for a simmer rather than a boil; this guarantees proteins stay tender and flavors meld beautifully.
Keep the lid on to trap steam and moisture, adjusting the temperature as needed to prevent overcooking. Mastering temperature control not only enhances your dish’s flavor but also elevates your culinary confidence.
Embrace this skill, and you’ll enjoy liberating cooking experiences.
Skipping Preheating Steps
One of the biggest missteps you can make with a braiser is skipping the preheating step. When you don’t let your heavy cast iron reach the right temp, you miss out on essential flavors and textures.
Here’s what you risk:
- Uneven Cooking: Without preheating, your food won’t brown evenly, leading to a lackluster meal.
- Sticking Issues: Ingredients can cling to the surface, making cleanup a nightmare.
- Flavor Diminishment: Proper caramelization is sacrificed, robbing your dish of that rich, satisfying crust.
Take just 5-10 minutes to preheat your braiser on medium heat. You’ll guarantee even cooking and moisture retention, liberating your culinary creations from mediocrity!
Troubleshooting Common Issues With a Braiser?
When you’re cooking with a braiser, it’s essential to troubleshoot common issues to guarantee your dishes turn out perfectly.
If you find food sticking, make sure to preheat your braiser and use enough oil to create a non-stick layer.
For uneven cooking, check that your braiser sits flat on the stovetop and avoid overcrowding—this can lead to steaming instead of the desired browning, especially with tough cuts of meat.
If your dish turns out too dry, simply add more liquid and cover the braiser with its lid to lock in moisture.
To prevent burnt food, lower the heat and stir frequently, as braisers retain heat well and can cook faster than you expect.
Lower the heat and stir often to avoid burning, as braisers can cook faster than you might anticipate.
Finally, for stubborn stains, soak your braiser in warm, soapy water and gently scrub with a non-abrasive sponge to maintain its enamel coating.
Happy cooking!
Frequently Asked Questions
What to Cook in a Braiser Pan?
In a braiser pan, you can whip up delicious braiser recipes like coq au vin or braised short ribs.
Use various cooking techniques—sear your meat first for flavor enhancement, then slow-cook it with veggies.
You can also prepare one-pot meals, like a hearty stew or cheesy nachos for appetizers.
Embrace meal prep by baking deep-dish pizza or cobblers, enjoying the even heat that guarantees every bite is perfectly cooked and full of flavor.
Do You Really Need a Braiser?
Do you really need a braiser? Imagine elevating your cooking game with a single, versatile tool.
A braiser’s ability to master braising techniques and enhance flavor makes meal prep a breeze. Its wide base guarantees even heat distribution, perfect for searing and slow-cooking, while the heavy lid locks in moisture.
If you crave culinary liberation and want to explore diverse cooking methods, investing in a braiser is a game-changer for your kitchen adventures.
Can I Use a Braiser Instead of a Skillet?
Yes, you can absolutely use a braiser instead of a skillet! A braiser boasts benefits like superior heat distribution and deeper sides, making it perfect for searing and simmering.
Compared to a skillet, it excels in cooking techniques that require moisture retention and larger portions. You’ll love how seamlessly it shifts from stovetop to oven, allowing you to create delicious one-pot meals without hassle.
Embrace the versatility and freedom a braiser offers in your kitchen!
What Are the Disadvantages of Braising?
Braising is like a slow dance with your ingredients; it takes time and careful steps.
However, it has its downsides. The long cooking times can lead to overly soft textures, ruining the desired bite. Your flavor profiles might suffer too, as prolonged heat can dilute tastes.
Plus, not all ingredients play nice; delicate proteins and veggies might disintegrate.
Conclusion
So, you thought a braiser was just another pan? Ironically, it’s your secret weapon for culinary magic! With its ability to sear, stew, and even bake, you’ll wonder how you ever cooked without it. Embrace layering, avoid overcrowding, and let it work its charm. Who knew one pot could handle such a delicious array of tasks? Now, get cooking and watch your meals transform into flavorful masterpieces—because, let’s face it, your kitchen deserves a little magic!